Buffy and the Lost Shamiana Chicken

Okay, so I know my last posts promised some musings on the nature of democracy and human rights. I might come back to that at some point… but I need to accept that my ADHD brain will only write about what it wants, when it wants. And this is my blog, so I will treat it as only a 90s kid could treat a blog and write about whatever takes my fancy.

So here’s what’s on my mind right now.

In the latter years of the 1990s, I was an undergrad at Seattle University, where I met my very first serious boyfriend, Mike. Mike was very geeky – which is just how I like my men – and he loved introducing me to new geeky TV shows and movies.

One of these was Buffy the Vampire Slayer. I’d seen the underwhelming movie and I scoffed at the name … but damn, that was a good show. New episodes of Buffy aired on Tuesdays, which became our non-negotiable weekly date night so we could watch it together.

Mike also liked introducing me to new foods.

I wasn’t completely unfamiliar with Indian food before Mike. My first best friend when I was very young was my grandma’s best friend’s son, and his family was from India. We’d go round to their house and his mum would make amazing food for us – which was, unfortunately, way too spicy for me at 8 years old. I rejected the beautiful spicy dahl and mostly ate chapati with butter and sugar on it.

I didn’t come to really appreciate Indian food until Mike reintroduced me to it.

There was a restaurant near his house called Shamiana, founded by a brother and sister who were American but had grown up in what was then East Pakistan. So calling it an Indian restaurant probably isn’t quite right; the food drew on influences from across the subcontinent and beyond. And in any case, I’ve since moved to the UK, where “Indian food” is an entirely different beast.

I’ve since learned that Shamiana was basically one of a kind. It had the flavours of the subcontinent, but the menu featured dishes the owners had essentially come up with themselves.

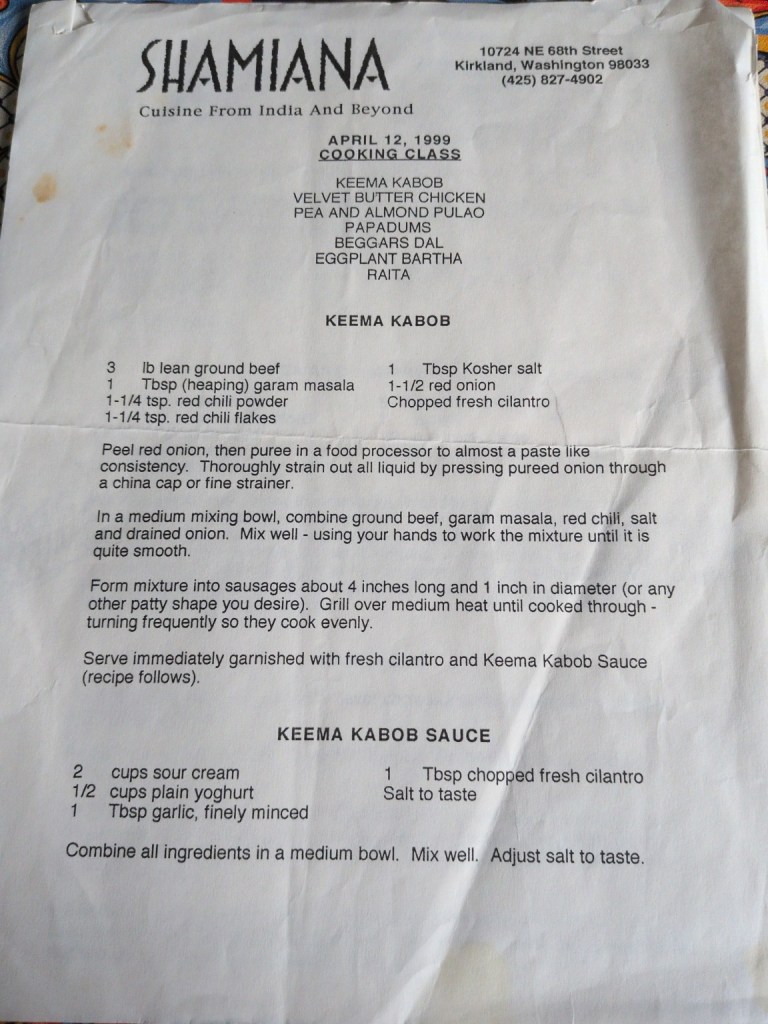
One of the most famous was Major Grey Chicken Curry, a glorious concoction of mango chutney, curry powder and cream. The owners generously shared the recipe in the cooking classes they hosted, and I still have it. I’ve had friends I’ve otherwise lost touch with get back in touch only to ask me for the Major Grey recipe (and then never be heard from again).

It’s that good.

But my favourite dish was Shamiana Chicken. Every week on Buffy night, Mike and I would go to that restaurant first and that’s the dish I’d order every time.

It was tangy and fresh, a bright yellow colour, and made with coconut milk. I guess it was sort of like a korma, but it had way more flavour than your typical takeaway korma. I’ve been missing Shamiana Chicken lately, so I decided to go on an internet hunt for the recipe.

Sadly, my searches came up blank. Shamiana closed in 2019, and if they ever featured Shamiana Chicken in one of their cooking classes, it wasn’t one I attended.

And here’s where I get to brag, because I refused to give up.

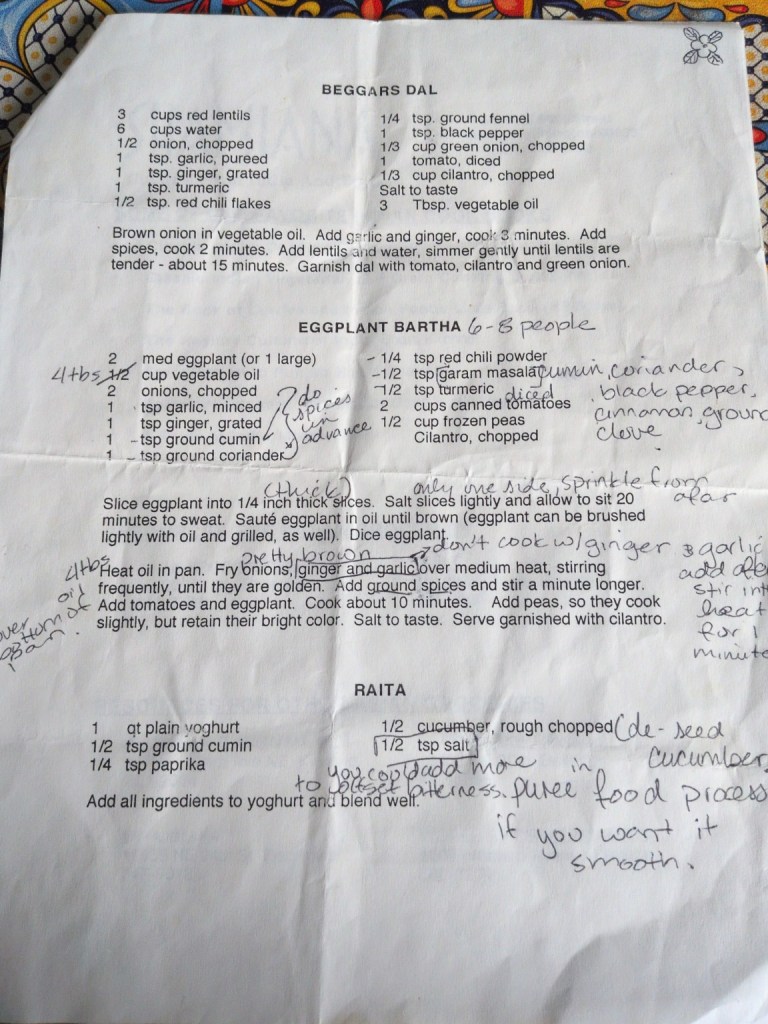
I brought up ChatGPT and explained the story of Shamiana Chicken to it. I uploaded pictures of the printed recipes I still have from the cooking class Mike and I took in 1999.
ChatGPT went digging and found an old Shamiana menu preserved in a random corner of the internet, which described the sauce as a “zippy masala, lemon and coconut sauce with green onions and fresh coriander.”

That was our first proper clue.

More internet archaeology eventually turned up an old magazine article about Shamiana, complete with a photograph of a suspiciously familiar-looking yellow coconut curry and a reference to a recipe the owners had contributed to Bon Appétit. That recipe still survives online: prawns in a spiced masala and coconut milk sauce.

So we had my memories of the dish, Shamiana’s own description of it, my original cooking class recipes, and another recipe published by the restaurant’s owners. ChatGPT pulled all of that together and gave me its best guess at the missing Shamiana Chicken.

Tonight I made Shamiana-ish Chicken.

And that was it.

That was the dish.

Or, at least, close enough that I knew immediately what I was tasting. My 14-year-old son asked for seconds, which is a very rare occurrence and perhaps the strongest possible endorsement.

So I wanted to put my version of Shamiana Chicken on the internet, because as far as I can tell there isn’t an obvious surviving recipe for it anywhere else. I don’t want to pretend this is the original Shamiana recipe. It almost certainly isn’t. It’s a reconstruction from the bits and pieces that survived.

But the smell alone was enough to bring back memories of witty Buffy quips, the smell of Mike’s cologne, and a time in my life without which I wouldn’t be who I am today.

Mike died in 2020, far too young. Not long before he died, he was the one who told me Shamiana had closed.

Although we’d gone our separate ways in 2001, we’d kept in touch over the years. After he died, his family entrusted me with the manuscript of a novel he’d spent years writing, and I promised them I would edit it and try to find a way to get it published.

It’s taking me much longer than I ever imagined.

Partly that’s because every time I open those files, I find myself transported back to being 20 years old: to the remembrance of first love, and to the sadness of knowing that Mike’s life was cut short far too soon. Working on his book means spending time with his words again, and sometimes that’s wonderful and sometimes it’s hard.

So perhaps that explains why, 27 years later, I suddenly wanted so badly to taste Shamiana Chicken again.

And yes, I realise I’ve now done exactly the thing everyone makes fun of recipe bloggers for doing: making you read an extremely long personal story before you’re allowed to find out how much curry powder to put in the pan.

But there’s nothing quite like food for remembering the chapters of our lives.

So here it is.

Mike’s Shamiana(ish) Chicken

This is not the original Shamiana recipe. It’s my reconstruction based on my memories of the dish, Shamiana’s archived menu description, recipes from a cooking class I took there in 1999, and another coconut masala recipe published by Shamiana’s owners. The first attempt tasted remarkably close – although I learned the hard way that “zippy” does not mean “squeeze a whole lemon into it.”

Serves 3–4

Ingredients

  • 600g boneless, skinless chicken thighs, cut into bite-sized pieces
  • 2 tbsp vegetable oil, plus a little extra for cooking the chicken
  • 2 medium onions, finely diced
  • 4 garlic cloves, finely chopped or crushed
  • 1 tbsp grated fresh ginger
  • 1 green finger chilli, finely chopped
  • 2 heaped tsp mild curry powder
  • 1.5 tsp ground coriander
  • 1 tsp turmeric
  • 1 tsp garam masala
  • 0.5 tsp cayenne pepper
  • 150ml full-fat Greek yoghurt
  • 400ml full-fat coconut milk
  • 1 tsp salt, plus more to taste
  • 1 tbsp fresh lemon juice, plus more if needed
  • 4 spring onions, green parts only, thinly sliced
  • A large handful of fresh coriander, roughly chopped

Method

  1. Heat 2 tbsp vegetable oil in a large pan over a medium-low heat. Add the onions and cook gently for 10–15 minutes, until very soft and lightly golden but not deeply browned.
  2. Add the garlic, ginger and green chilli and cook for another 2 minutes.
  3. Add the curry powder, ground coriander, turmeric, garam masala and cayenne. Stir continuously for 1–2 minutes, until fragrant.
  4. Turn the heat down low. Add the yoghurt a spoonful at a time, stirring each addition thoroughly into the masala before adding the next.
  5. Pour in the coconut milk and add 1 tsp salt. Bring to a very gentle simmer and cook uncovered for 10 minutes.
  6. Meanwhile, heat a little vegetable oil in a separate frying pan. Add the chicken thighs and sauté for 4–5 minutes. You only want to give them a little colour and partially cook them at this stage.
  7. Add the chicken to the sauce and simmer gently, uncovered, for 12–15 minutes, or until the chicken is cooked through.
  8. Remove the pan from the heat. Stir in 1 tbsp lemon juice, most of the spring onions and most of the fresh coriander.
  9. Taste before doing anything else. Add more salt if needed. If it needs more tang, add additional lemon juice one teaspoon at a time, tasting between additions. You want it fresh and slightly tangy, not sour. If it’s too hot or too sour, add more coconut milk or a few spoons of double cream.
  10. Scatter over the remaining spring onions and coriander and serve with basmati rice.

If you like it hotter

This version is deliberately family-friendly. The Shamiana Chicken I remember had a proper kick to it.

For something closer to that, use 2–3 green finger chillies and increase the cayenne to 1 tsp.

Did you know Shamiana? If you ate at the Kirkland or Ravenna restaurants, attended one of their cooking classes, or still have any of their old recipes tucked away somewhere, please leave a comment or get in touch. I’d especially love to know if anyone has the original recipe for Shamiana Chicken.

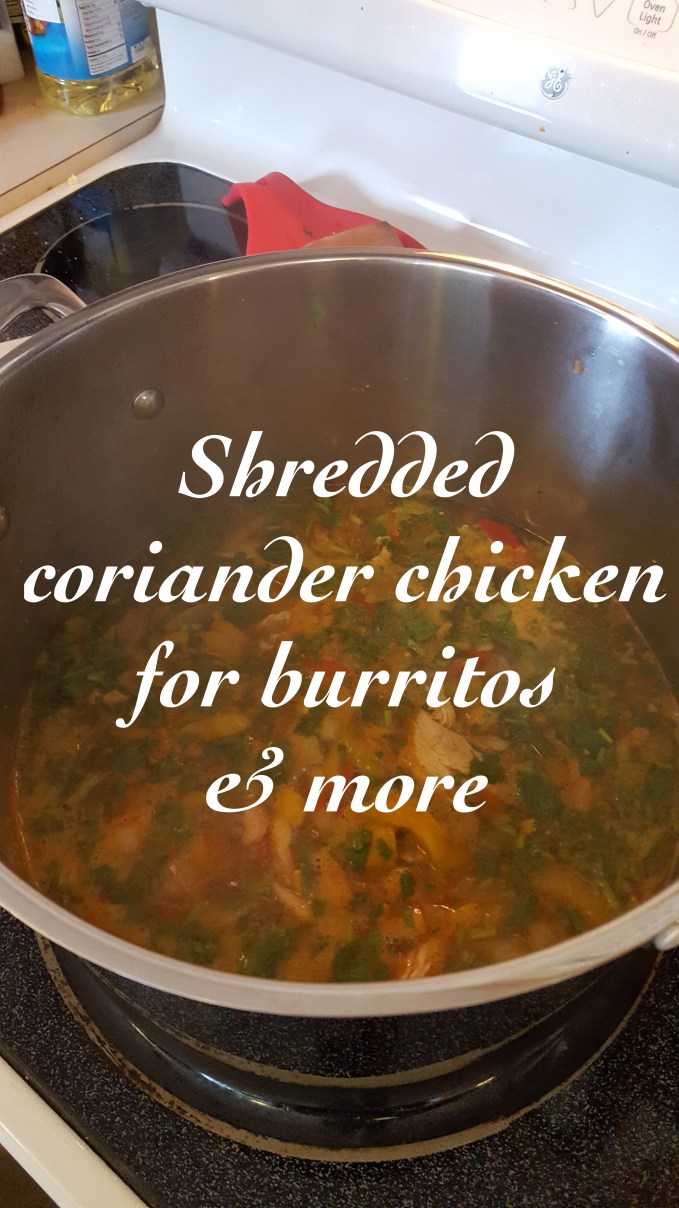
Shredded coriander (cilantro) chicken recipe

I grew up in California, and I’m pretty sure my first solid food was refried beans. My grandma used to joke that my mother’s first meal outside of the home was at their local Mexican restaurant – a mom & pop kind of place. The owner scooped up my infant mom and sat down with my grandparents, ordered her husband to fetch some refried beans and soft tortilla, and let my mom suck the beans off rolled tortilla while they ate. Home-cooked Southern food is in my Texas-born grandfather’s recipes, and Latin food is a staple I’ve grown up with.

This recipe has been adapted for family life, like so many of mine. I desperately try to balance home-cooked goodness for my family and the desire to let someone else cook. As an essentially lazy cook, I’ve ditched the whole chicken version my family used in days gone by. I go for boneless, skinless breasts and thighs … let the butcher do it! I have made this with a whole chicken, when I was away from home and wanted it ‘just like mom’s’, but I spent so much time scooping out bones and yuck that I got a facial. Using the prepared meat allows you to walk away for ages and never steam your glasses.

You can easily and quickly make this recipe with just one breast (of chicken) if you’re only cooking for two, but I tend to go all out so I have plenty of leftovers. I use this in burritos, nachos, salads, sandwiches – it’s incredibly versatile. If you make a large batch, you can freeze a fair bit for an even easier midweek solution. For this recipe, I gave the kids burritos with a little cheese and soft flour tortillas, I had a taco salad with the meat, cheese and salsa as dressing, and my husband opted for corn tacos. Everyone is happy! Hope you enjoy this as much as we do!

You’ll need:

  • 2 boneless, skinless chicken breasts
  • 2-4 boneless, skinless chicken thighs
  • 1 tsp vegetable oil
  • 1 cup chopped onion (I use frozen)
  • 1 cup chopped red/yellow peppers (I use frozen bell pepper mix with green if tight on time)
  • 1 medium carrot, shredded (about ½ cup if you’re using pre-shredded/julienne)
  • 1 large bunch/2 cups chopped fresh coriander/cilantro (4+ cubes if you’re using frozen)
  • 1 TB minced garlic
  • 1 tsp ground cumin
  • 1 tsp smoked paprika
  • 1 tsp dried oregano
  • ½ tsp chili powder for heat (optional)
  • 1 tsp salt
  • ½ tsp ground black pepper

For serving:

  • Tortillas, taco shells, salad, bread rolls or corn chips – your choice.
  • Shredded cheese to serve with the above as you see fit. I like Red Leicester or Double Gloucester for creaminess.

The method:

I despise chopping onions, so I’m a big fan of frozen chopped onion I can keep on hand. I’ve also found the onion and three pepper blend from the frozen section really useful for this recipe in particular, but if I can’t find it in the shop, I start with chopping the onion, a red pepper and a yellow pepper. The same goes for the carrot … I’m super lazy and buy pre-shredded, but if you’re cool doing it yourself, I recommend the cheese grater for one medium carrot.

Use a nice, big, deep pot for this one, and start with the oil, onion, peppers and garlic over a medium-high heat.

Toss in the dry spices and mix well. Add the chicken pieces and coat with the mixture before allowing it to sit for a minute and add colour.

You’ll only want to cook the chicken for a minute or two on each side, not nearly cooking through, for colour/flavour only. Once the chicken has a little golden brown on a couple of sides, add the shredded carrot and completely cover the chicken with water. The chicken will boil now until it shreds completely, as the water reduces.

While the water comes to a boil, rinse and roughly chop the cilantro/coriander, including the stalks. The more the better, in my opinion, so feel free to add up to 3 cups if you’ve used a lot of chicken. I prefer to take the time with fresh coriander here, because frozen just doesn’t have the same punch.

Add the chopped coriander to the boiling water and reduce the heat to maintain a simmer.Shredded coriander chicken for burritos & more - great Mexican cuising

This is where you can walk away for ages. Occasionally give the mixture a stir to check the chicken is still mostly covered with water. After 30-45 minutes, the chicken should break apart if pressed against the side of the pot with a wooden spoon. Every once in a while, over the course of the next 30 minutes, use your spoon to encourage the chicken into smaller pieces.

If you’re rushed for time, or just keen to help, keep the temperature a bit higher to keep a rolling boil and use two spoons to break up the chicken. If you’re happy to let the water do the work, you can keep a mild boil ‘stirring’ the meat for you for about an hour. Just be sure to check it’s not sticking on the bottom once in a while.

As the water reduces, step in and break up the meat to expose it all to the sauce before it’s gone completely. I usually find a fork isn’t necessary – just good stabbing, twisting and mashing with the wooden spoon (great for letting off a bit of aggression in a legitimate way).

Once the chicken is nicely broken up, allow the remaining water to boil away, stirring frequently at the end to avoid burring. 

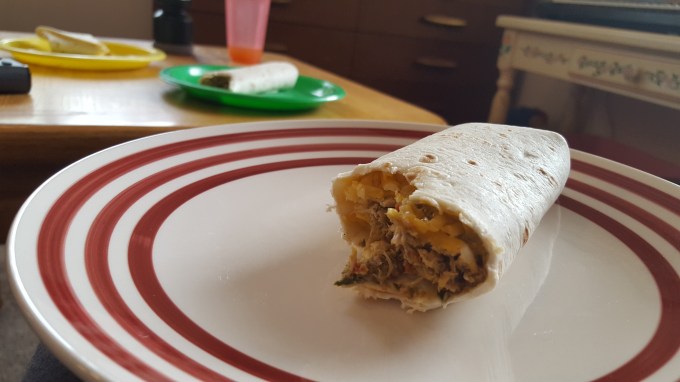
The result is an easy filler for lots of different dishes. Straight from the pot, I load up a flour tortilla with a bit of shredded cheese for my kids and roll it up. They’ve been smelling it and can’t wait!

bitten-burrito

Sparkly Mummy

Potatoes ‘Bravas’ with chicken recipe

My husband is Portuguese South-African, and I’ve grown to love paprika in an unusual way. Chorizo is something special; if you’ve never tried cooking with this sausage, I encourage you to try this recipe and discover the joy. I try to find a good quality, hard chorizo, simply because most ‘cooking’ chorizo is incredibly fatty. If you can’t find any, don’t worry, the recipe calls for it optionally for depth of flavour.

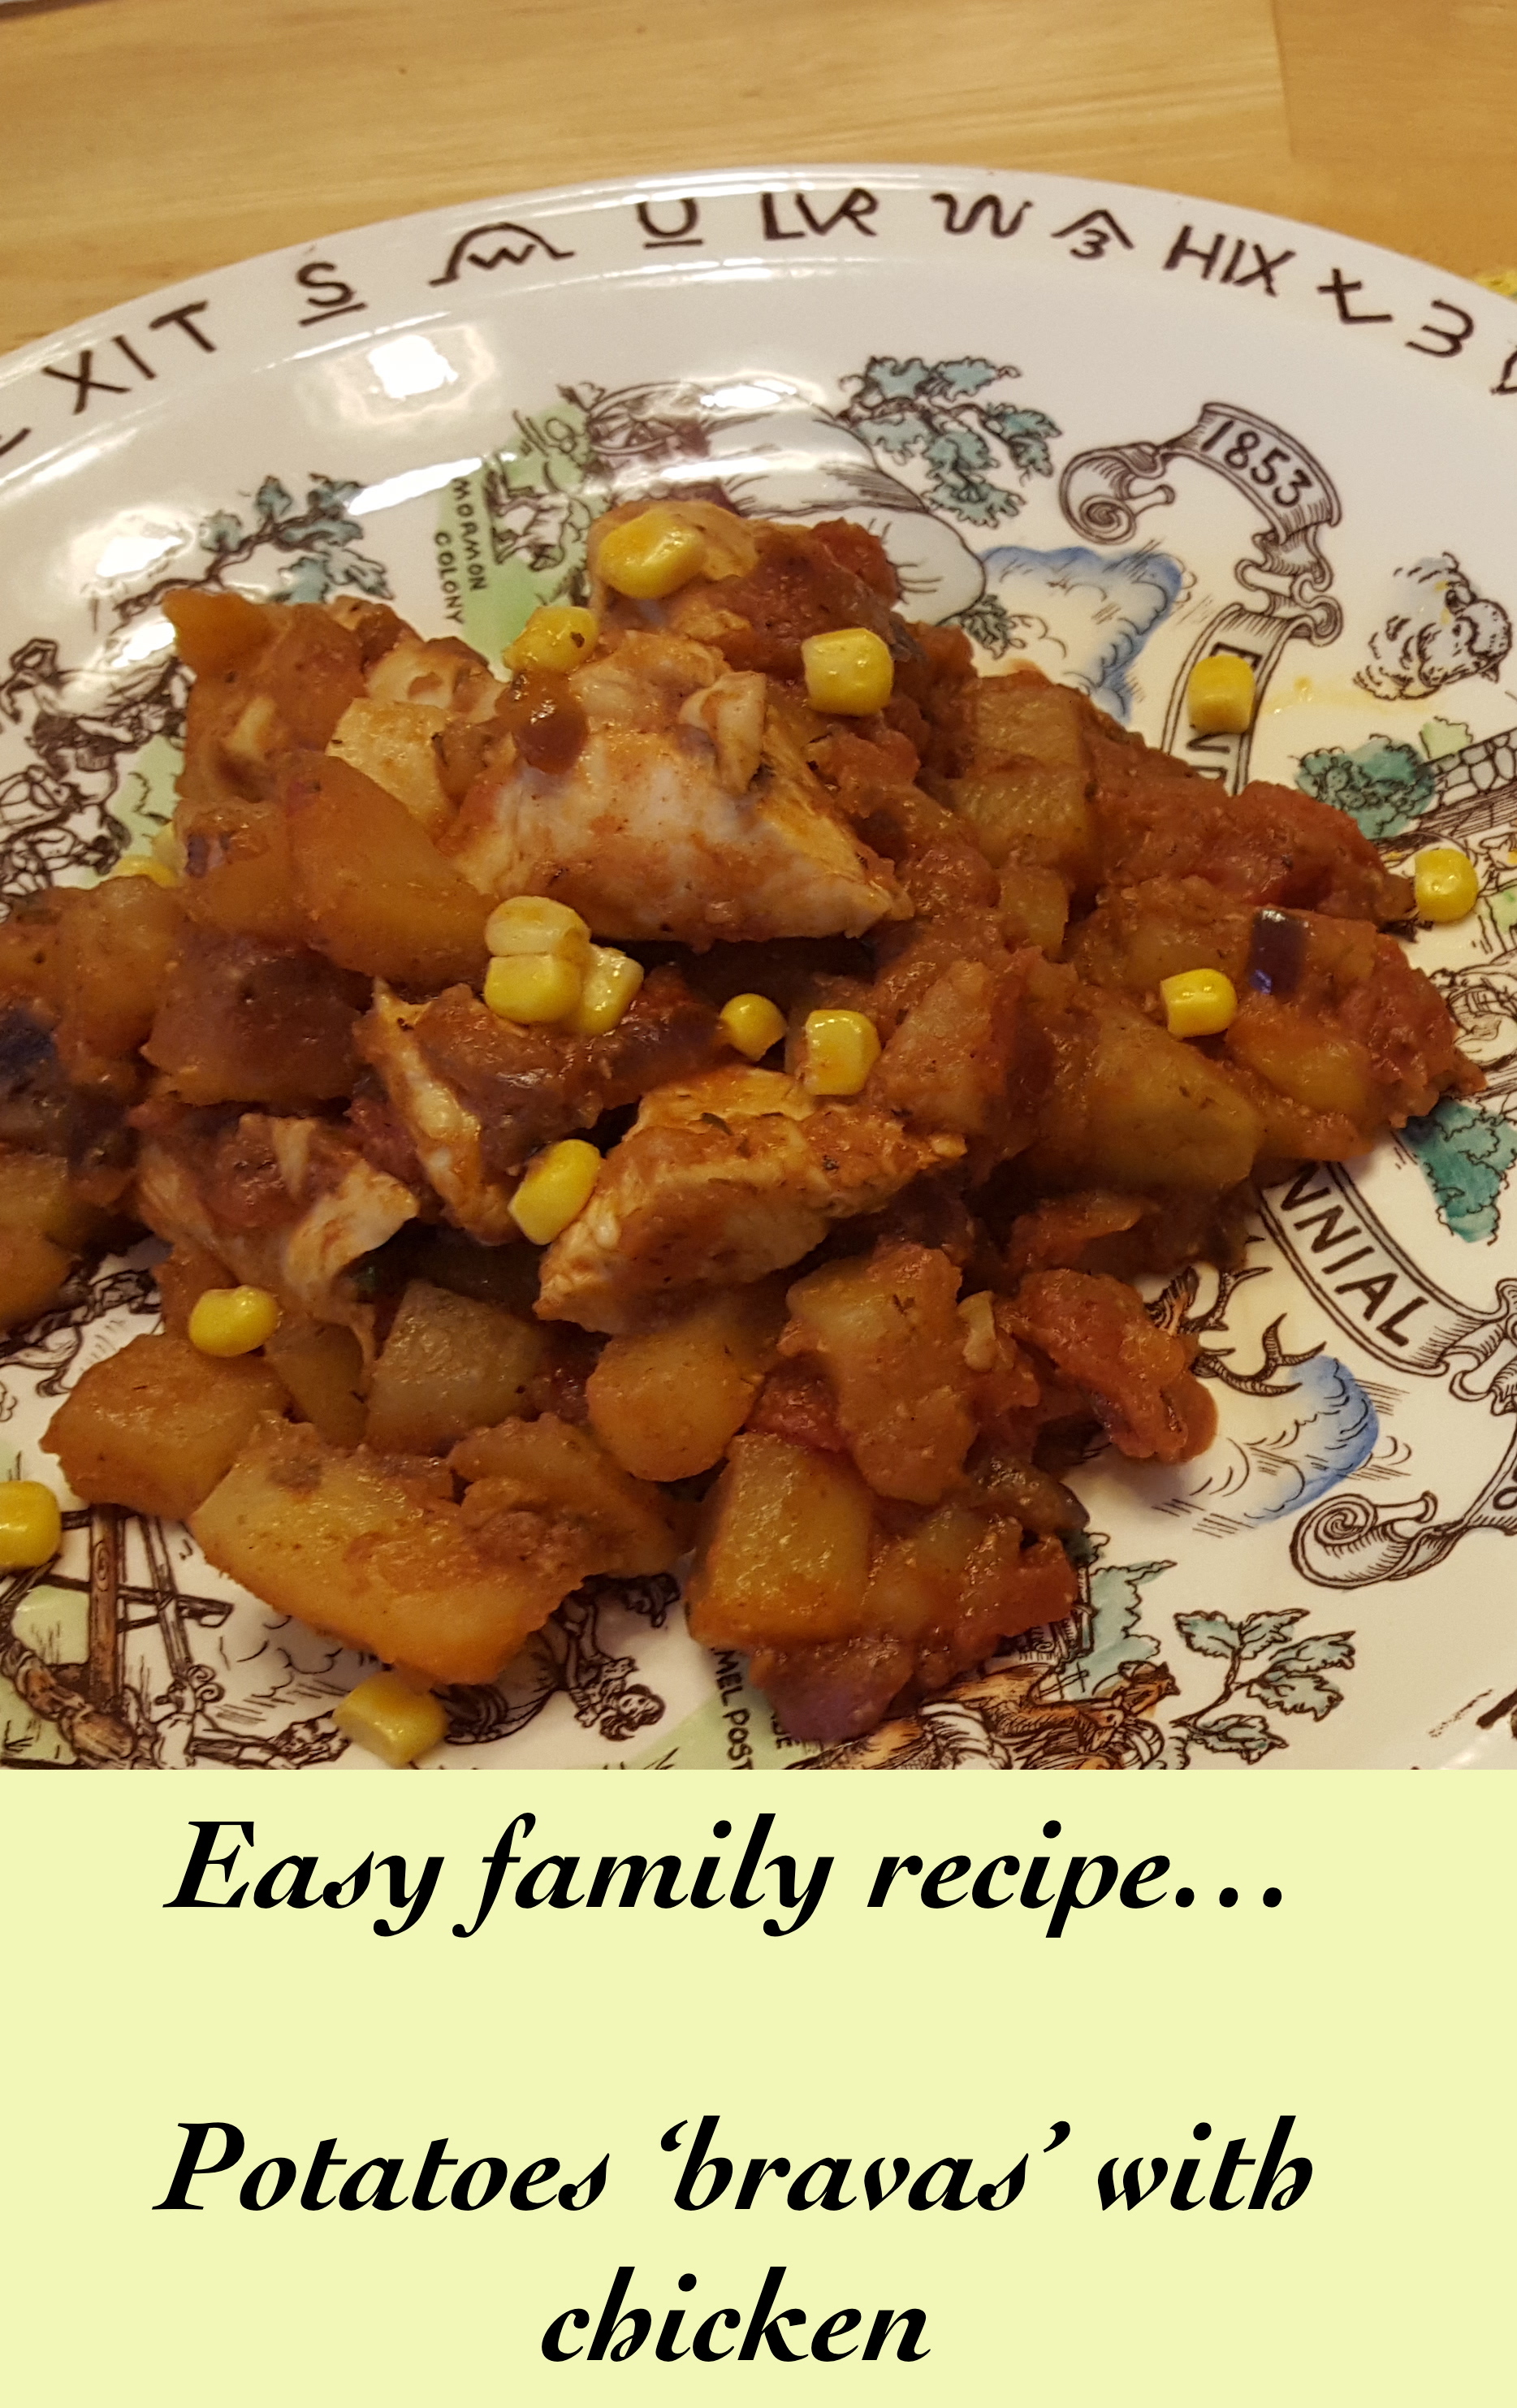
potatoes-bravas-pinterest

This is a take on the Spanish patatas bravas: crispy cubed potatoes heavily spiced and fried. I try to keep midweek meals to one pot, and this is a good one if you add chicken strips/chunks to the pan. My kids are big fans of sweetcorn, so I always keep a tin on hand. With this dish, it adds a crunchy sweet freshness that curbs some of the spice. I usually drain the corn, but keep it room temperature and sprinkle on like a sort of veggie crouton.

If I don’t have a lot of time to stand at the stove, this is also a fabulous tray bake for about 40 minutes in a 180C/375F oven. I try not to use too much oil and salt, but you can use your judgement and taste buds for this quick, flavourful meal. It usually only takes twenty minutes to cook, if the potatoes are in small cubes, and it’s something I fall back on if I’m short on ingredients. Most are staples I have on hand, and it takes very little prep.

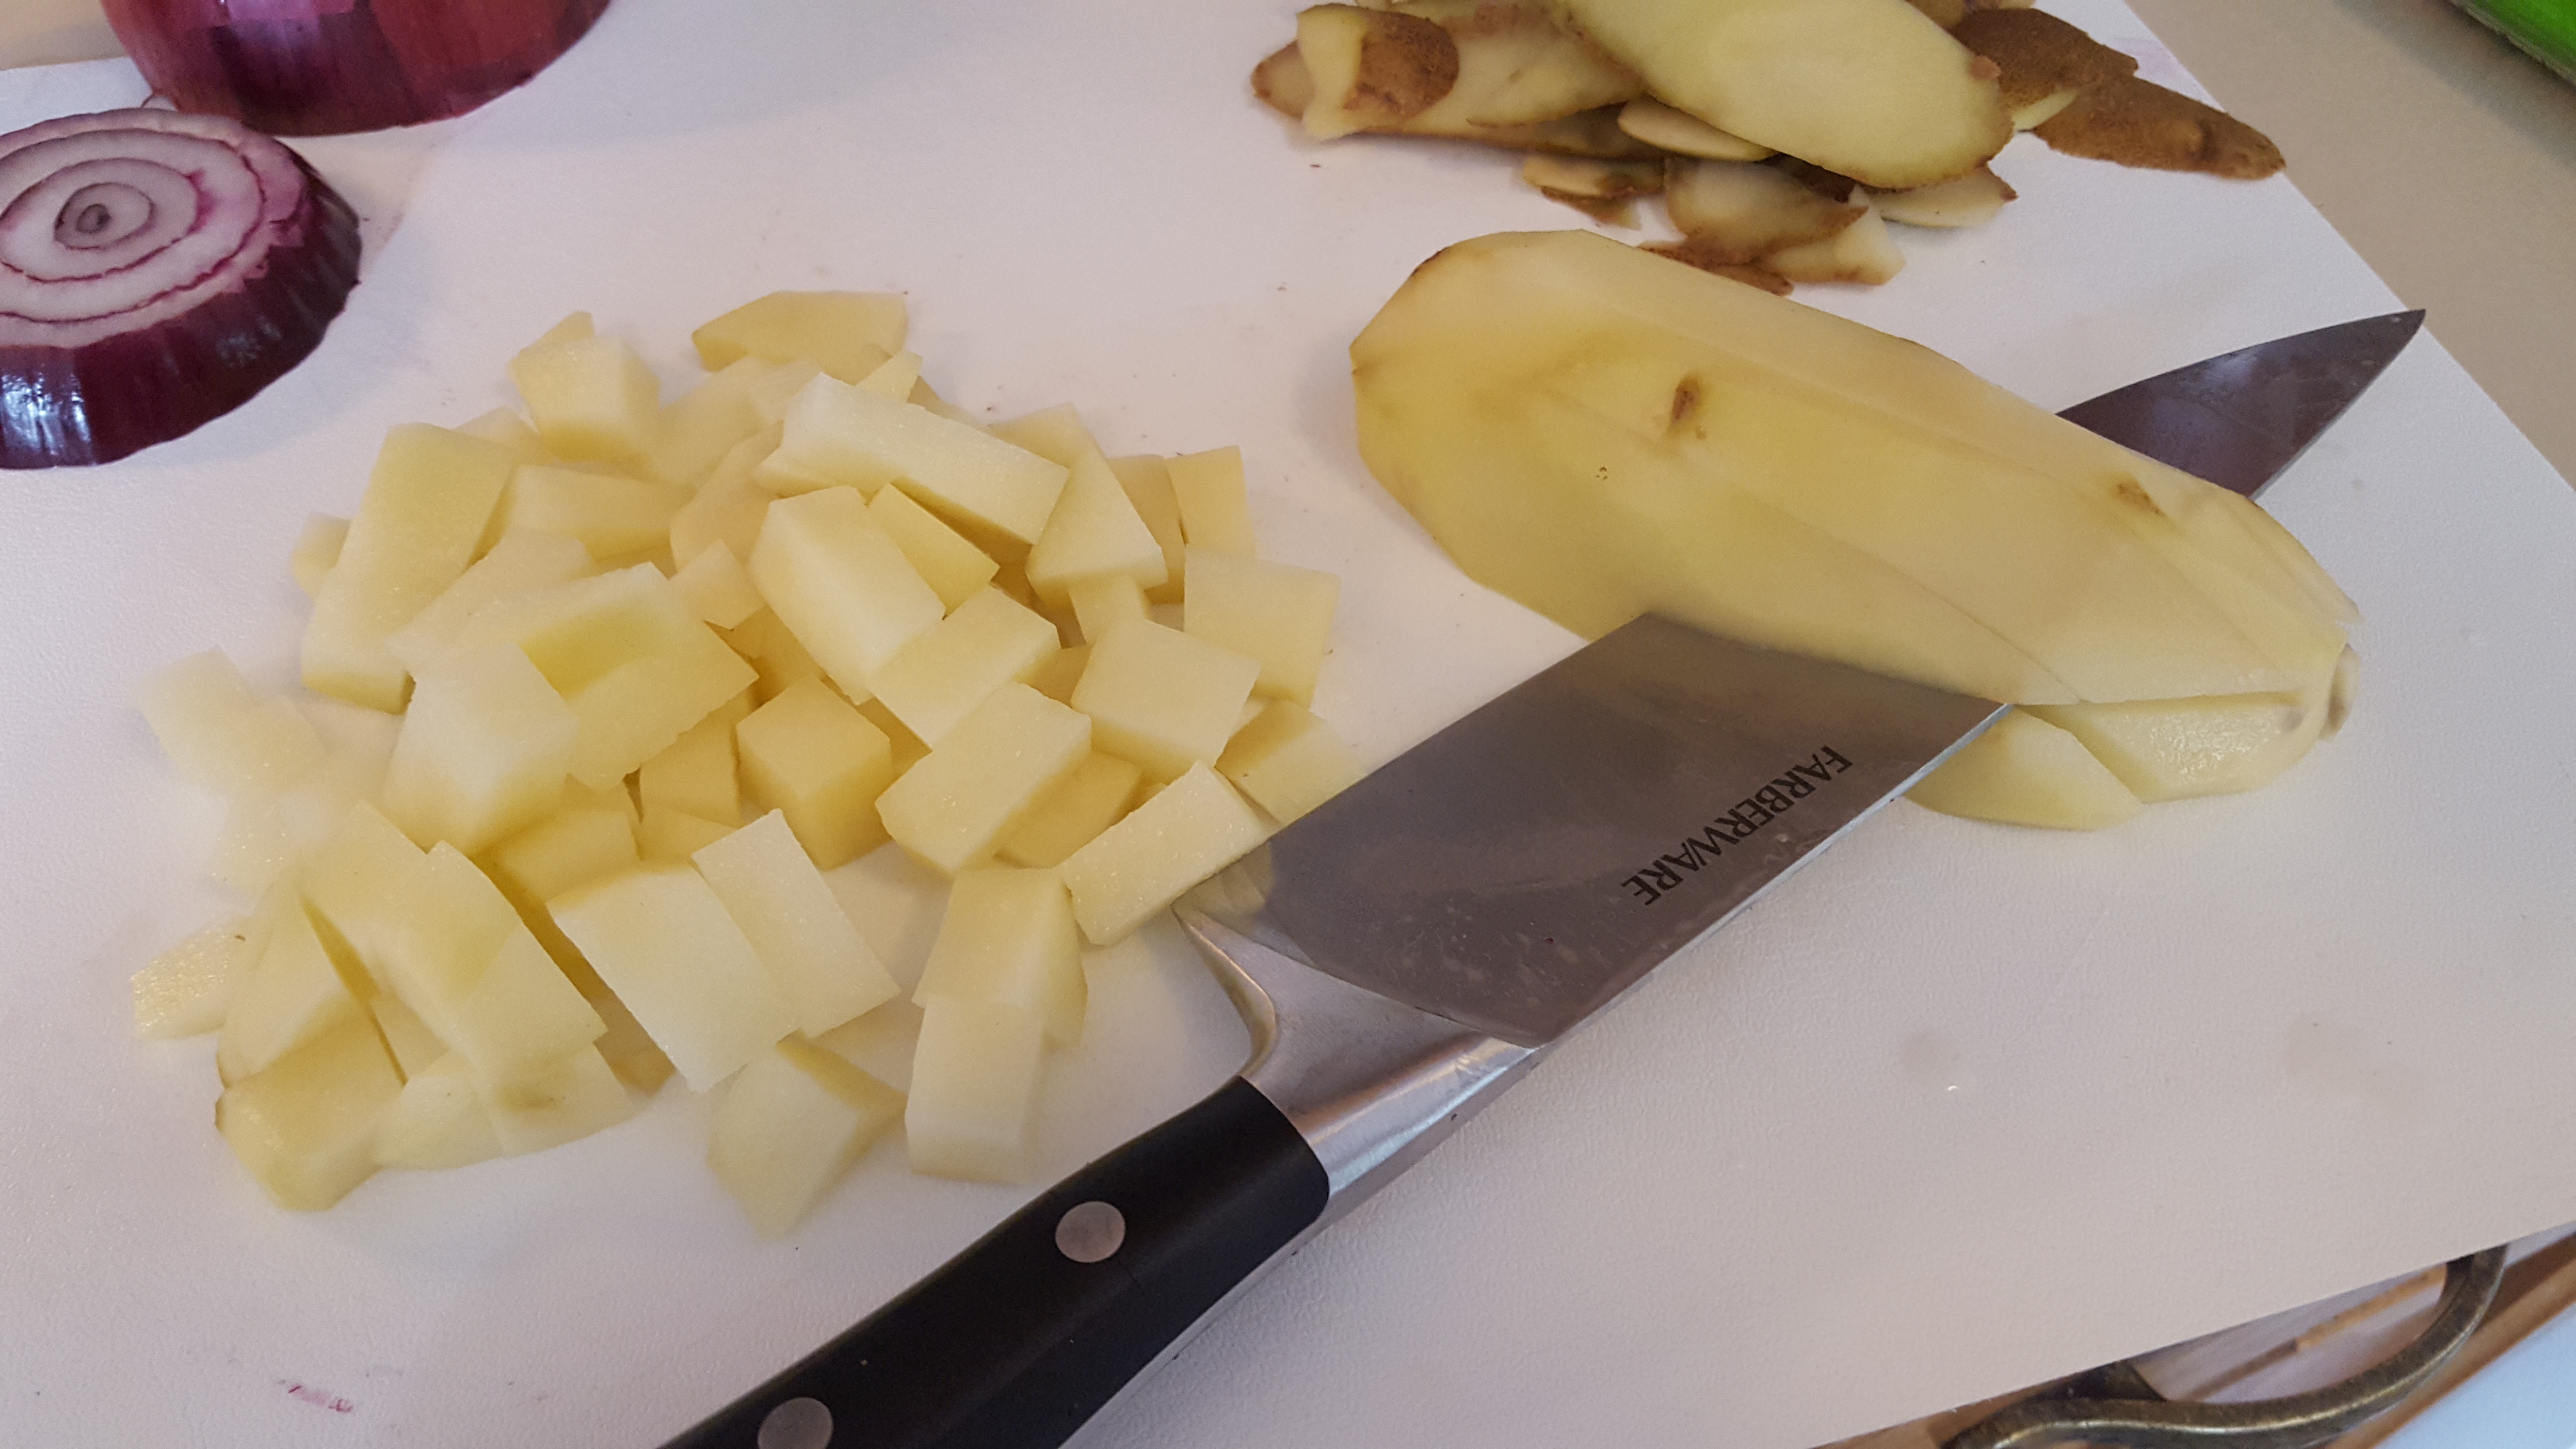
chopping potatoesYou’ll need:

  • 1 or 2 white potatoes, peeled and cubed
  • 1/3 cup chopped red or white onion
  • 1/3 cup roughly cubed chorizo sausage (optional)
  • 2 tsp veg oil of choice
  • 1 or 2 chicken breasts sliced into strips
  • 1 tsp garlic granules
  • ½ tsp paprika
  • ½ tsp cumin
  • ½ tsp oregano
  • 1 tsp salt (to taste)
  • 2 TB chopped tomato
  • Approximately 1 cup sweet corn

The method:

If you’re lucky enough to have found a lovely chorizo, start with slicing and quartering about a 1/3 of a cup and add it to the warming pan. I use a cast iron pan, but you can also use a wide-based pan that’s good for browning.  I keep the temperature around a medium-high while the chorizo warms and begins to run paprika juices – it smells amazing!

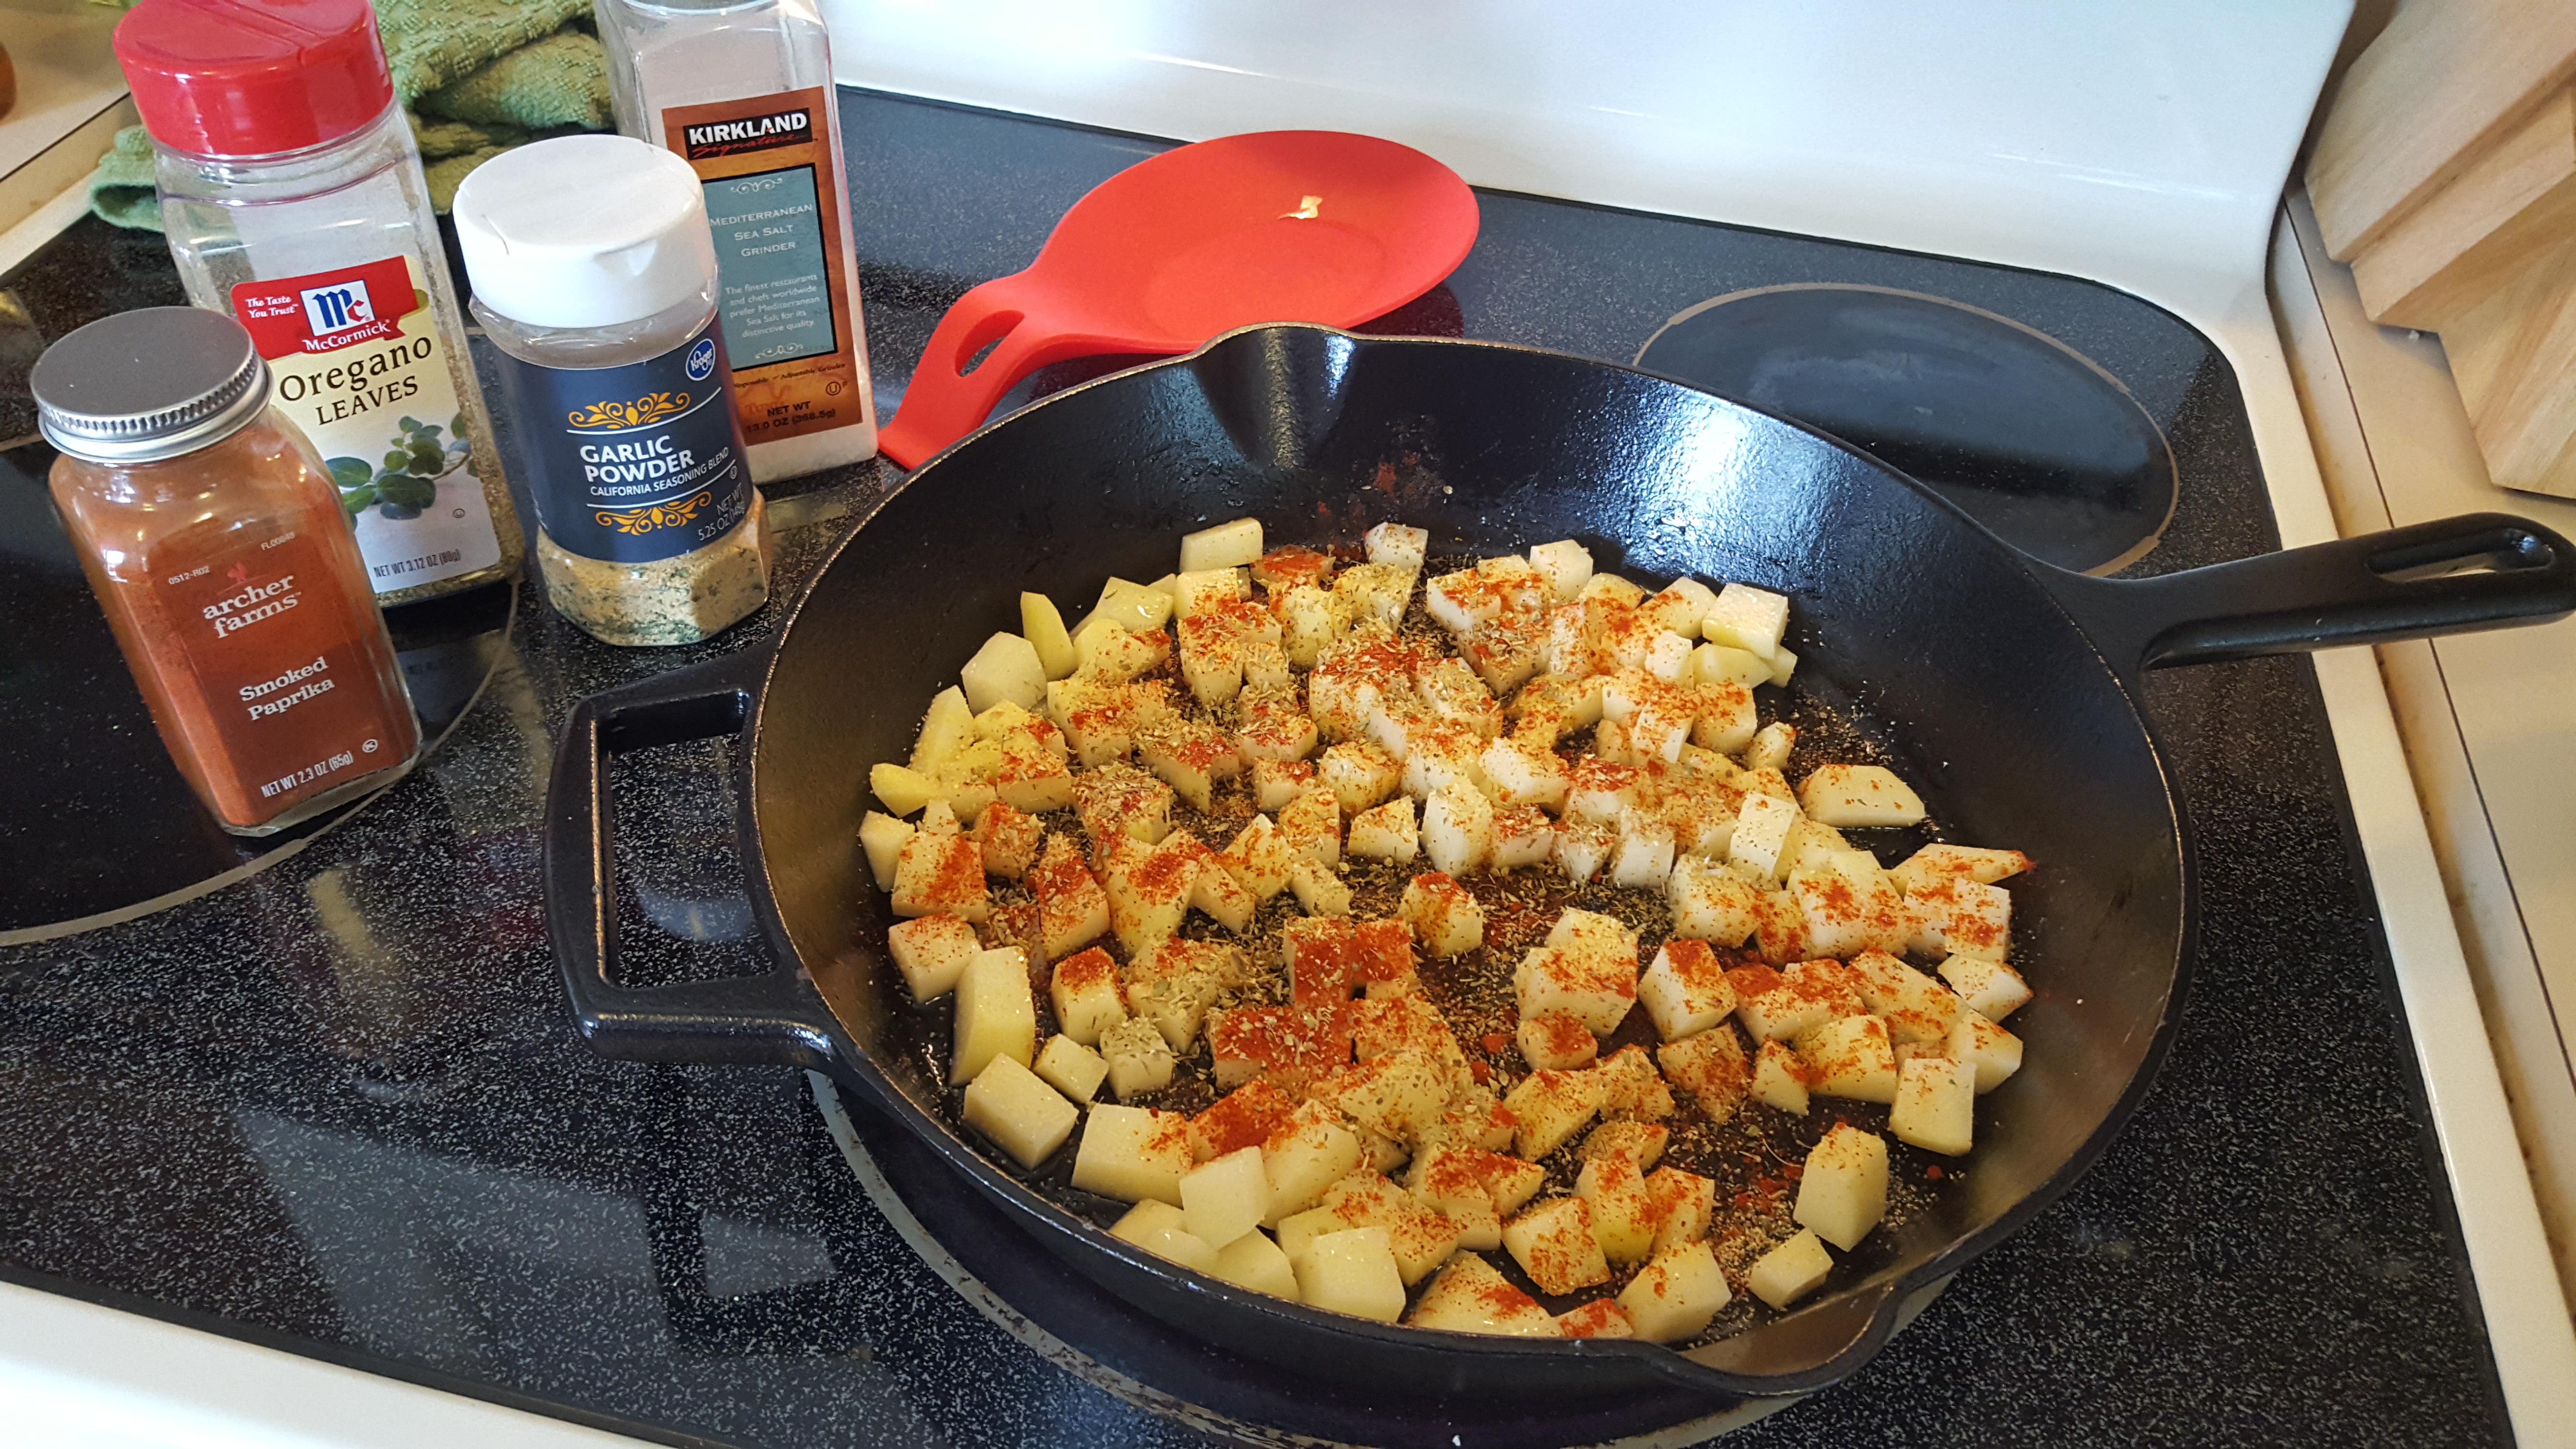
Add the onion and potato to the oil produced and stir until they are coated with the colourful paprika oil from the chorizo. Then add the veg oil and dry spices, coating the potatoes evenly before leaving them to brown.

spices and potatoes in the frying pan

If you aren’t using chorizo, add the oil, potatoes and onions all together with the dry spices and give it a good mix before leaving to fry over a medium high heat.

Stir infrequently to allow colour to form on all sides of the potatoes. If the spices begin to stick to the bottom, rather than adding more oil, try adding a splash of water from the kettle and gently scraping the bottom of the pan with a spatula. This will also help soften the potatoes in the steam produced.

While the potatoes are softening, I slice up the chicken into small, even strips that will cook quickly. If you’re going for the tray bake, try to keep the chicken pieces a little larger so you can put everything in at the same time and they won’t be overdone.

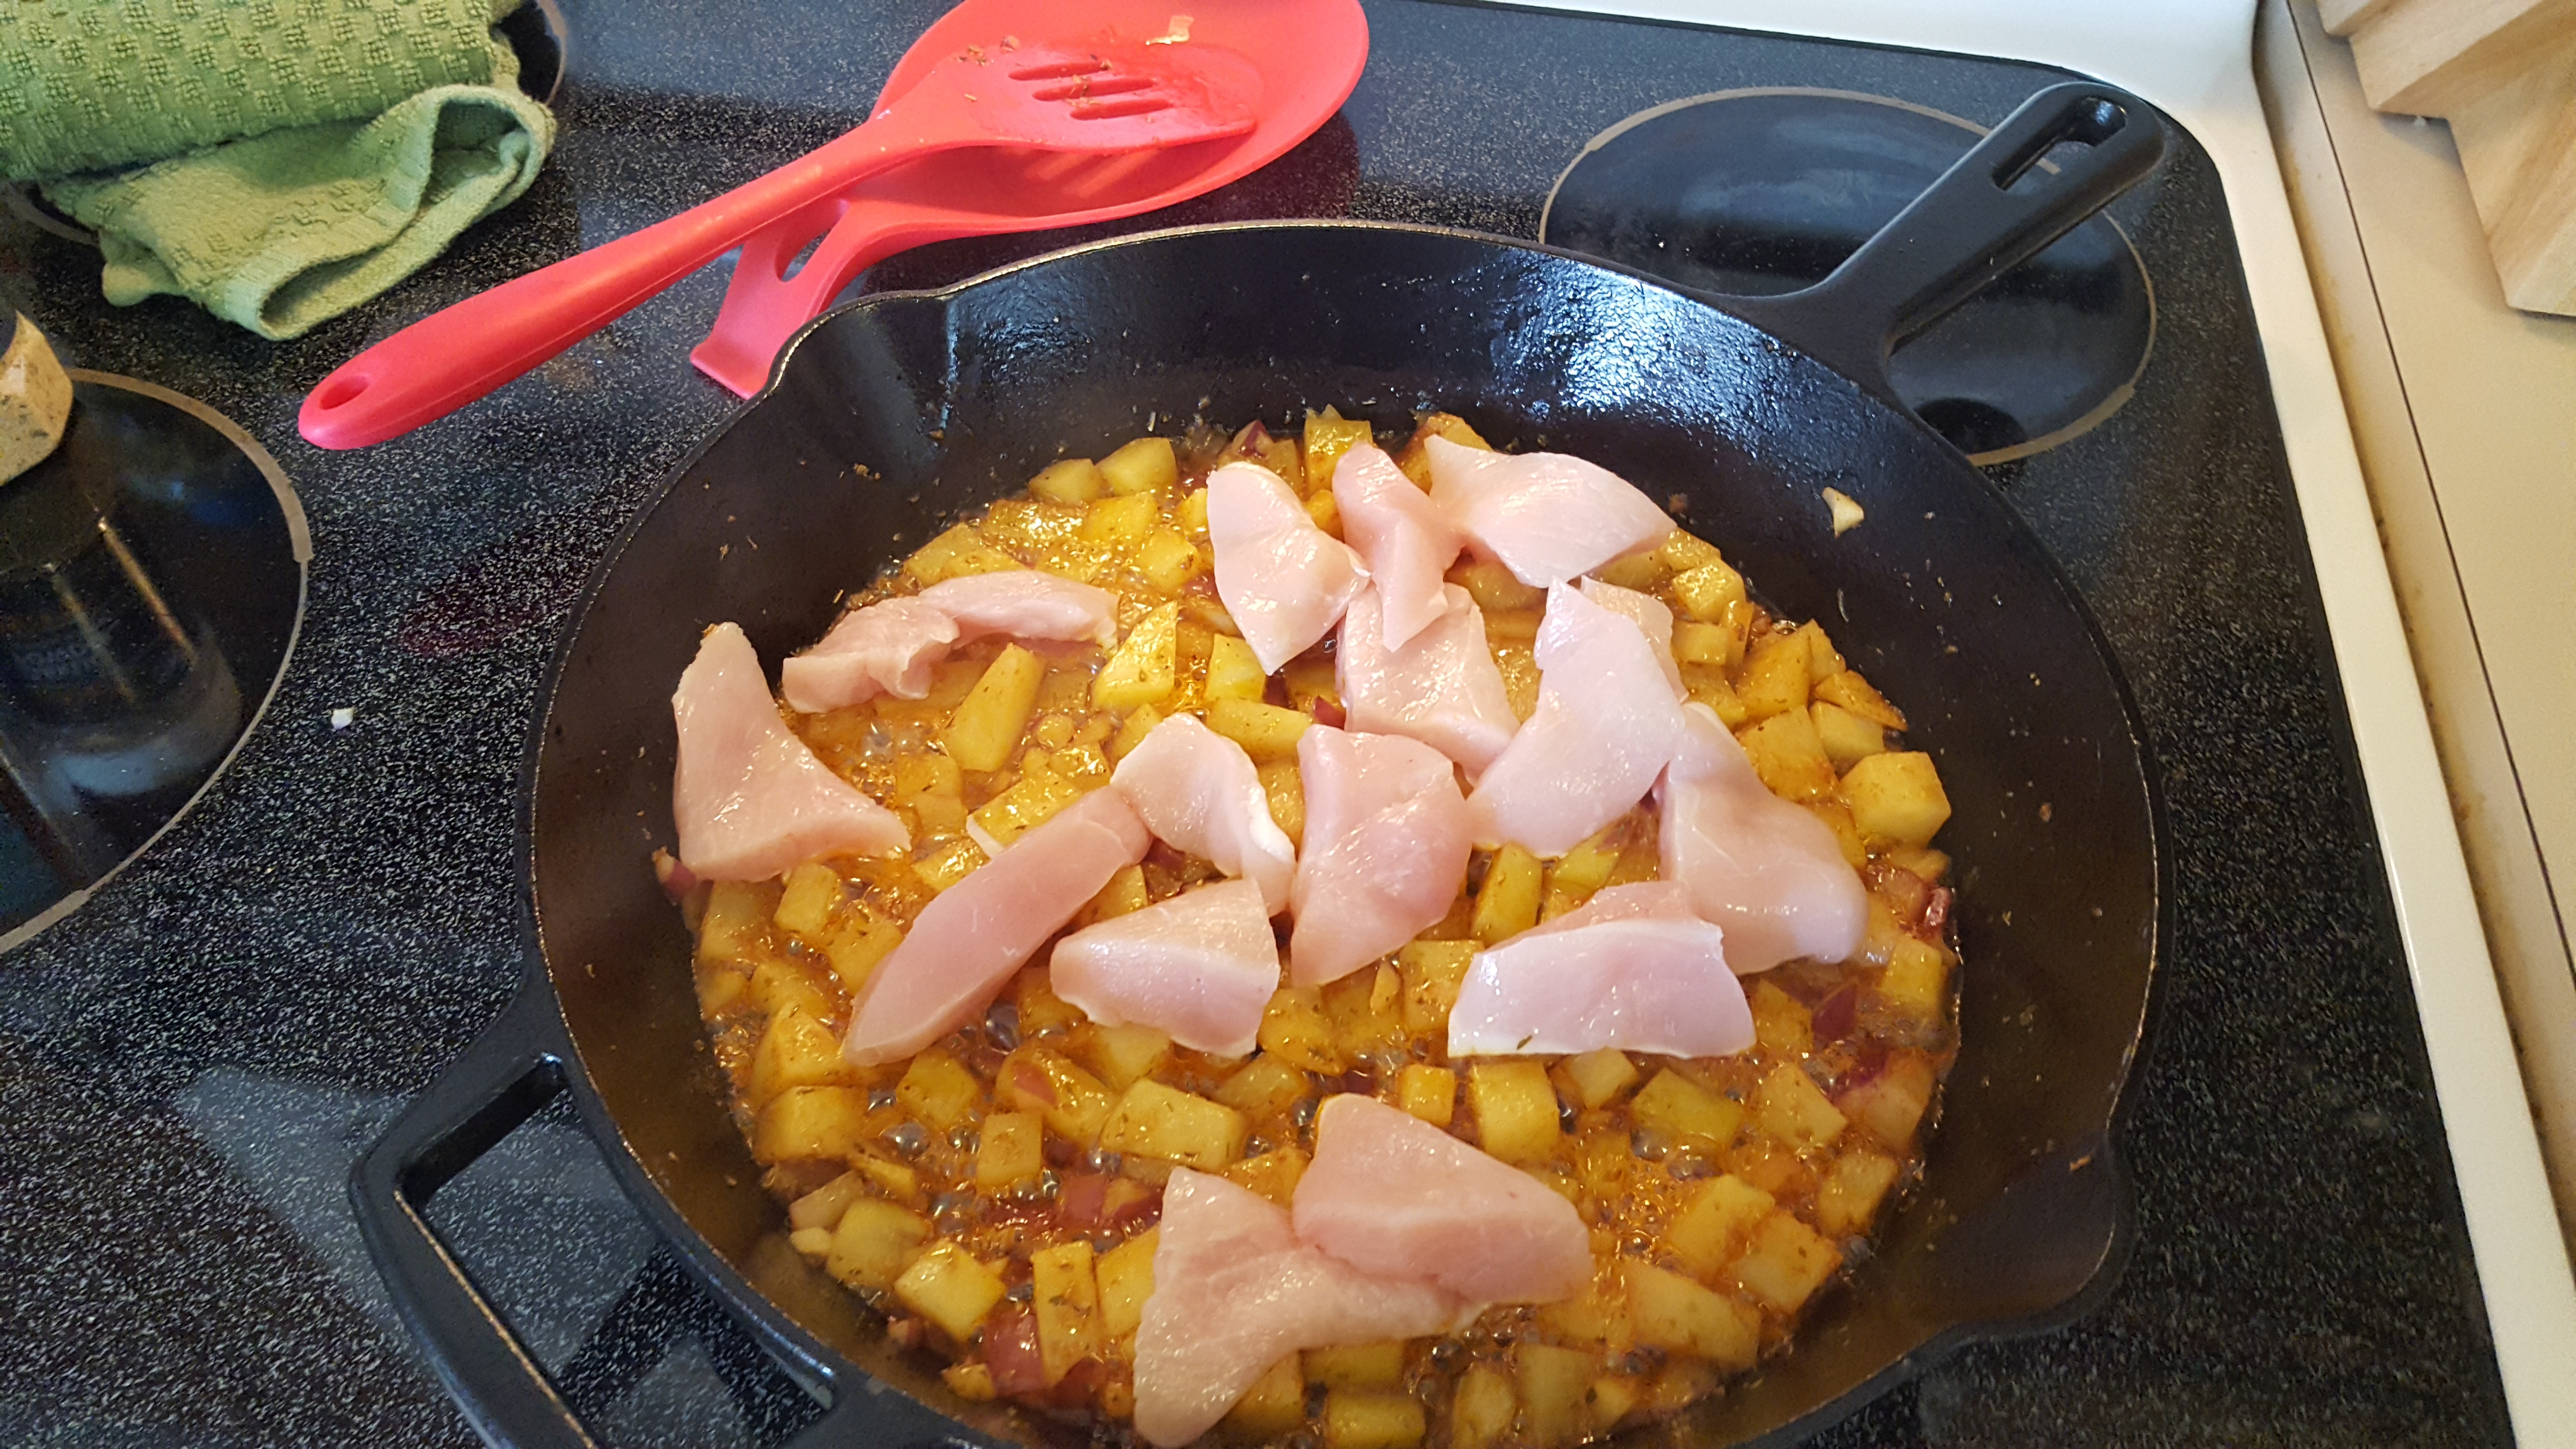
Add the chicken to the potatoes before your next scheduled stir, and toss everything together to coat the chicken with the contents of the pot. Again, refrain from too much stirring so you’re sure to get good colour on most sides of the potato cubes and chicken.

raw chicken added to potatoesAdd the chopped tomato and give it another good mix-in. The chicken should be cooked after 10-15 minutes, and the tomato adds a bit of tenderising acidity.
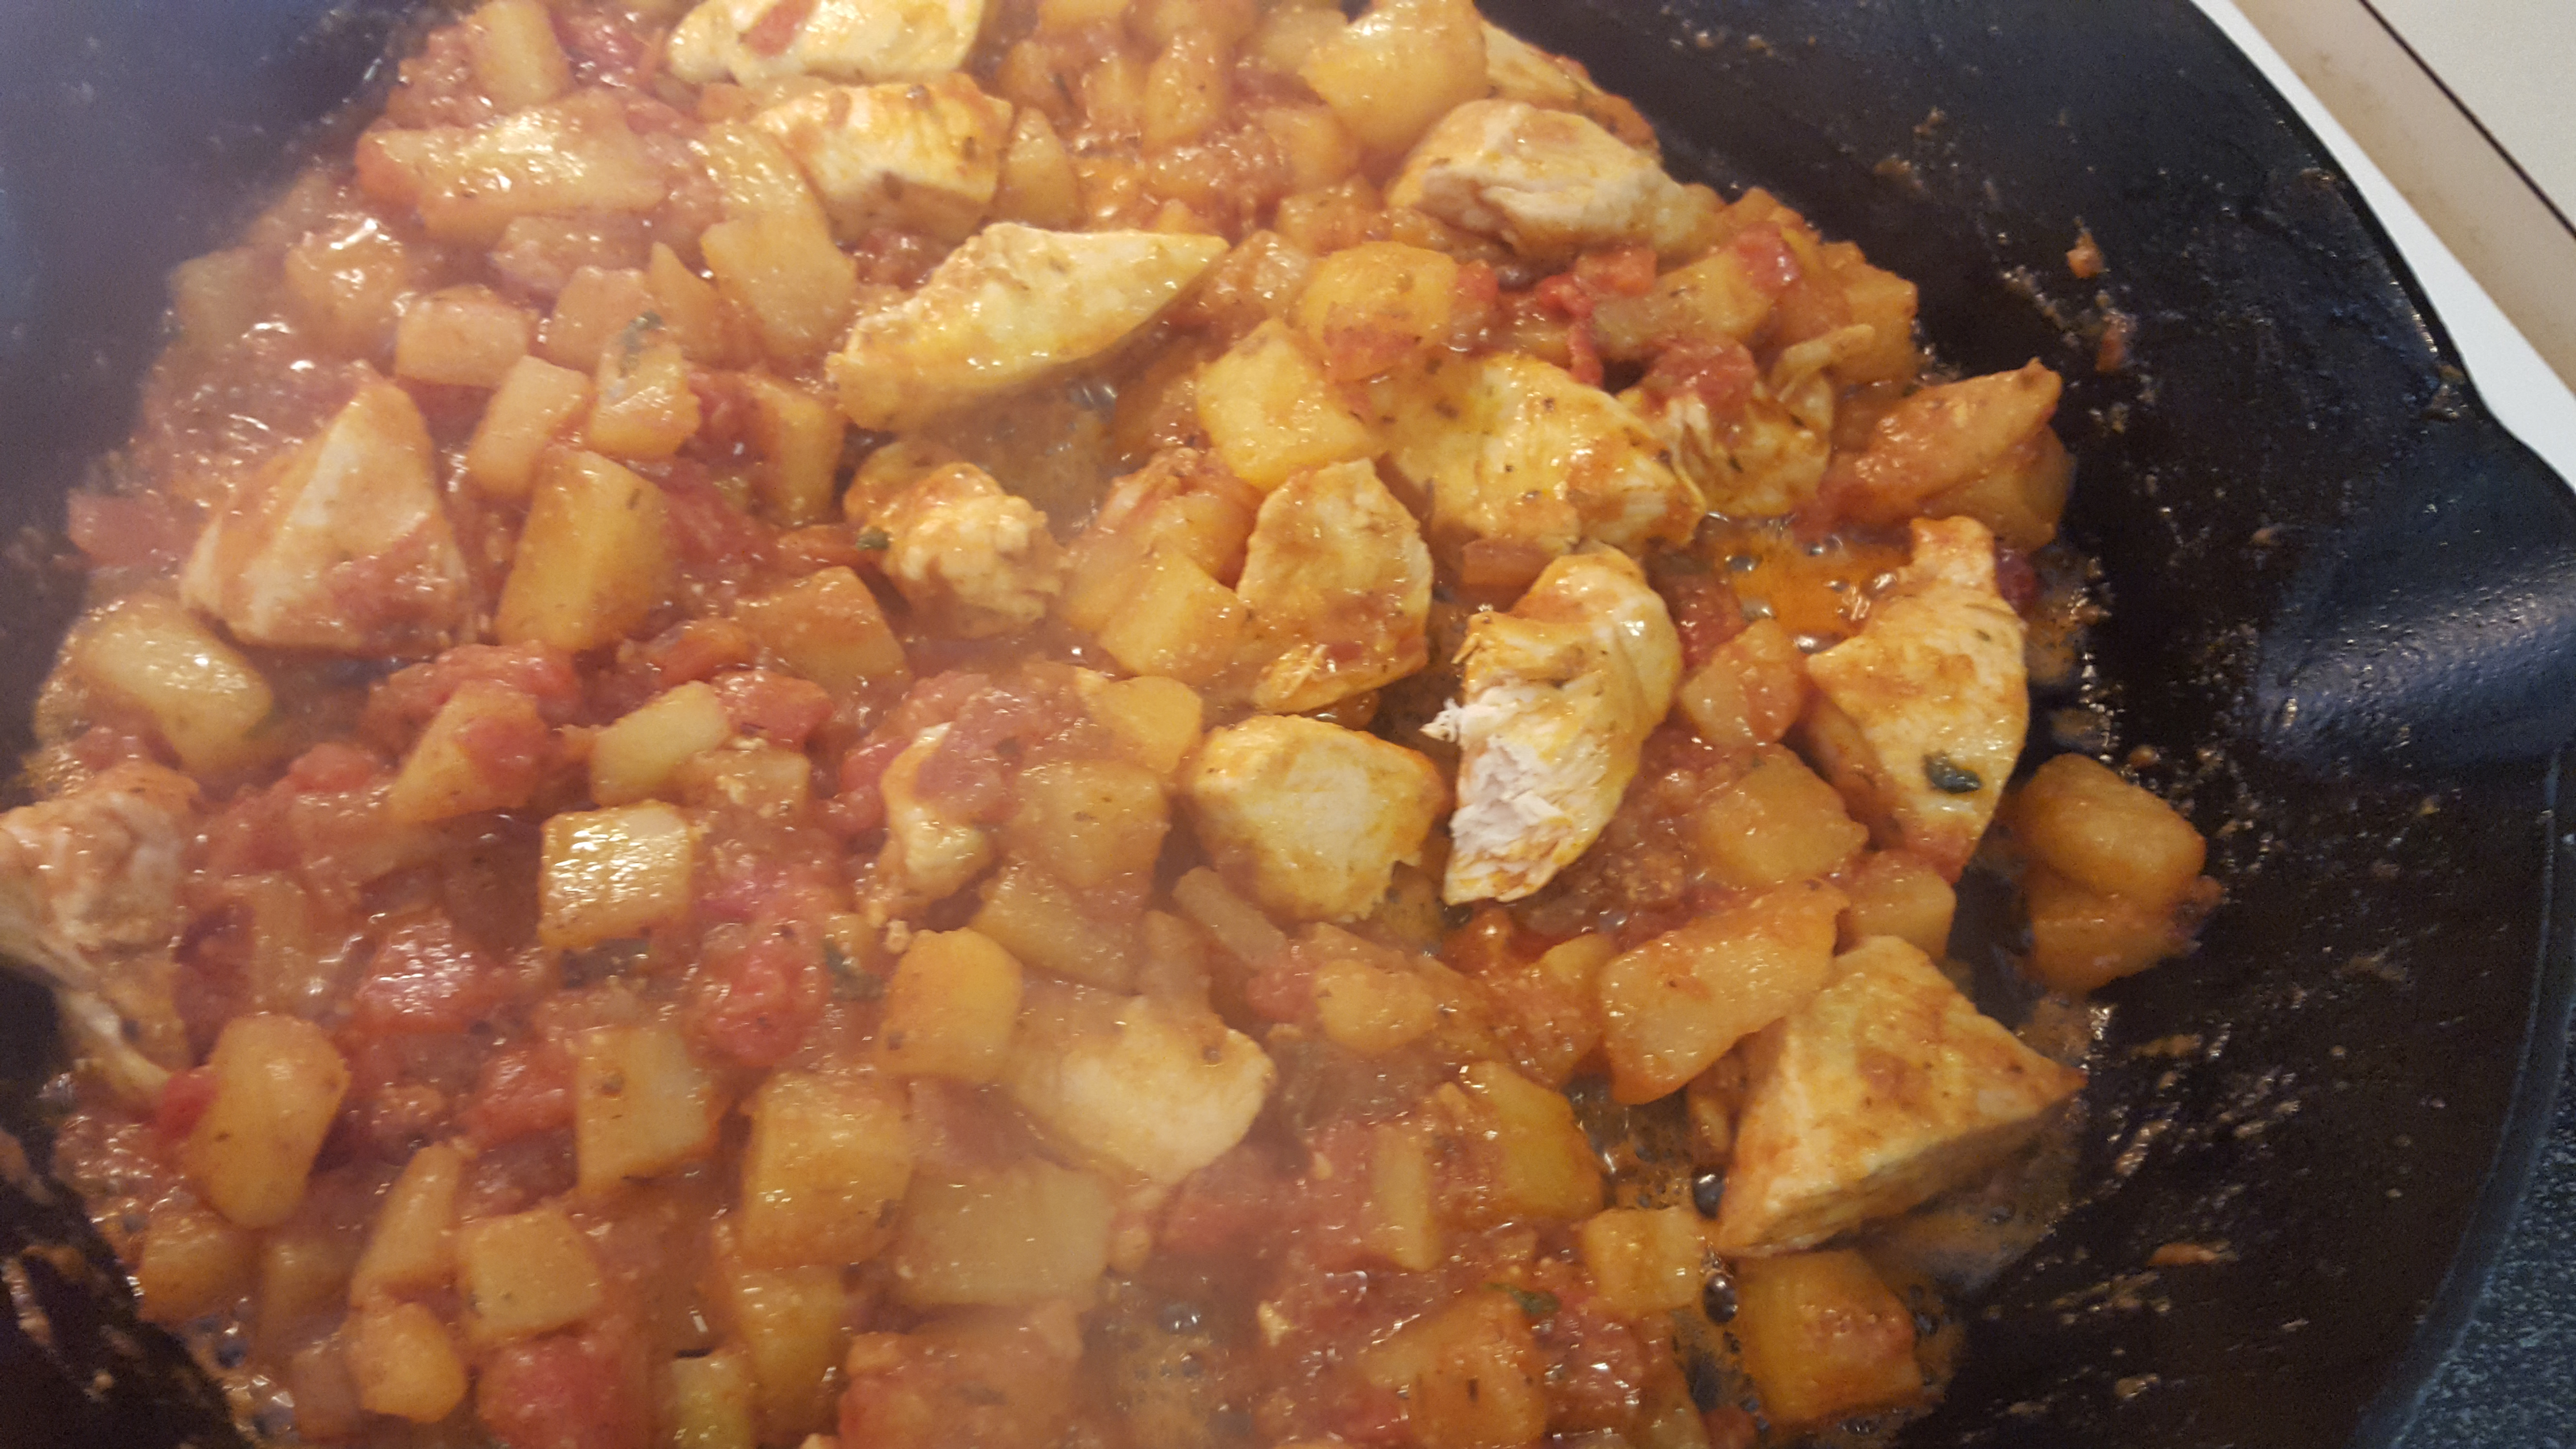
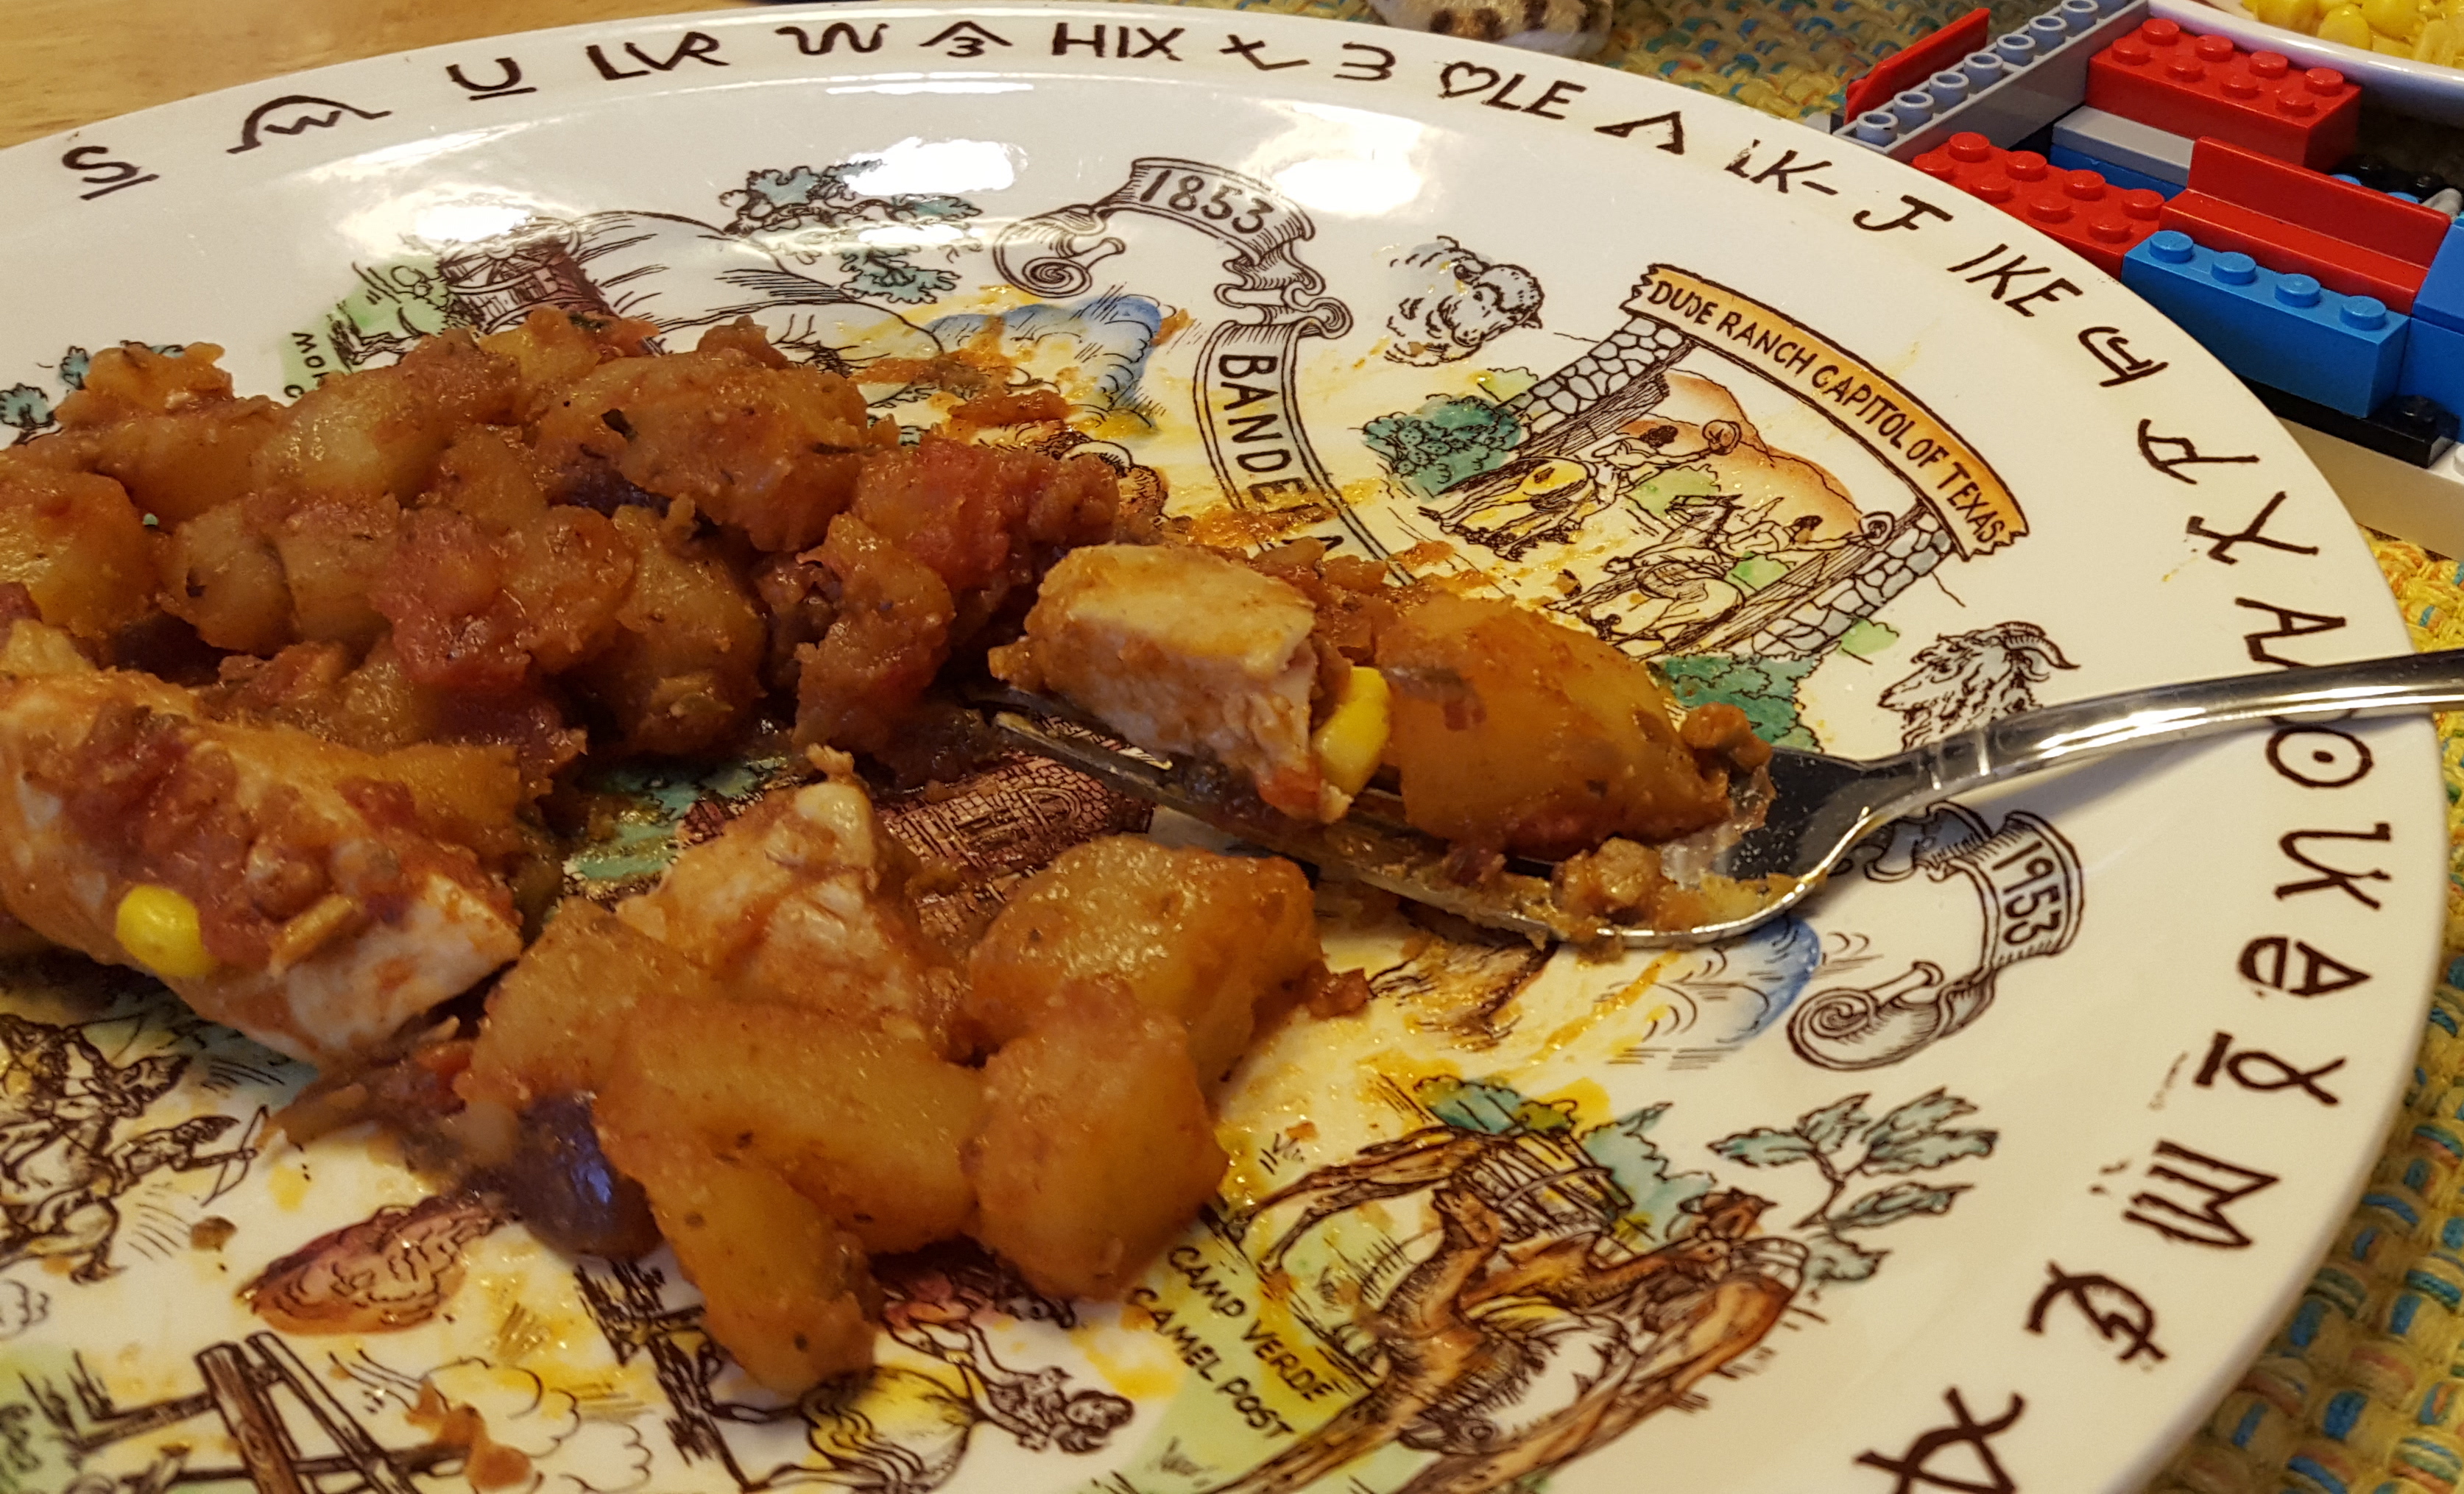
You should be able to break a piece of chicken apart easily with your spoon, and the same again with a potato cube, after 20-25 minutes.  Drain your sweet corn, or slice from a fresh cob if it’s the right season.

Potatoes bravas in the pan

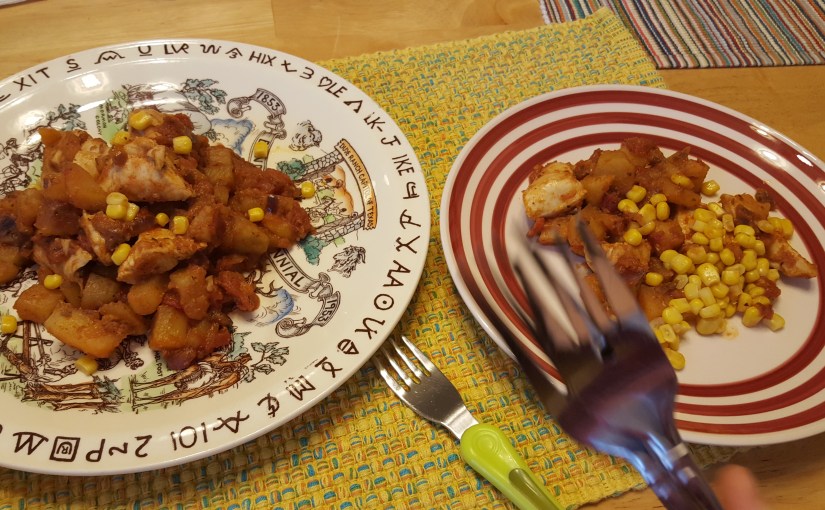
Plate up with a sprinkle of corn over the bravas, and enjoy! My kids don’t even ask for ketchup with this, because the tomato and spices in the dish keep it moist. The chicken stays tender and flavourful for the quick cooking, and I’m in and out of the kitchen in no time.  If I’m really pressed for time, I toss everything together into an oven tray and check on it for a stir every 15 minutes until it’s done. Either way, it’s a winner, winner chicken dinner in my house!

dinner-plates-with-food

Sparkly Mummy

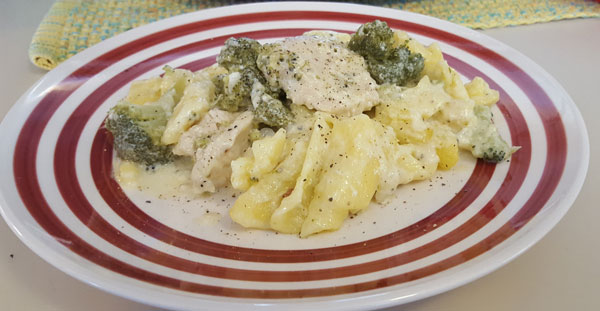
Walk-away Alfredo Chicken and Broccoli recipe

Slow cookers are a fabulous timesaver, and one I use more and more as school runs and schedules get into full swing. This is a great back-to-school recipe that can be modified to suit your needs.

We’re a gluten-free household (when my husband’s home), so this recipe features an easy, homemade alfredo sauce that’s gluten free, and gluten-free pasta. You’re more than welcome to use your favourite pasta, and a jar of alfredo sauce, but this easy white sauce may make you think twice about all the other ingredients thrown in with jar sauces.

My kids are both in morning classes, so I use this recipe to start just after lunch time for dinner later (2.5 hours). If your schedule means you need to start it in the morning, go for LOW to allow 5 hours. If you find the pasta gets too mushy (GF pasta can usually handle it), cook the pasta separately 20 minutes before serving, and skip the chicken stock at the end.

You’ll need:

  • 3 boneless chicken breasts
  • ¼ cup chopped white onion (frozen is fine)
  • 1.5 cup frozen broccoli florets (about 6-8 big pieces, hard to measure)
  • ½ tsp garlic powder
  • ½ tsp black pepper
  • 1 tsp oregano
  • 2 cups double cream
  • ½ cup butter
  • 2 TB cream cheese
  • 1 cup grated parmesan
  • 1 tsp black pepper
  • 1 tsp basil pesto
  • 1 cube or 1 tsp concentrated chicken stock (GF)
  • 1.5-2 cups water
  • 340g/12oz penne pasta (GF)
  • salt and pepper to taste

The method:

First things first, give the slow cooker a bit of cooking spray, if you like, and spread the onions across the bottom of the pot.

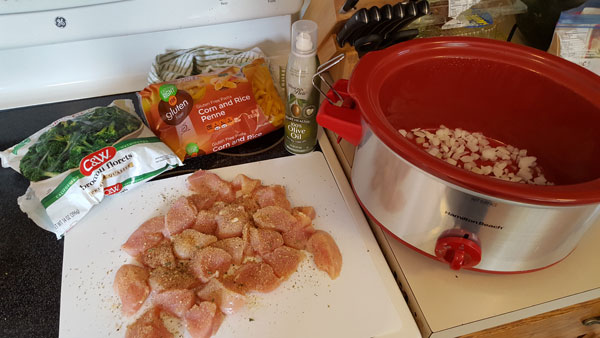
Dice the chicken breasts into large cubes, trying to keep a similar size for uniform cooking. Spread the chicken cubes on the chopping board and shake on the oregano, black pepper and garlic powder before adding the spiced chicken to the pot.

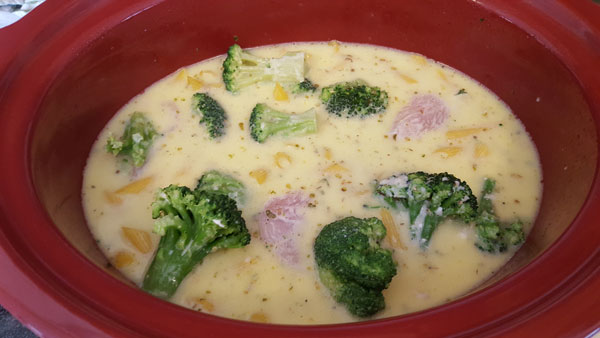
Slow cooker alfredo prep
Layer in your broccoli, turn the cooker onto HIGH and cover
.

Next, I make the alfredo sauce, it takes about ten minutes total. You can opt for a jar, but this is really very simple.

Using a saucepan on a medium heat, I add the butter, cream cheese and cream.

Stir the butter and a cream cheese until smooth within the cream using a rubber spatula to clean the edges and bottom of the pan.

Add the pesto and mix into the cream before adding the grated cheese.

If you wanted to stop now, you could use this sauce over pasta any time, but for this recipe, we’re going to add the chicken stock for cooking the pasta.

Add the chicken stock with water to the alfredo sauce (I know – what? But trust me). You can mix the stock in a mug first, but I just mix in the concentrate and then top it off with the kettle, right there in the pan.

Turn off the heat once the mixture is smooth (a little oil displacement is fine).

Layer the uncooked pasta onto the broccoli, pour your sauce with stock into the cooker, covering the contents. If the pasta isn’t covered, stir the layers to bring the broccoli to the top, as it doesn’t need to be submerged. Add a little more water if you need to cover the pasta, but tread lightly.

If you prefer the jar option, I suggest mixing the alfredo with the chicken stock before adding it to the slow cooker.

Slow cooker alfredo just before turning it on

Top tip: For added flavour, add bacon bits to the recipe. I keep leftover bacon  (if there ever is any) after I’ve oven baked a tray full at 180C/375F for cooked breakfast.

Cover the cooker, and walk away. This will slowly grow over the next hour. If you happen to be home and walk by, feel free to push any stray noodles down, but by and large, this dish is happy to tick along in the background. It’ll be ready to serve after two hours if the chicken is smaller, 2.5 if larger chunks. Please be sure to check the chicken is cooked through; pressing it against the side of the pot with a spoon should break the chicken easily.

Turn off or onto warm after 2 hours (5 hours if LOW temperature setting) and enjoy! It’s an all in one, so scoop onto a plate or bowl whenever your family are ready to eat.

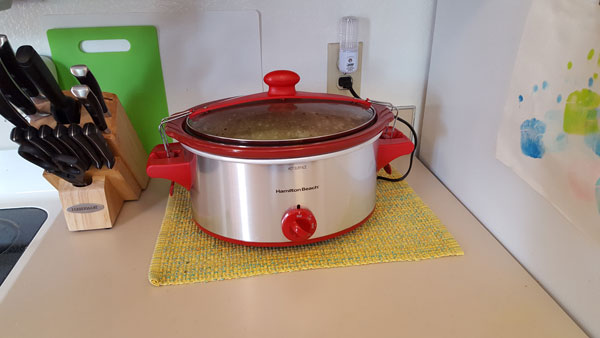
Slow cooker doing some slow cooking

This dish can be done in the oven as well, at 180C/375F in a deep dish with a cover, or tightly wrapped with foil. You’ll want to spray a non-stick or grease the pan, and may need to check and stir it after half an hour. Cut the chicken a bit smaller and it should be done in 45 min to an hour.
Sparkly Mummy

Tandoori Chicken and Coconut Lentils

After a decade in England, I feel like Indian cuisine is a staple in my home. Since we don’t have our local delivery any more, I’ve taken to making my own favourite dishes, getting closer and closer to a curry house flavour. Luckily, my kids were very young when they were first introduced to tandoori and dahl (lentils), one of my preferred mild dishes too, so making it at home is very familiar and comforting to us all.

I usually make this when it’s a good day to grill. The chicken can be done in the oven (200C/450F for 20 minutes), but it tastes amazing if it’s been fired up. If you’re super organised, you can put together the chicken and yogurt to marinate all day or overnight, but giving it a good thirty minutes is still fine. I let the chicken tenderise in the yogurt for at least as long as it takes to finish the lentils and rice, so it’s nice and hot of the grill for serving. The lentils will just get better the longer they simmer, and you can top it up with a bit of water all day long.

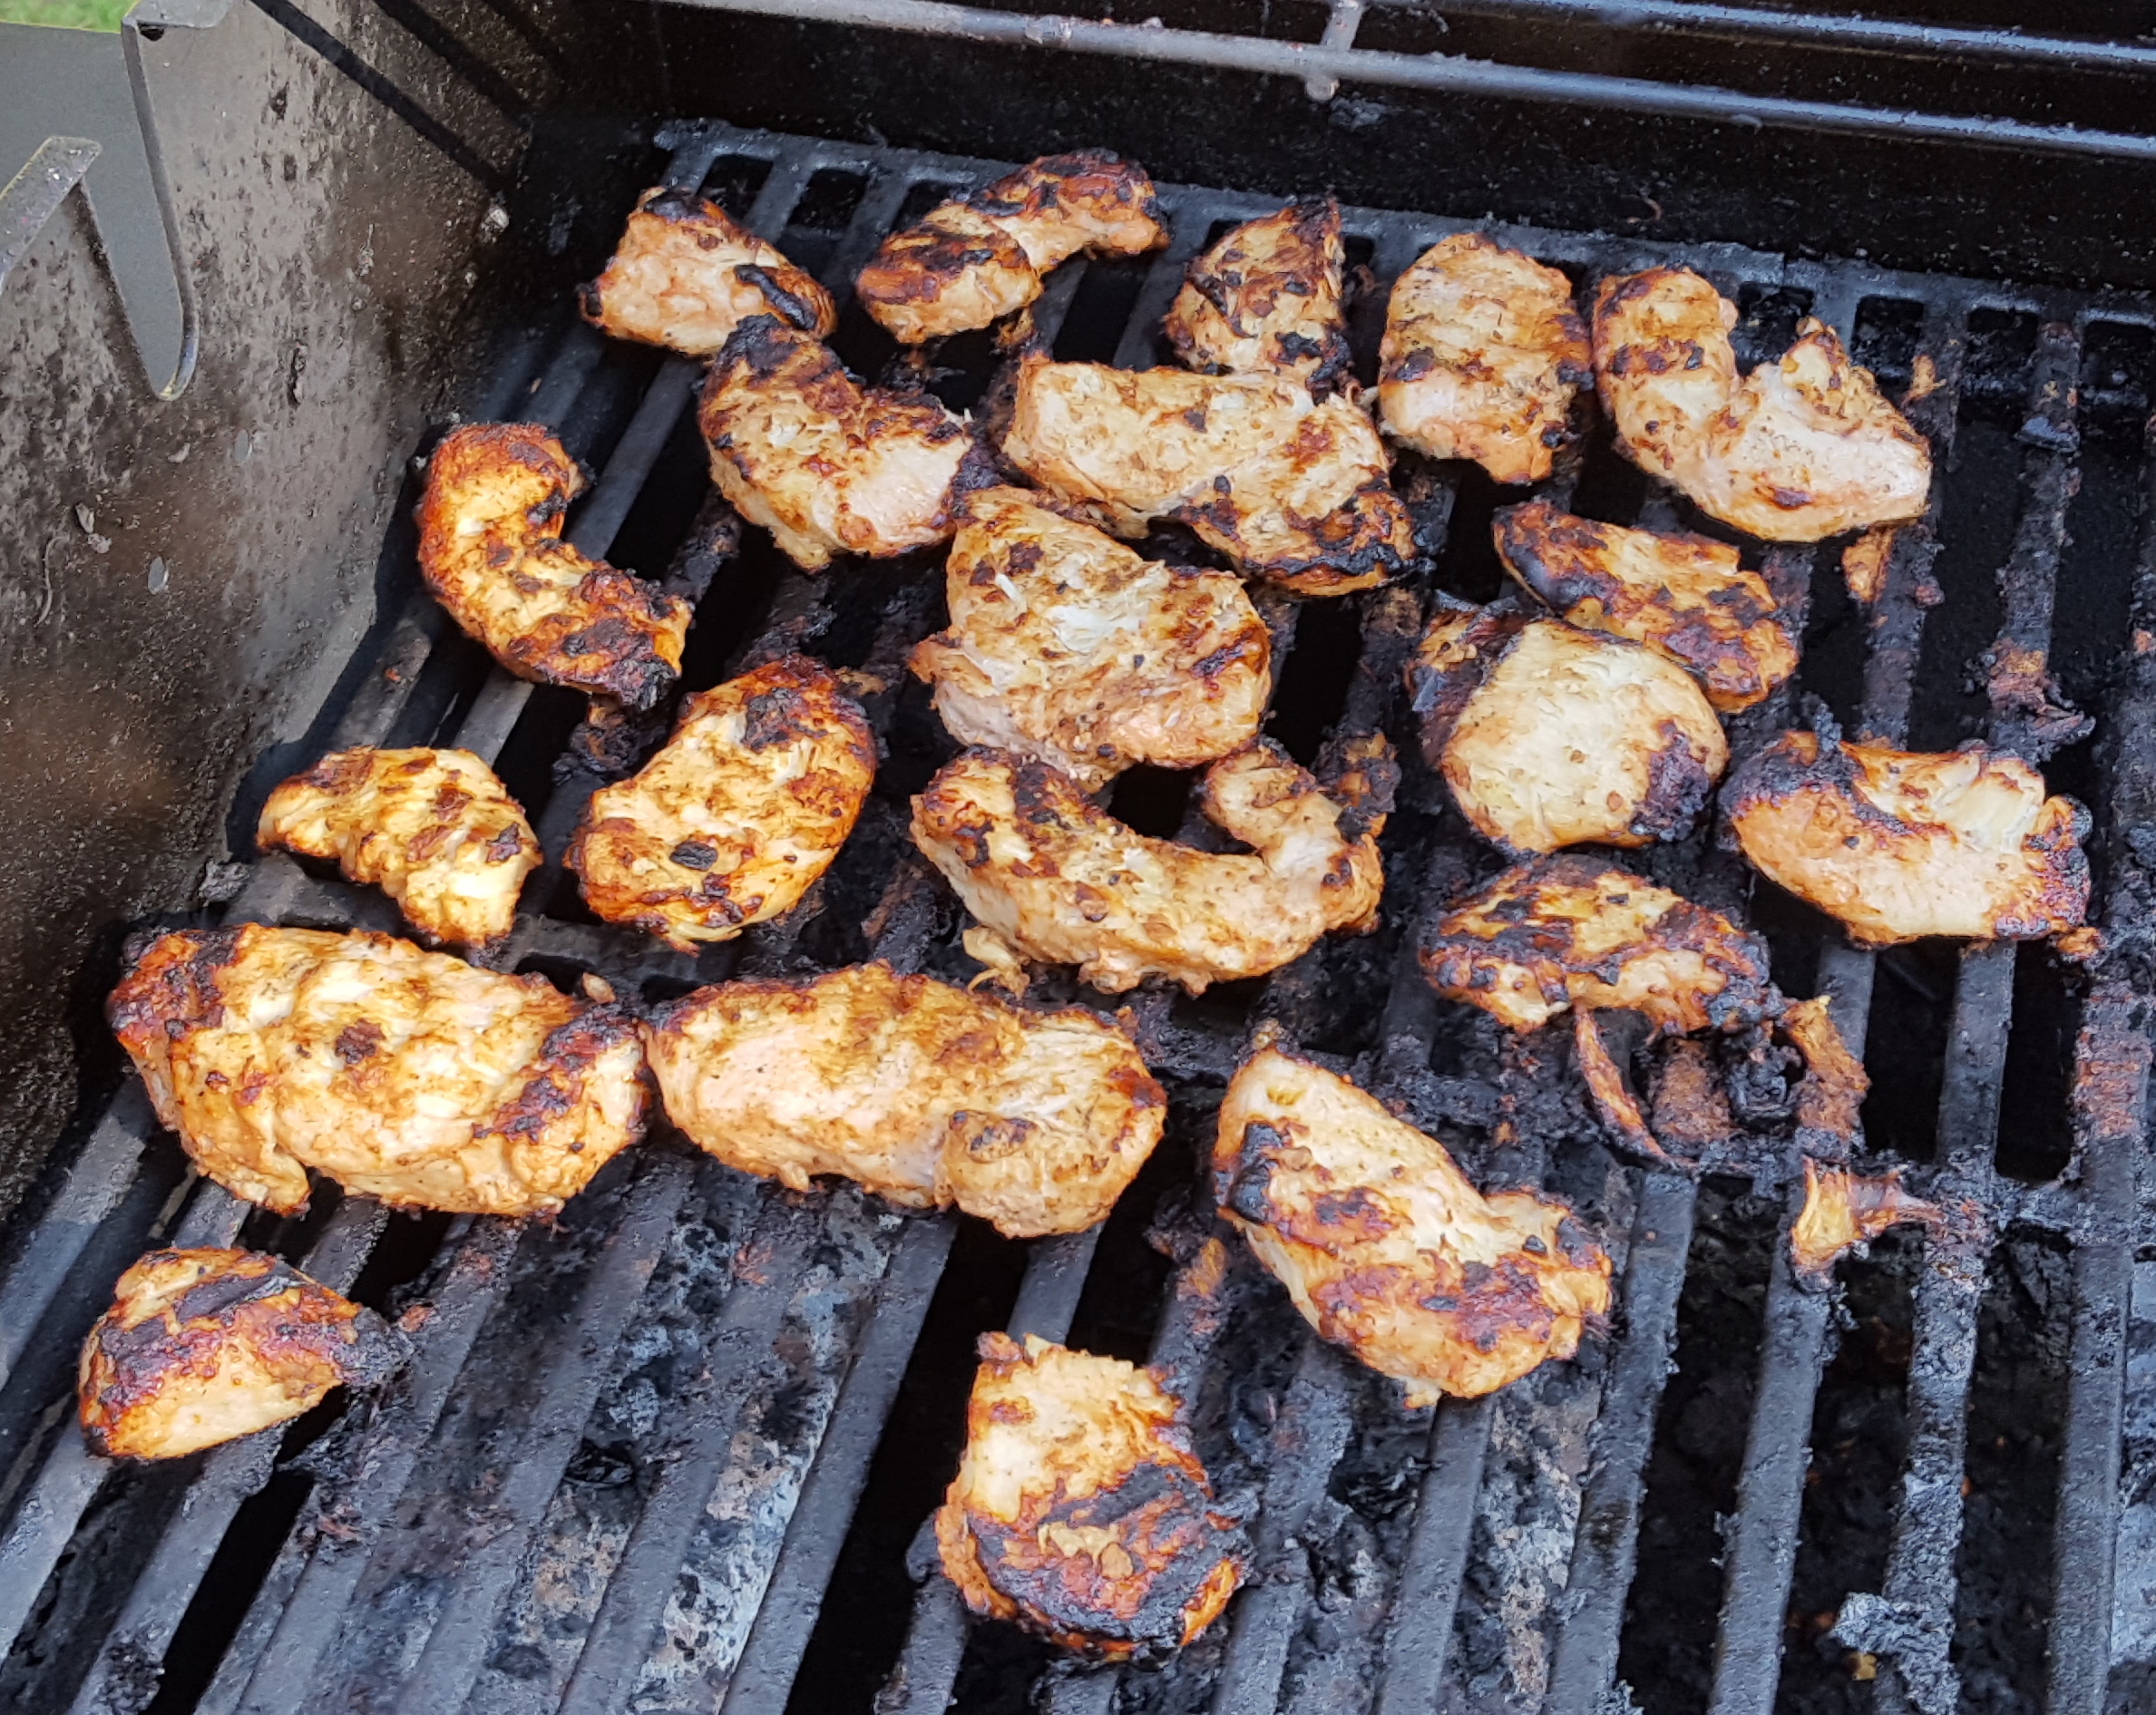
Tandoori chicken on the grill.jpg

Now, it’s worth noting that in the UK, you’re more likely to find Tandoori Masala pre-mixed, but it can be achieved in the States, or you could make your own mix. Local Indian groceries are always well stocked with spices, ghee, rice and lentils at fabulous prices. They usually even have the coconut milk priced more competitively, and certainly bulk buying rice and lentils is an economic no-brainer. I found a brilliant little shop right here in my own Seattle suburb, so try a visit to the little guy and you may be pleasantly surprised at their selection and prices. Most pre-mix Tandoori will be mostly E-numbers to achieve that Tandoori orange, so feel free to simply mix dry spices (see below) for the same, additive-free, flavour.

You’ll need:

Chicken

  • 3 large boneless chicken breasts (or on the bone if you have more time to grill)
  • 3-4 TB Greek yogurt
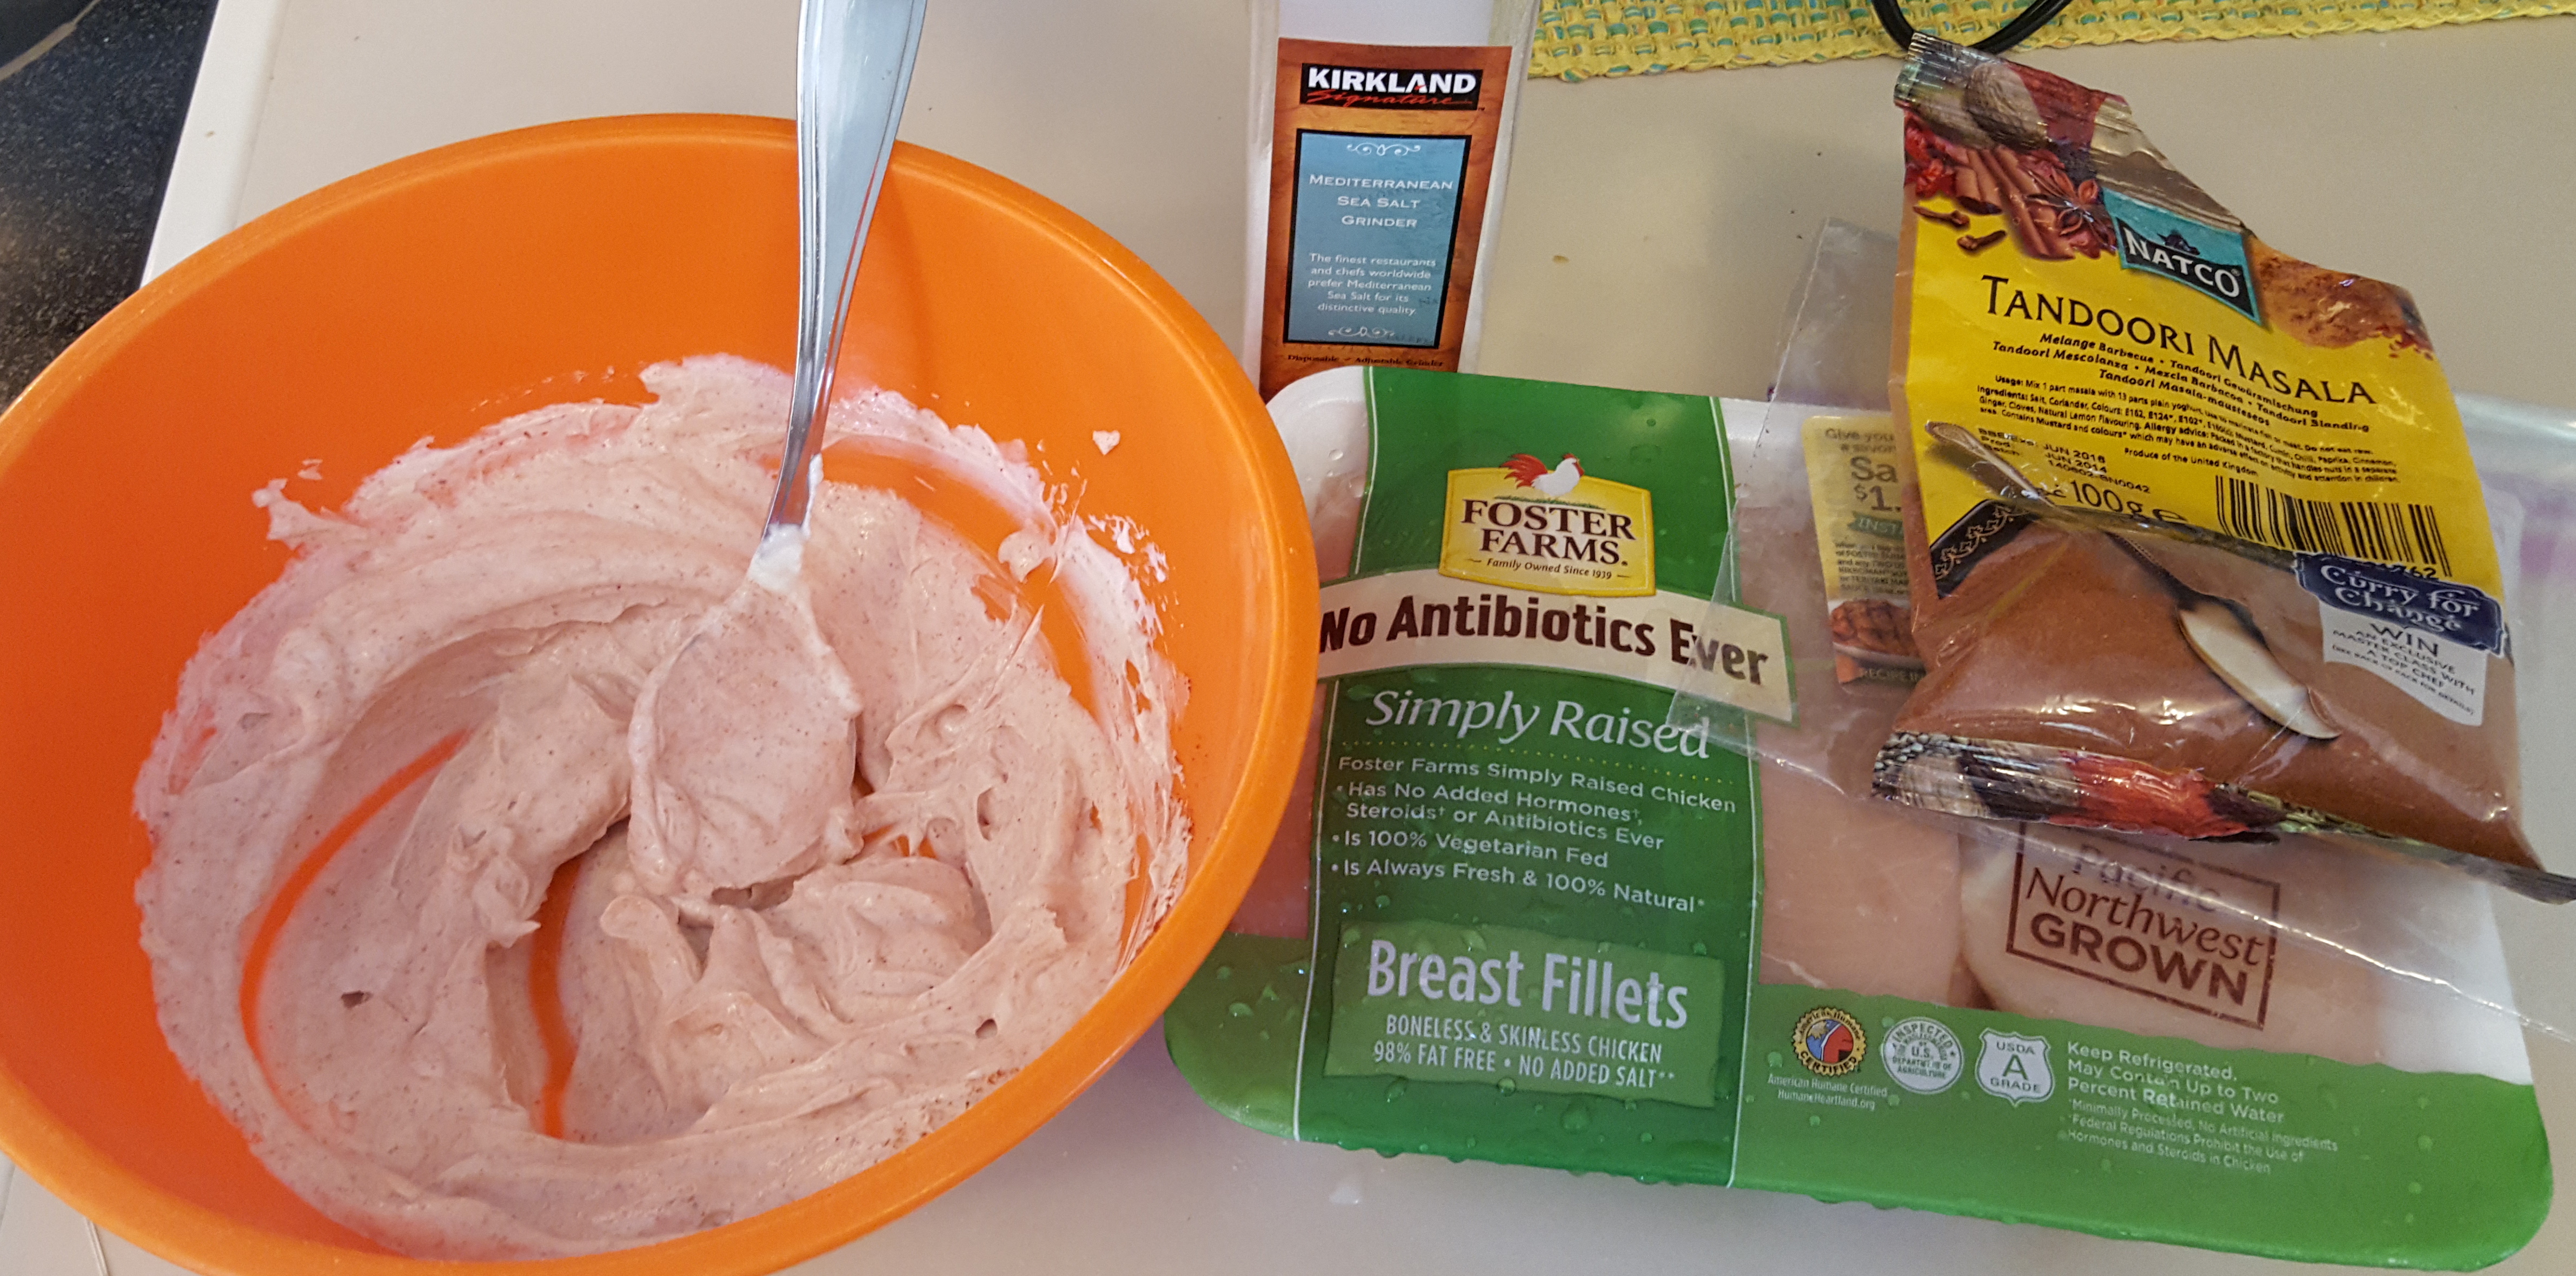
  • 1 heaped TB Tandoori Masala or a dry mix of turmeric, coriander, ginger, paprika, cardamom, cinnamon, cumin, salt and chili powder (a good shake of each into a small bowl usually does the trick and allows you to add more of the flavours you enjoy most)

Tandoori chicken ingredients

Dahl

  • 1 cup chopped white onion (frozen is fine) / 1 medium onion
  • 5 cups/800g red lentils/masoor dahl
  • 1 cup shredded or julienned carrot (approx. 1 medium carrot)
  • 1 heaped tsp minced/grated garlic (I buy large jars of minced garlic)
  • 1 heaped tsp minced/grated ginger (this really is best freshly grated)
  • 1 heaped TB Tandoori Masala or mix as above
  • 2 TB ghee (clarified butter) or 1 TB vegetable oil
  • 1 cube dry chicken stock or 1 tsp concentrated stock
  • 400 ml tin of unsweetened, first-pressed coconut milk (don’t bother with low fat versions, you want the cream)
  • 1 tsp brown or muscovado sugar
  • 2-4 cups water

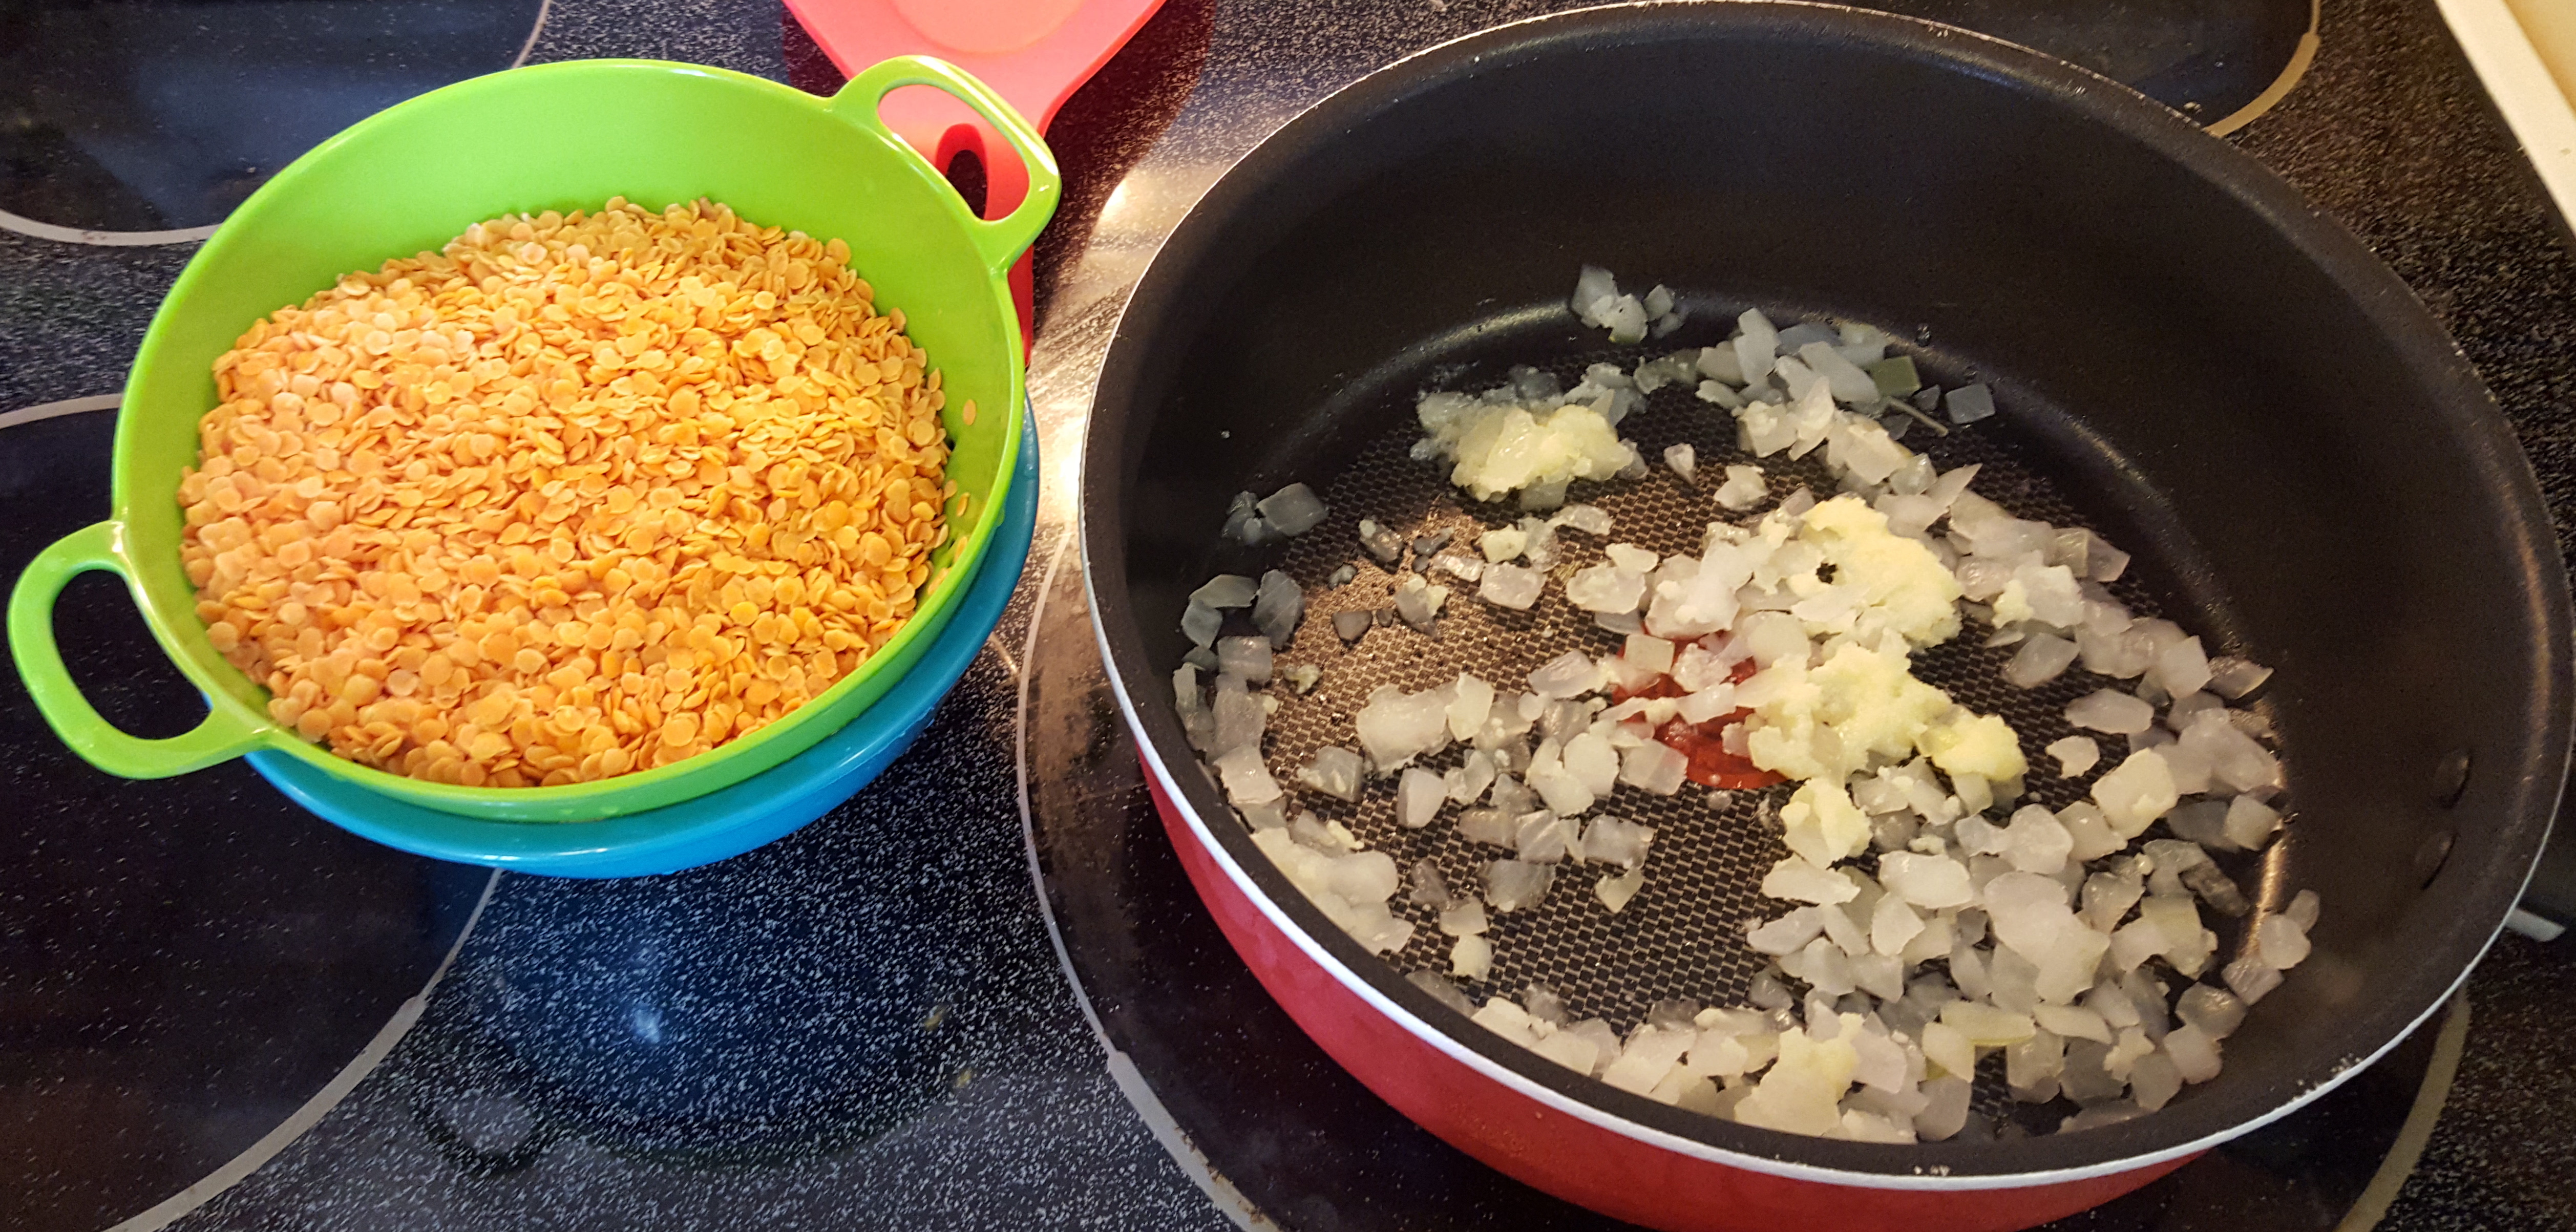
Dahl ingredients

Rice

  • 2 cups/400g jasmine rice
  • 4 cups chicken stock (1 cube dry stock in 4 cups water)
  • 1 cup frozen peas (optional)

First things first, you can slice the chicken into large cubes, or buy chicken tenders to save time, but be sure the pieces won’t fall through the grill (if you’re using a bbq).

Mix the yogurt and dry spice together well in a large mixing bowl before adding the raw chicken. Give it a good mix to really coat the chicken, and then cover the bowl with cling film/plastic wrap and find a space in the fridge.

The longer the chicken has a chance to canoodle with the yogurt, the better. Don’t worry if it doesn’t look bright orange, you don’t need that much ‘stuff’ in your dinner.

Once your chicken is set aside, give your lentils a really good rinse. This is not a step to be missed, because the lentils will be ‘dusty’, and they will produce a bubbly foam when boiling if you don’t. (I usually use a small strainer inside a larger bowl to submerge the lentils and shake ‘em up under water 4 or 5 times, until the water I’m draining is clear.)

Next step, start your onions in the ghee or oil over a med-high heat. I suggest using a wide based pot or pan so you get more browning and less stewing. (I wouldn’t suggest trying to use normal butter if you can’t find ghee, it’s just going to burn.)

As the onions just begin to sizzle, add the garlic, ginger and dry spices and stir it pretty continuously to avoid the dry spices burning.

Add the lentils, carrots and dry or concentrated chicken stock and coat everything with the onion/spice mixture before adding about 1.5 cup of water and reducing the heat to med-low.

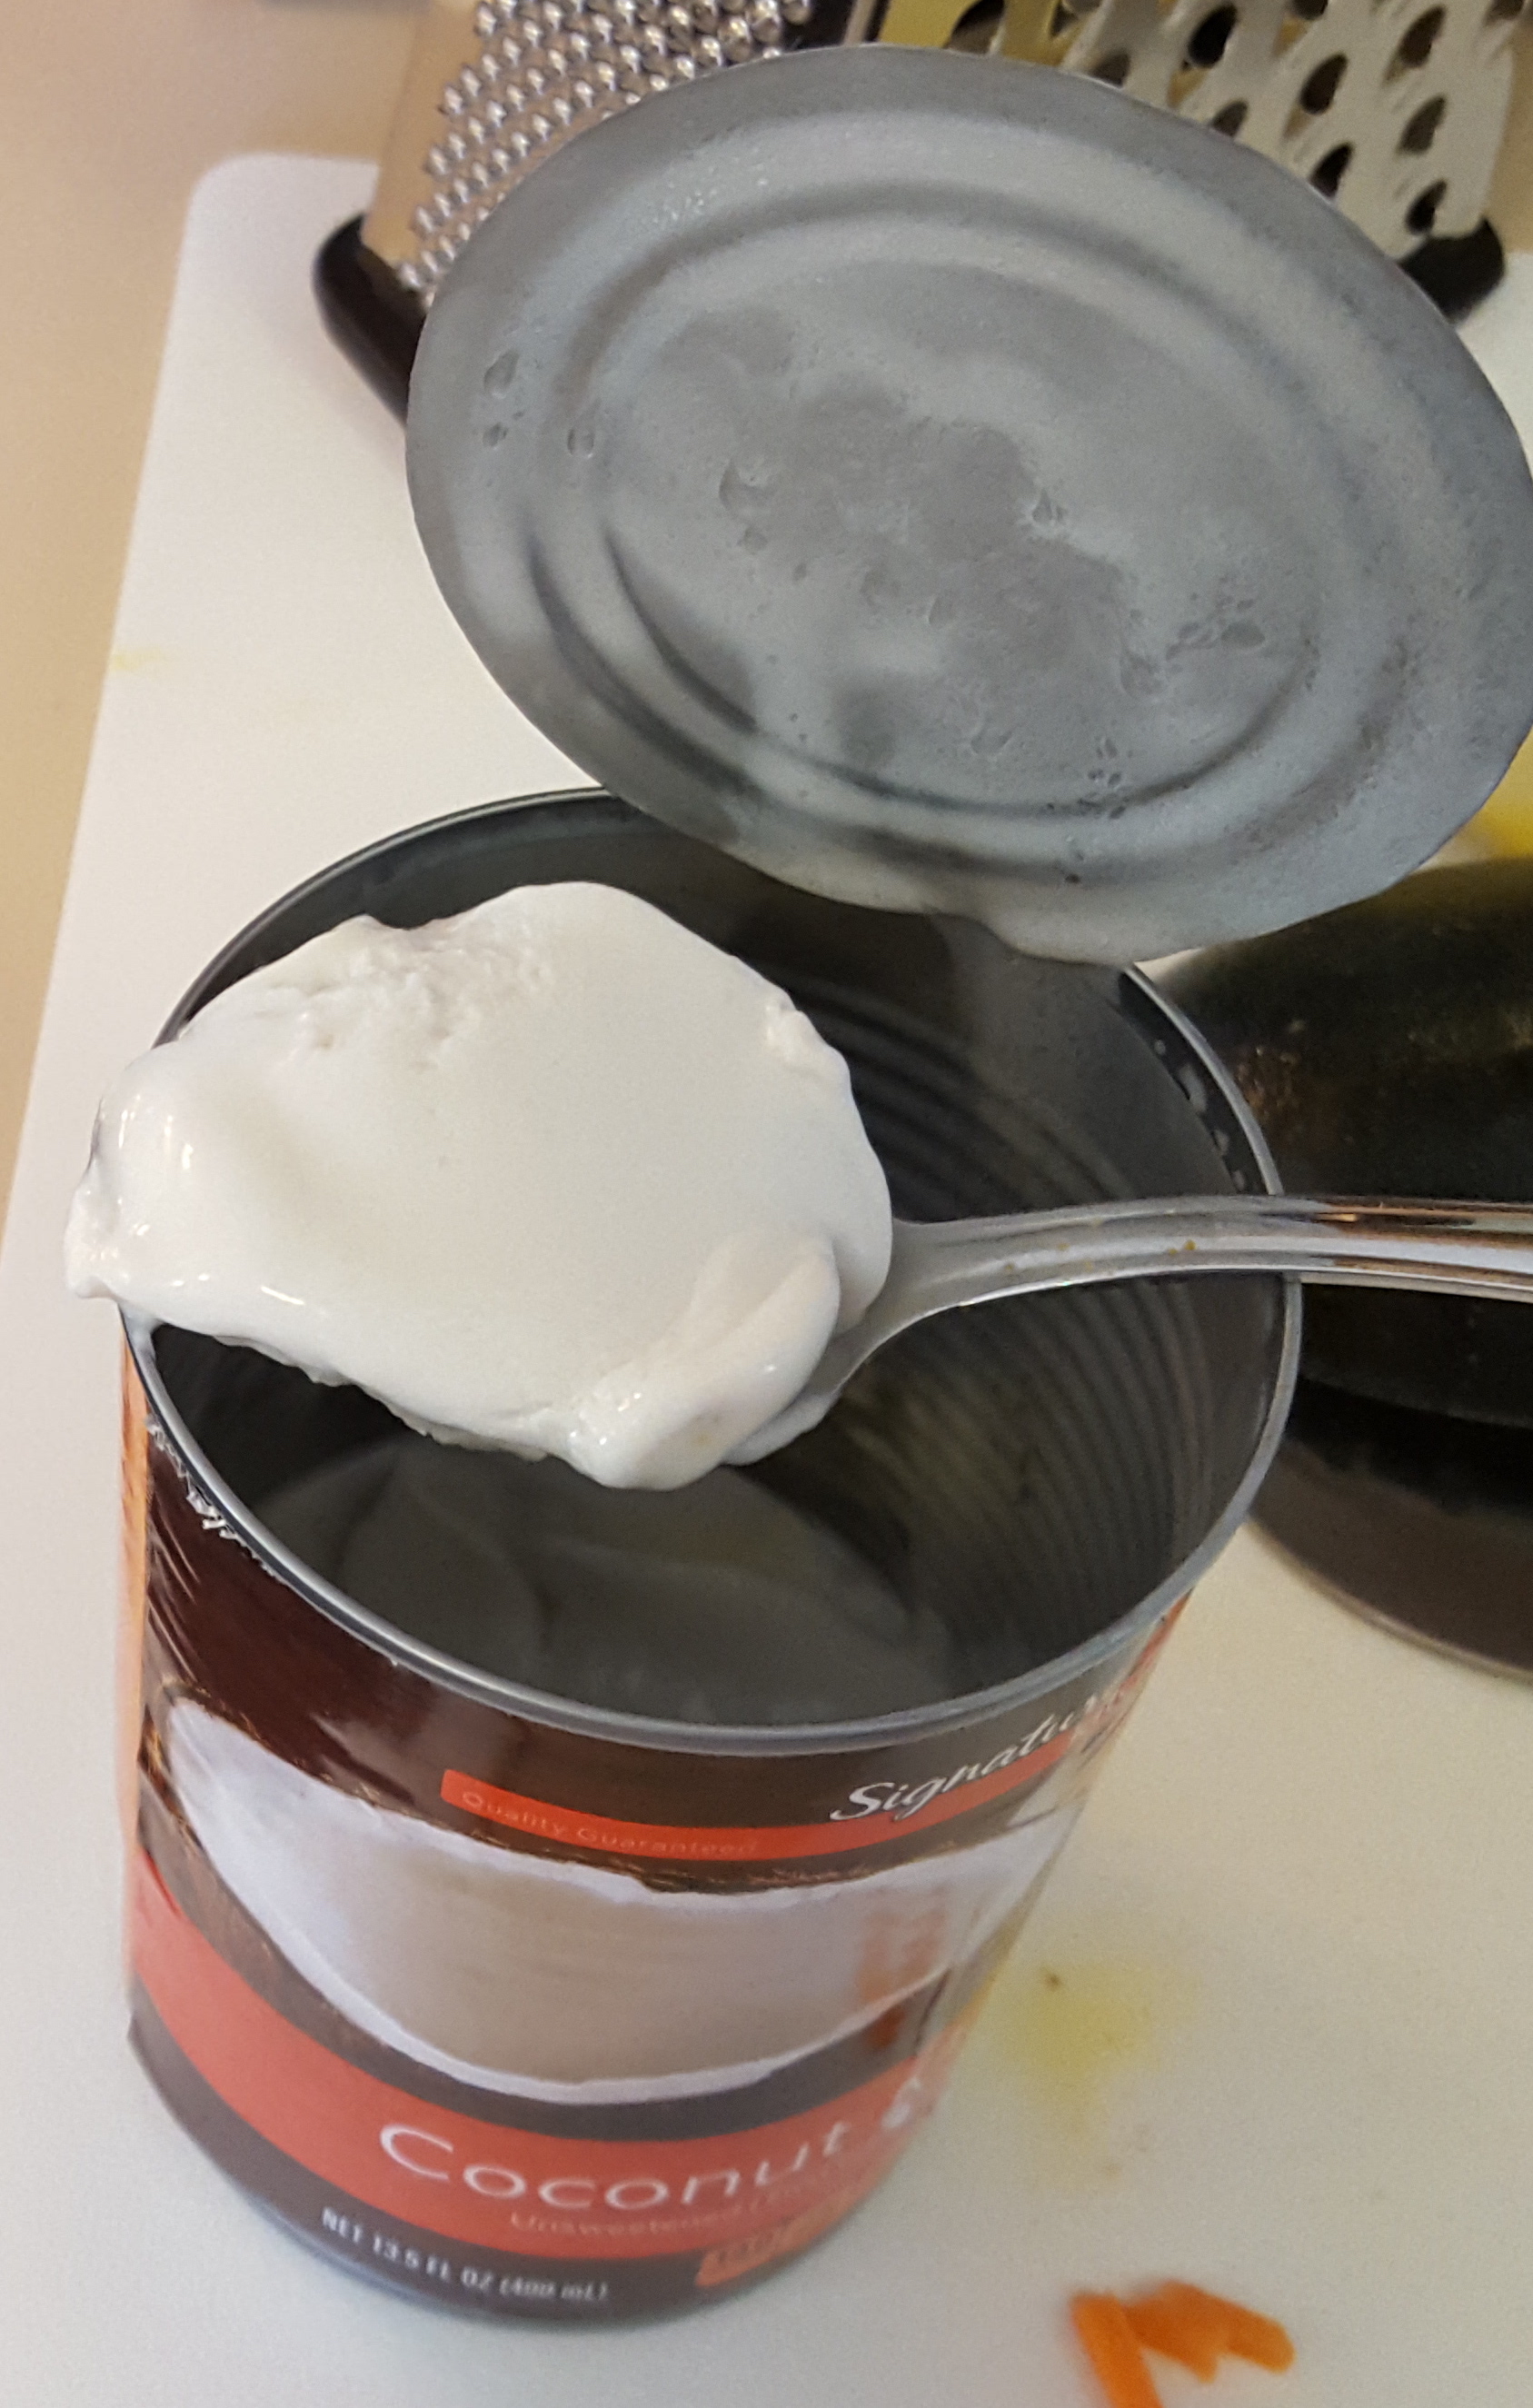
Coconut milkOpen the tin of coconut milk and, if you’re lucky, the cream will be separated from the water. Put a small whole on one side and larger whole on the other to drain just the water, holding your spoon in the way to keep back the cream. If it hasn’t separated, it’s no biggy, just add the whole can. If it has, keep the near solid cream for adding at the end.
The reason I try to keep the cream until the end, it doesn’t need to reduce with the rest of the water, and adds a smoothness to the dahl. Let me stress, though, that this isn’t a necessary step, just a texture enhancer.

Once you’ve added the coconut water, reduce and cover for about ten minutes.

Now is the perfect time to start your rice. I just make a standard pot of rice, but use chicken stock instead of water. This adds flavour, salt and fat in one step, instead of using butter, salt and water. I’ve also been known to add about a cup of frozen peas to rice from the beginning, as well as a pinch of cardamom powder, but these are optional. I try to use veg anywhere I can, and even the smallest bit of flavour cooked into the rice is very kid-friendly.

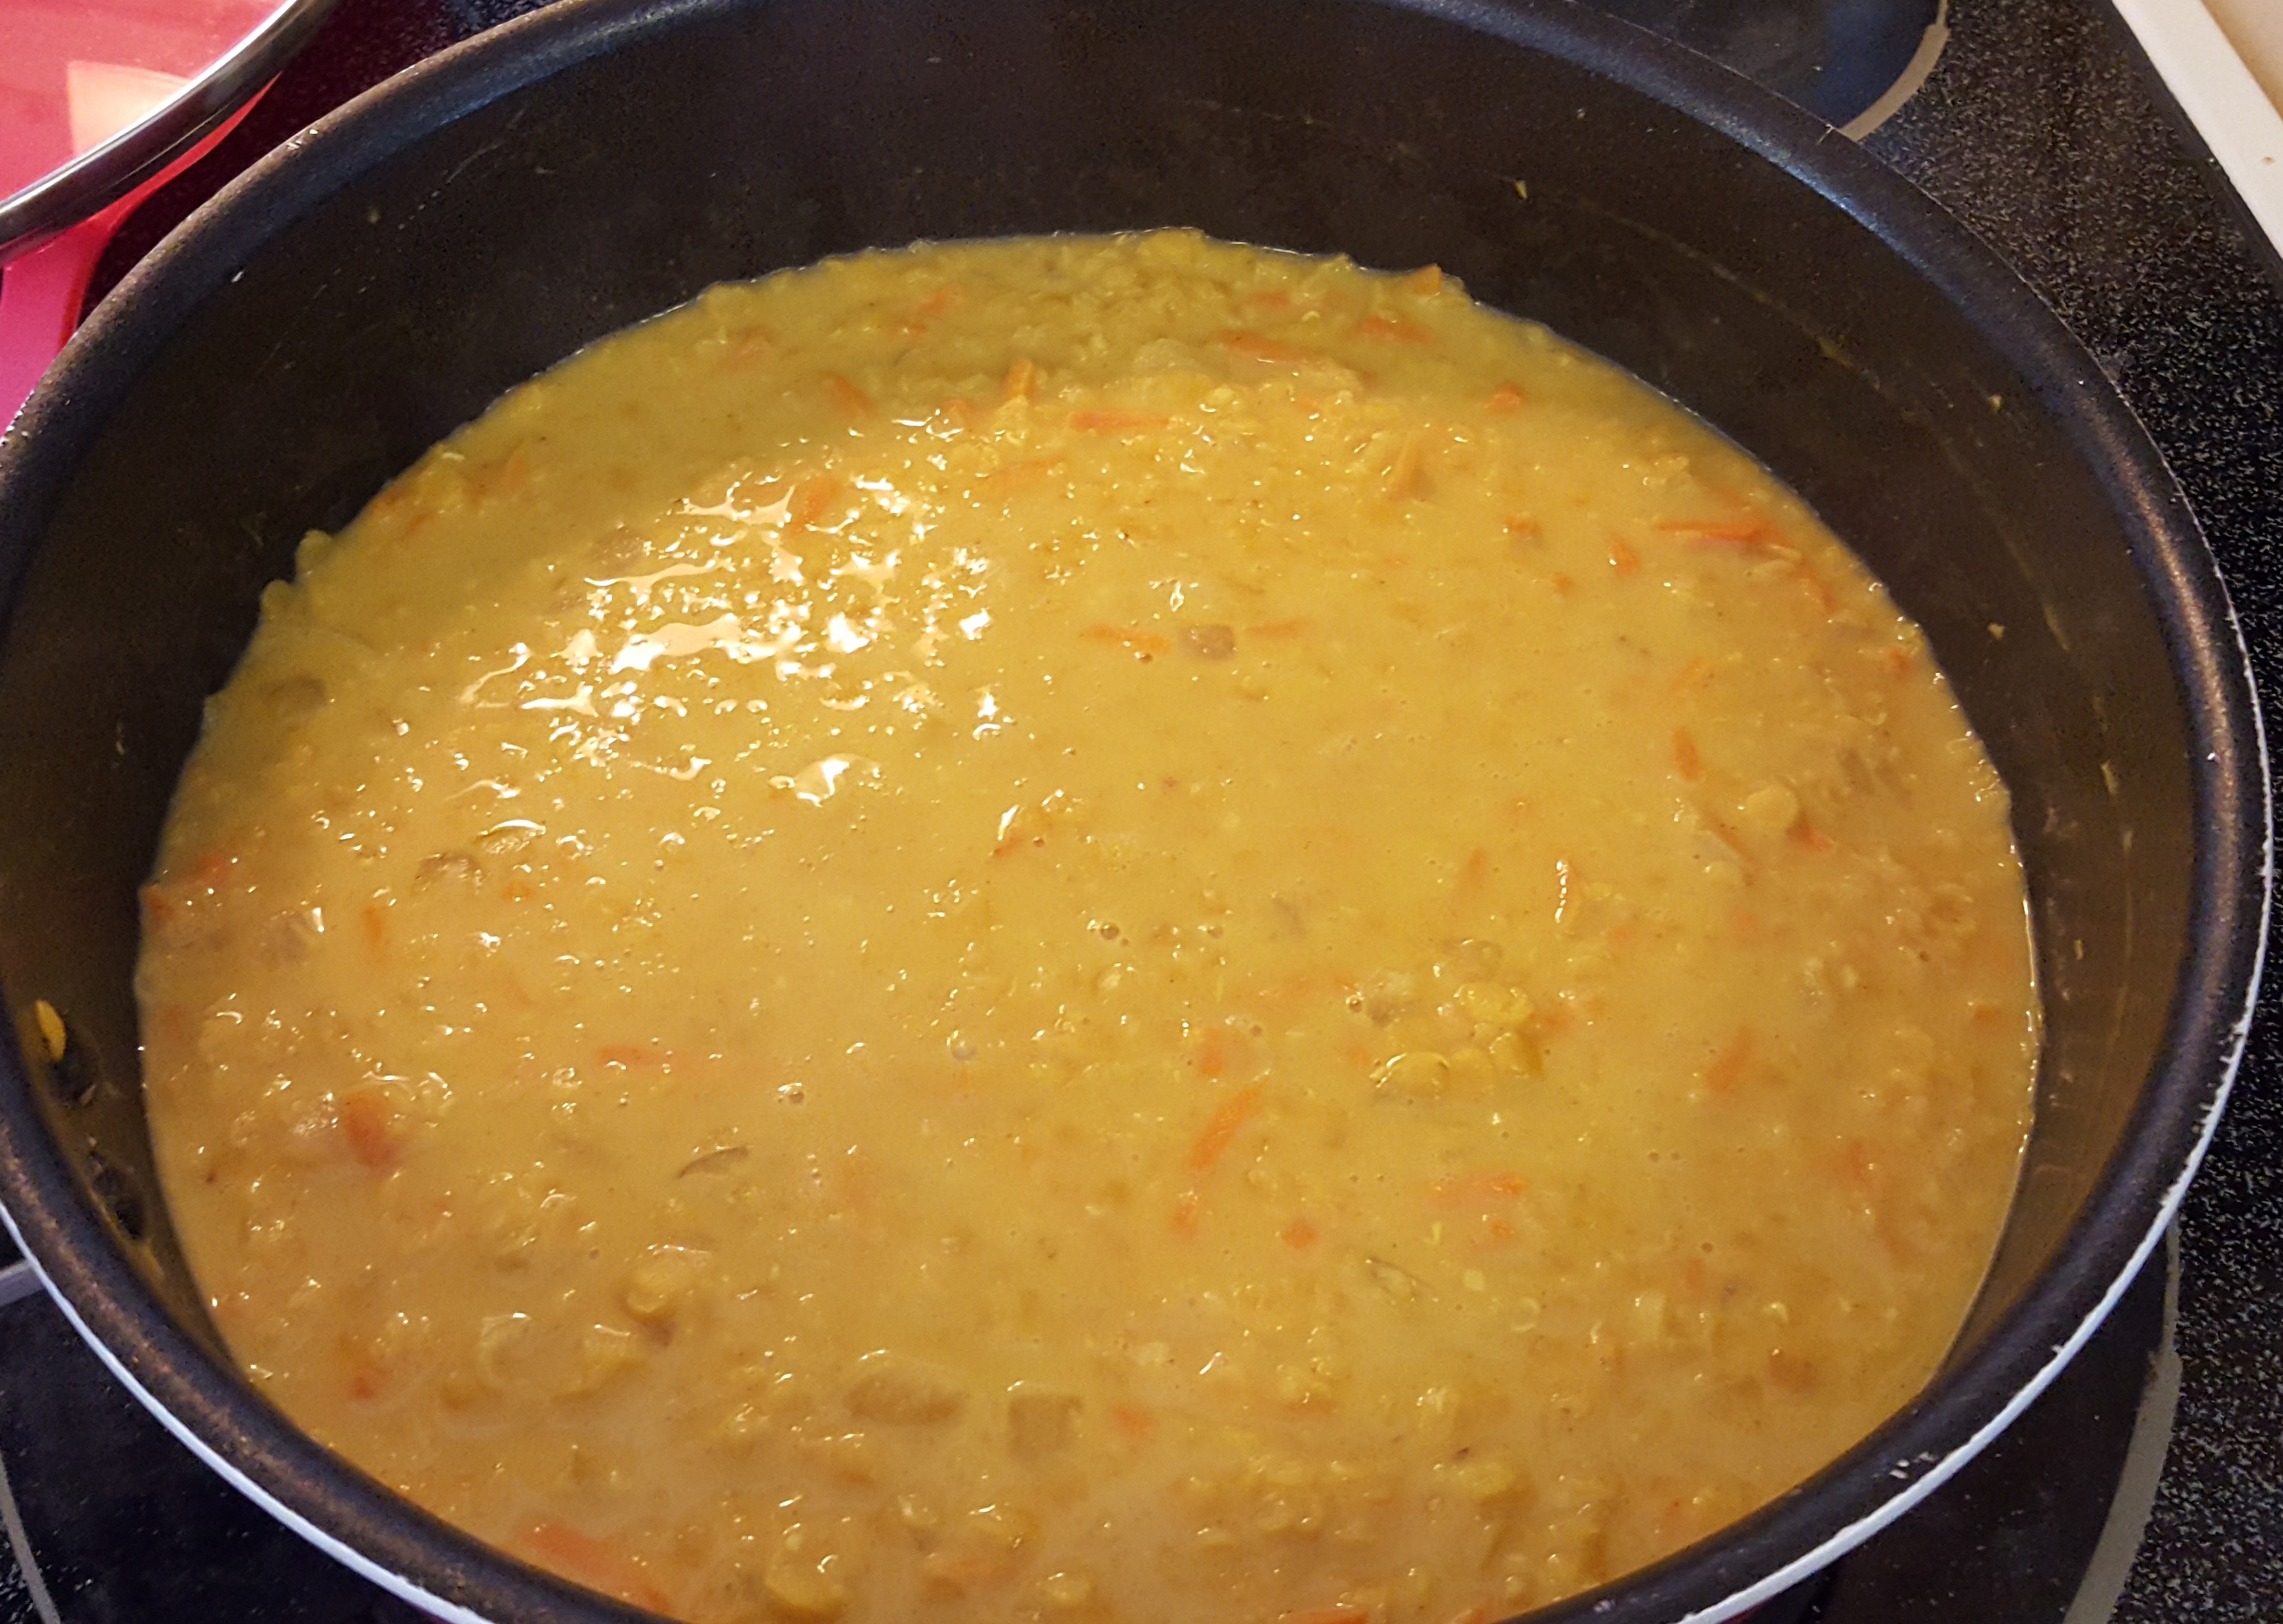
Stir your dahl occasionally to be sure it doesn’t stick to the bottom, adding a bit of water to keep it from getting too dry if needed. Once the lentils and carrots are nice and soft, taste test to add any salt and a teaspoon or so of the brown sugar. Allow the mixture to bubble a bit longer and then add the coconut cream if you’ve held it back. Mix in thoroughly and then turn the heat to the lowest heat, just to maintain the warmth. The dahl will stay liquid as long as the lid is kept on while you grill the chicken, but the moisture will escape and dry it out if you leave it uncovered for long.

Dahl in the pan.jpgTurn off your rice when it’s tender, but leave it covered until time to serve.
On a high grill flame, place the chicken pieces nicely spread apart onto a greased grill (I usually use a bit of veg oil on a paper towel/kitchen roll and wipe the grill before I turn it on). Keep the lid closed for about 5-7 minutes and then turn the chicken over and repeat. The less you move the pieces, the better you’ll be at getting crispy bits and a bit of yogurt char. Yum.

Depending on the size of the pieces, 10-15 minutes should be plenty, with one roll over in the middle and keeping the lid closed. Be careful not to overcook the chicken in pursuit of char, it’s better to have moist chicken. If in doubt, always cut open your biggest piece first to check it’s cooked through.

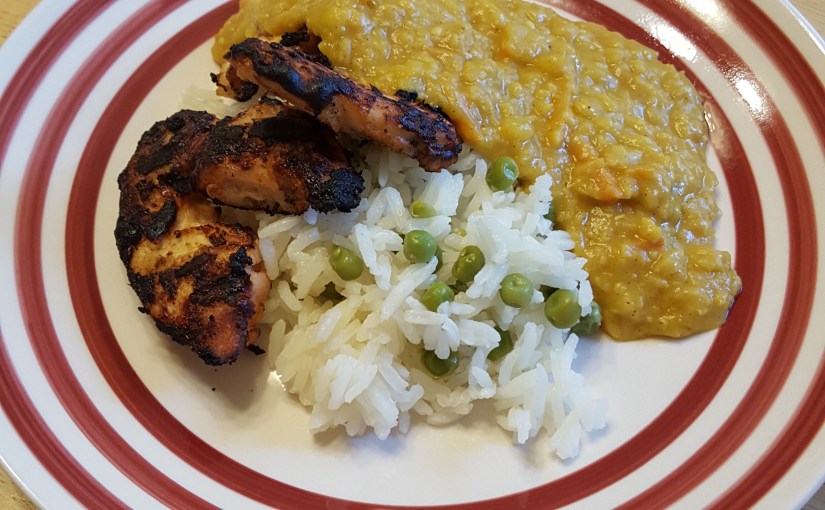
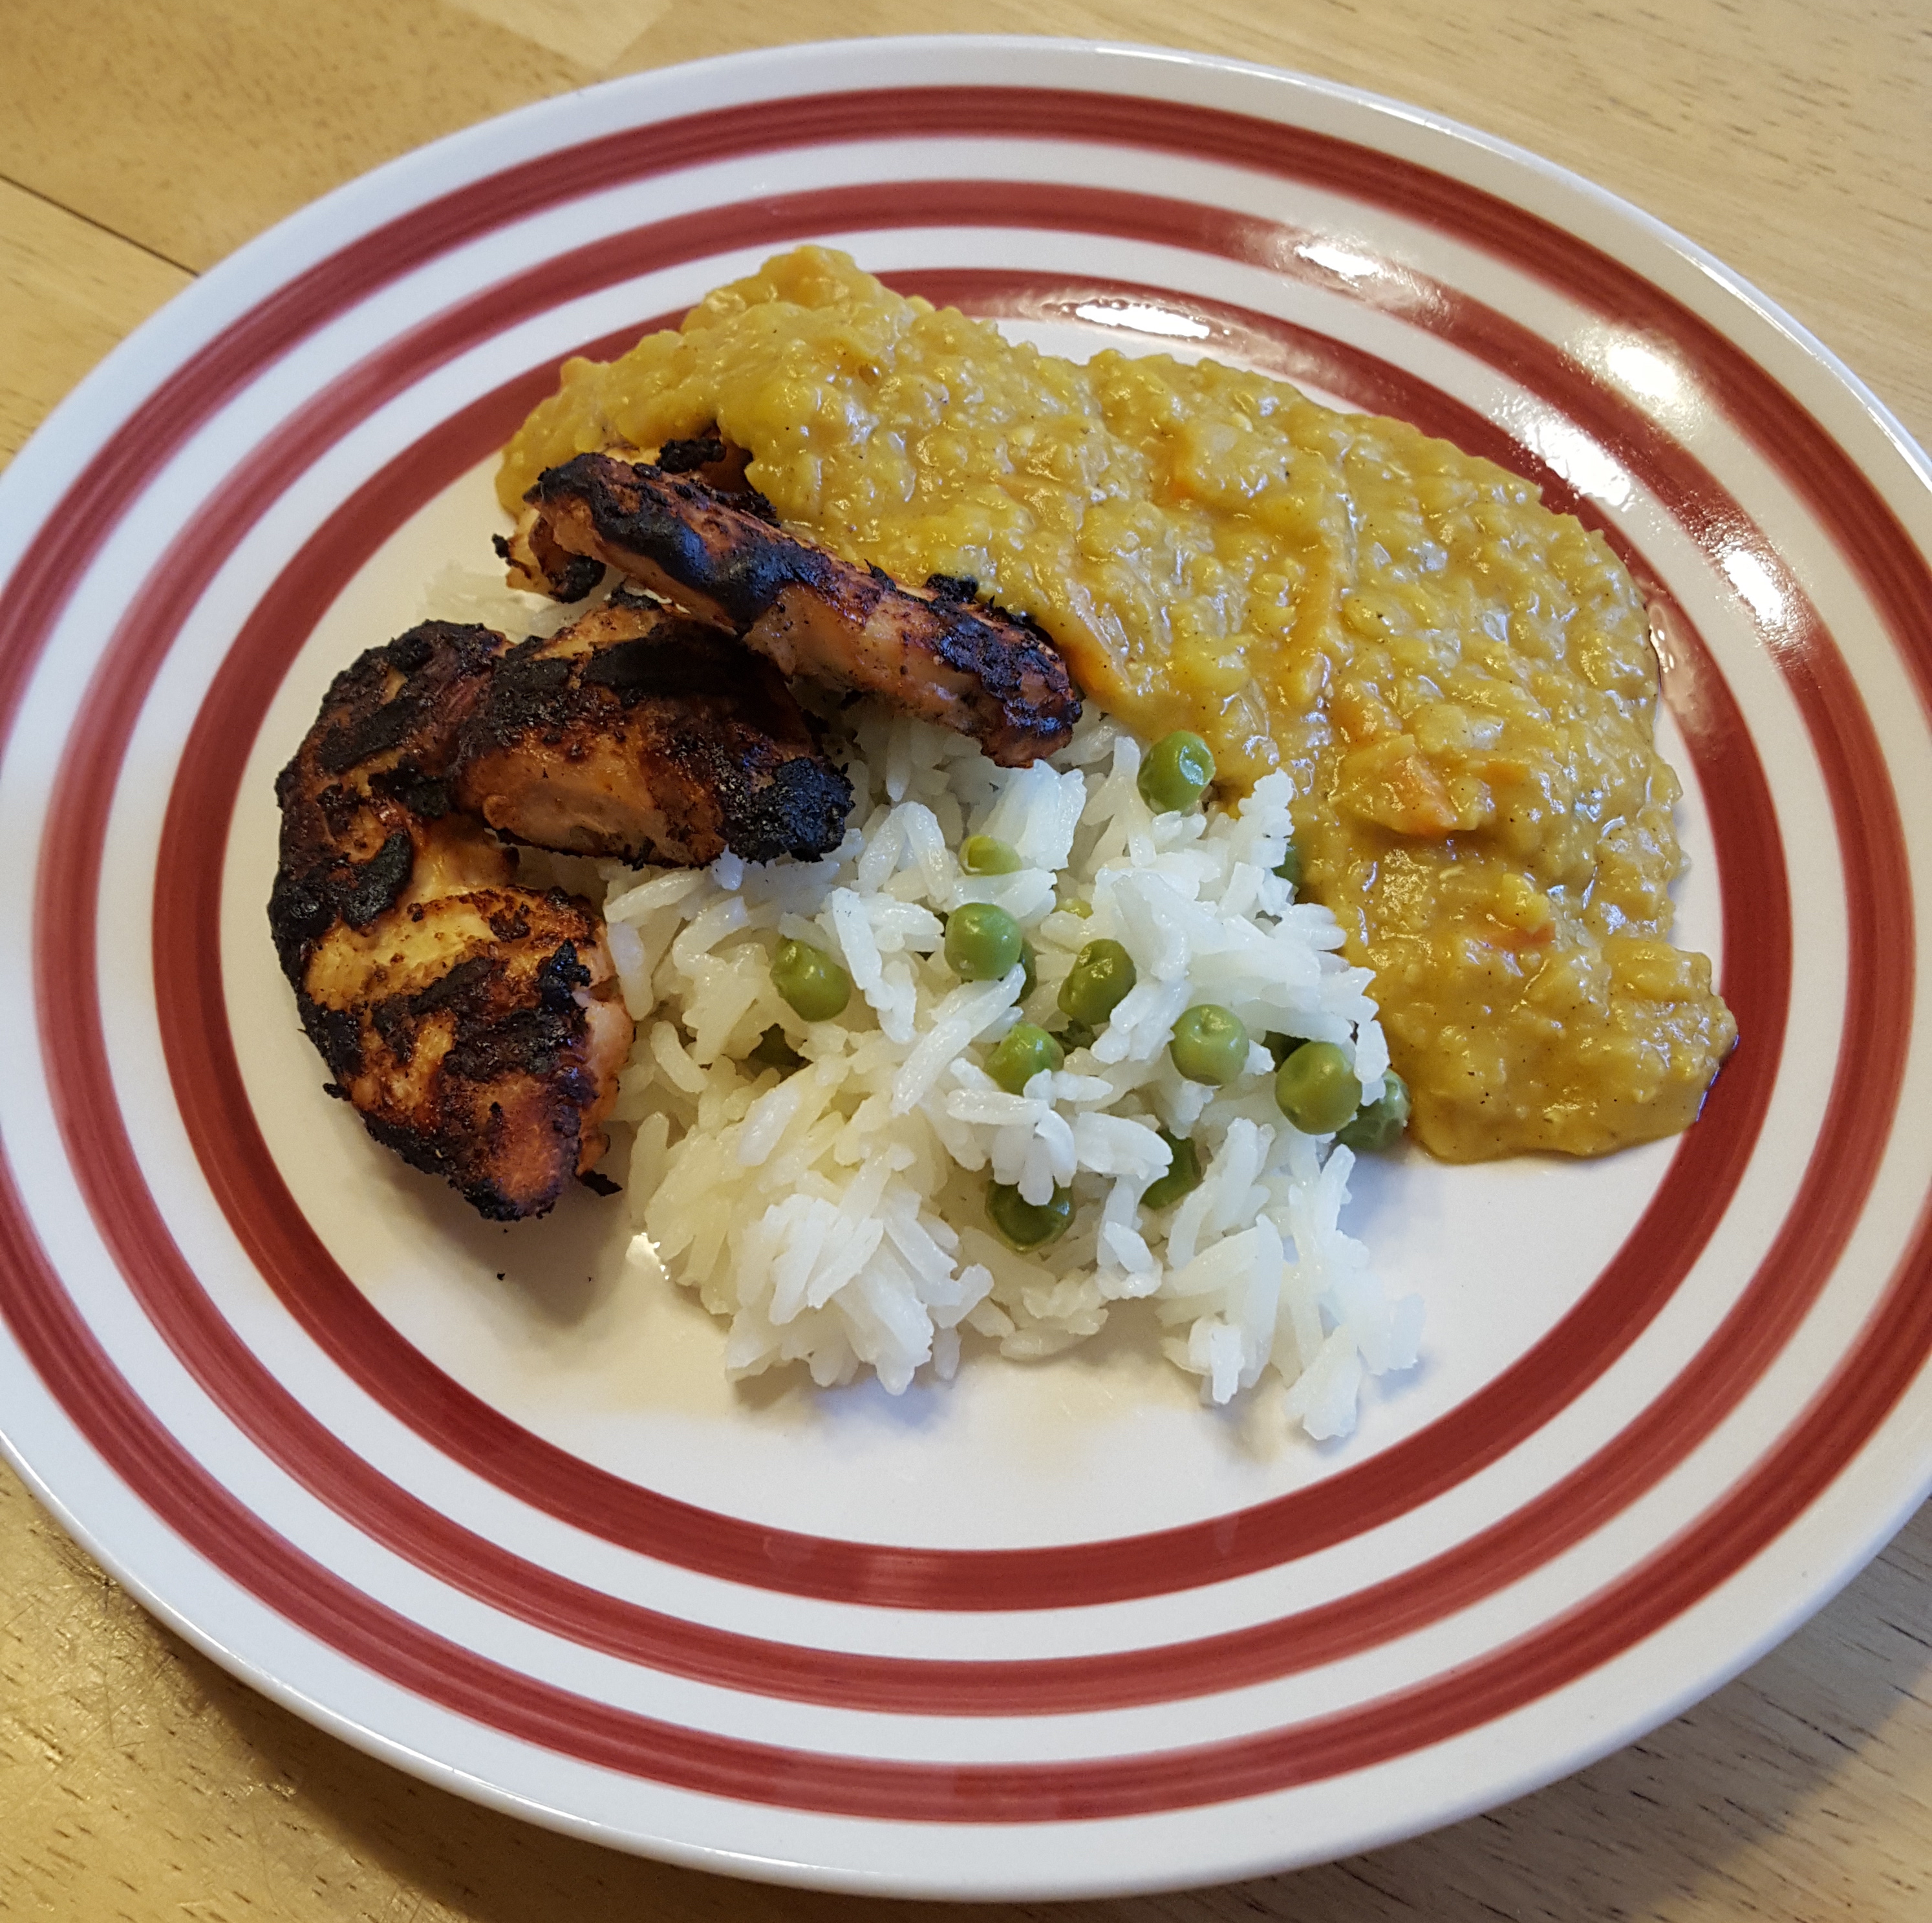
My kids can’t get enough of the coconut dahl served over rice, and I cut up a piece of the chicken into tiny pieces mixed in if they’re interested. I don’t worry if they aren’t up for the chicken, though, because lentils have protein and are super healthy. And filling! Our whole family love this meal, and it all makes for great leftovers. I love to nibble the cold chicken bites (if any are left) the next day, and a scoop of rice and dahl in the microwave makes for a two minute lunch/dinner!

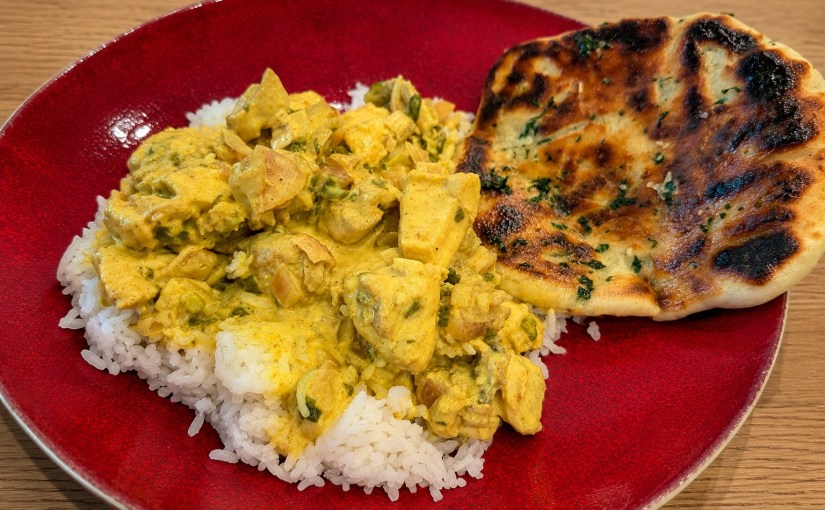
Tandoori chicken and coconut lentils

Mummy in a Tutu