
Buffy and the Lost Shamiana Chicken

Okay, so I know my last posts promised some musings on the nature of democracy and human rights. I might come back to that at some point… but I need to accept that my ADHD brain will only write about what it wants, when it wants. And this is my blog, so I will treat it as only a 90s kid could treat a blog and write about whatever takes my fancy.

So here’s what’s on my mind right now.

In the latter years of the 1990s, I was an undergrad at Seattle University, where I met my very first serious boyfriend, Mike. Mike was very geeky – which is just how I like my men – and he loved introducing me to new geeky TV shows and movies.

One of these was Buffy the Vampire Slayer. I’d seen the underwhelming movie and I scoffed at the name … but damn, that was a good show. New episodes of Buffy aired on Tuesdays, which became our non-negotiable weekly date night so we could watch it together.

Mike also liked introducing me to new foods.

I wasn’t completely unfamiliar with Indian food before Mike. My first best friend when I was very young was my grandma’s best friend’s son, and his family was from India. We’d go round to their house and his mum would make amazing food for us – which was, unfortunately, way too spicy for me at 8 years old. I rejected the beautiful spicy dahl and mostly ate chapati with butter and sugar on it.

I didn’t come to really appreciate Indian food until Mike reintroduced me to it.

There was a restaurant near his house called Shamiana, founded by a brother and sister who were American but had grown up in what was then East Pakistan. So calling it an Indian restaurant probably isn’t quite right; the food drew on influences from across the subcontinent and beyond. And in any case, I’ve since moved to the UK, where “Indian food” is an entirely different beast.

I’ve since learned that Shamiana was basically one of a kind. It had the flavours of the subcontinent, but the menu featured dishes the owners had essentially come up with themselves.

One of the most famous was Major Grey Chicken Curry, a glorious concoction of mango chutney, curry powder and cream. The owners generously shared the recipe in the cooking classes they hosted, and I still have it. I’ve had friends I’ve otherwise lost touch with get back in touch only to ask me for the Major Grey recipe (and then never be heard from again).

It’s that good.

But my favourite dish was Shamiana Chicken. Every week on Buffy night, Mike and I would go to that restaurant first and that’s the dish I’d order every time.

It was tangy and fresh, a bright yellow colour, and made with coconut milk. I guess it was sort of like a korma, but it had way more flavour than your typical takeaway korma. I’ve been missing Shamiana Chicken lately, so I decided to go on an internet hunt for the recipe.

Sadly, my searches came up blank. Shamiana closed in 2019, and if they ever featured Shamiana Chicken in one of their cooking classes, it wasn’t one I attended.

And here’s where I get to brag, because I refused to give up.

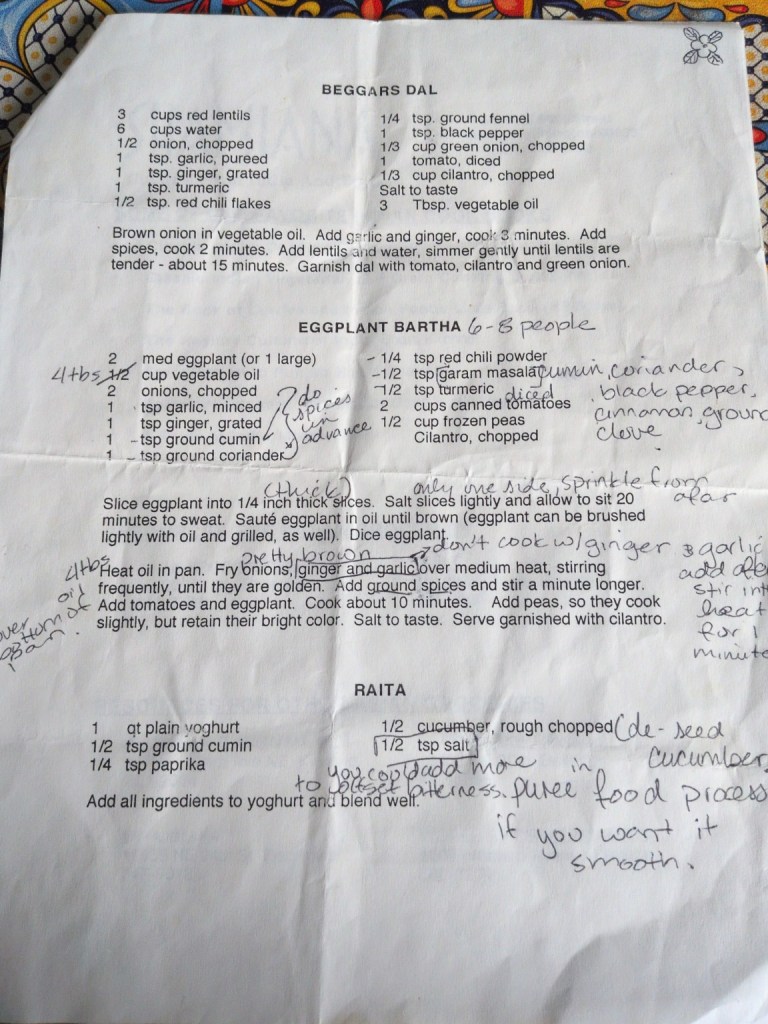
I brought up ChatGPT and explained the story of Shamiana Chicken to it. I uploaded pictures of the printed recipes I still have from the cooking class Mike and I took in 1999.
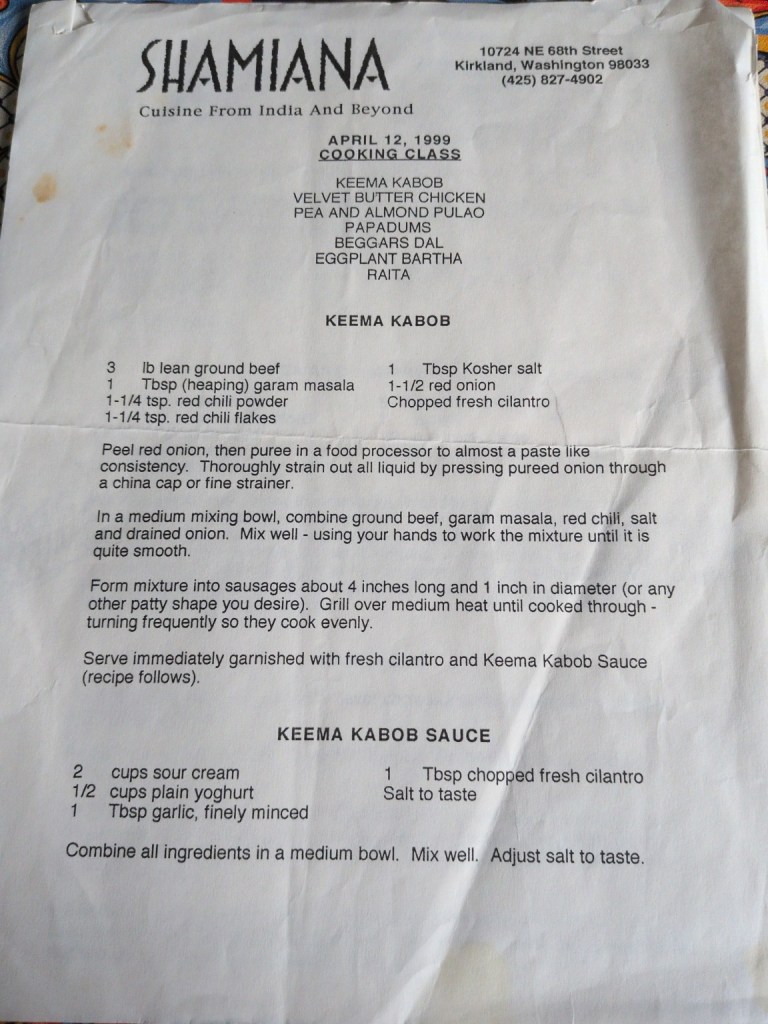
ChatGPT went digging and found an old Shamiana menu preserved in a random corner of the internet, which described the sauce as a “zippy masala, lemon and coconut sauce with green onions and fresh coriander.”

That was our first proper clue.

More internet archaeology eventually turned up an old magazine article about Shamiana, complete with a photograph of a suspiciously familiar-looking yellow coconut curry and a reference to a recipe the owners had contributed to Bon Appétit. That recipe still survives online: prawns in a spiced masala and coconut milk sauce.

So we had my memories of the dish, Shamiana’s own description of it, my original cooking class recipes, and another recipe published by the restaurant’s owners. ChatGPT pulled all of that together and gave me its best guess at the missing Shamiana Chicken.

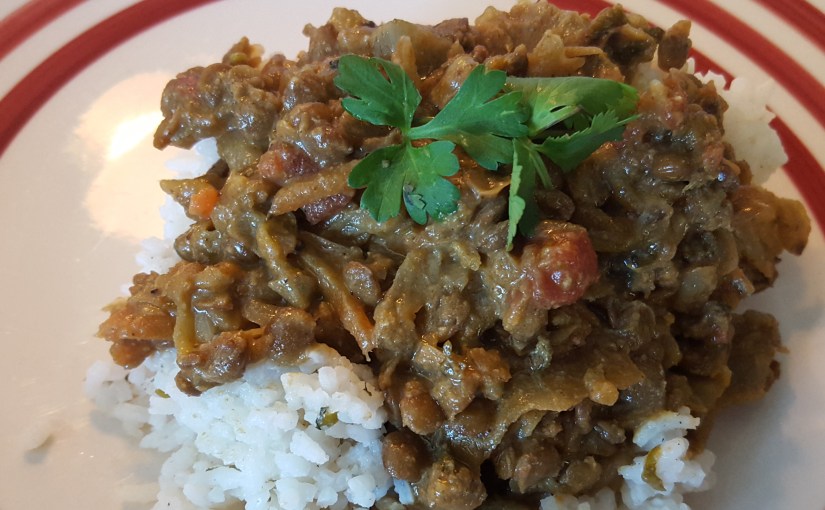
Tonight I made Shamiana-ish Chicken.

And that was it.

That was the dish.

Or, at least, close enough that I knew immediately what I was tasting. My 14-year-old son asked for seconds, which is a very rare occurrence and perhaps the strongest possible endorsement.

So I wanted to put my version of Shamiana Chicken on the internet, because as far as I can tell there isn’t an obvious surviving recipe for it anywhere else. I don’t want to pretend this is the original Shamiana recipe. It almost certainly isn’t. It’s a reconstruction from the bits and pieces that survived.

But the smell alone was enough to bring back memories of witty Buffy quips, the smell of Mike’s cologne, and a time in my life without which I wouldn’t be who I am today.

Mike died in 2020, far too young. Not long before he died, he was the one who told me Shamiana had closed.

Although we’d gone our separate ways in 2001, we’d kept in touch over the years. After he died, his family entrusted me with the manuscript of a novel he’d spent years writing, and I promised them I would edit it and try to find a way to get it published.

It’s taking me much longer than I ever imagined.

Partly that’s because every time I open those files, I find myself transported back to being 20 years old: to the remembrance of first love, and to the sadness of knowing that Mike’s life was cut short far too soon. Working on his book means spending time with his words again, and sometimes that’s wonderful and sometimes it’s hard.

So perhaps that explains why, 27 years later, I suddenly wanted so badly to taste Shamiana Chicken again.

And yes, I realise I’ve now done exactly the thing everyone makes fun of recipe bloggers for doing: making you read an extremely long personal story before you’re allowed to find out how much curry powder to put in the pan.

But there’s nothing quite like food for remembering the chapters of our lives.

So here it is.

Mike’s Shamiana(ish) Chicken

This is not the original Shamiana recipe. It’s my reconstruction based on my memories of the dish, Shamiana’s archived menu description, recipes from a cooking class I took there in 1999, and another coconut masala recipe published by Shamiana’s owners. The first attempt tasted remarkably close – although I learned the hard way that “zippy” does not mean “squeeze a whole lemon into it.”

Serves 3–4

Ingredients

  • 600g boneless, skinless chicken thighs, cut into bite-sized pieces
  • 2 tbsp vegetable oil, plus a little extra for cooking the chicken
  • 2 medium onions, finely diced
  • 4 garlic cloves, finely chopped or crushed
  • 1 tbsp grated fresh ginger
  • 1 green finger chilli, finely chopped
  • 2 heaped tsp mild curry powder
  • 1.5 tsp ground coriander
  • 1 tsp turmeric
  • 1 tsp garam masala
  • 0.5 tsp cayenne pepper
  • 150ml full-fat Greek yoghurt
  • 400ml full-fat coconut milk
  • 1 tsp salt, plus more to taste
  • 1 tbsp fresh lemon juice, plus more if needed
  • 4 spring onions, green parts only, thinly sliced
  • A large handful of fresh coriander, roughly chopped

Method

  1. Heat 2 tbsp vegetable oil in a large pan over a medium-low heat. Add the onions and cook gently for 10–15 minutes, until very soft and lightly golden but not deeply browned.
  2. Add the garlic, ginger and green chilli and cook for another 2 minutes.
  3. Add the curry powder, ground coriander, turmeric, garam masala and cayenne. Stir continuously for 1–2 minutes, until fragrant.
  4. Turn the heat down low. Add the yoghurt a spoonful at a time, stirring each addition thoroughly into the masala before adding the next.
  5. Pour in the coconut milk and add 1 tsp salt. Bring to a very gentle simmer and cook uncovered for 10 minutes.
  6. Meanwhile, heat a little vegetable oil in a separate frying pan. Add the chicken thighs and sauté for 4–5 minutes. You only want to give them a little colour and partially cook them at this stage.
  7. Add the chicken to the sauce and simmer gently, uncovered, for 12–15 minutes, or until the chicken is cooked through.
  8. Remove the pan from the heat. Stir in 1 tbsp lemon juice, most of the spring onions and most of the fresh coriander.
  9. Taste before doing anything else. Add more salt if needed. If it needs more tang, add additional lemon juice one teaspoon at a time, tasting between additions. You want it fresh and slightly tangy, not sour. If it’s too hot or too sour, add more coconut milk or a few spoons of double cream.
  10. Scatter over the remaining spring onions and coriander and serve with basmati rice.

If you like it hotter

This version is deliberately family-friendly. The Shamiana Chicken I remember had a proper kick to it.

For something closer to that, use 2–3 green finger chillies and increase the cayenne to 1 tsp.

Did you know Shamiana? If you ate at the Kirkland or Ravenna restaurants, attended one of their cooking classes, or still have any of their old recipes tucked away somewhere, please leave a comment or get in touch. I’d especially love to know if anyone has the original recipe for Shamiana Chicken.
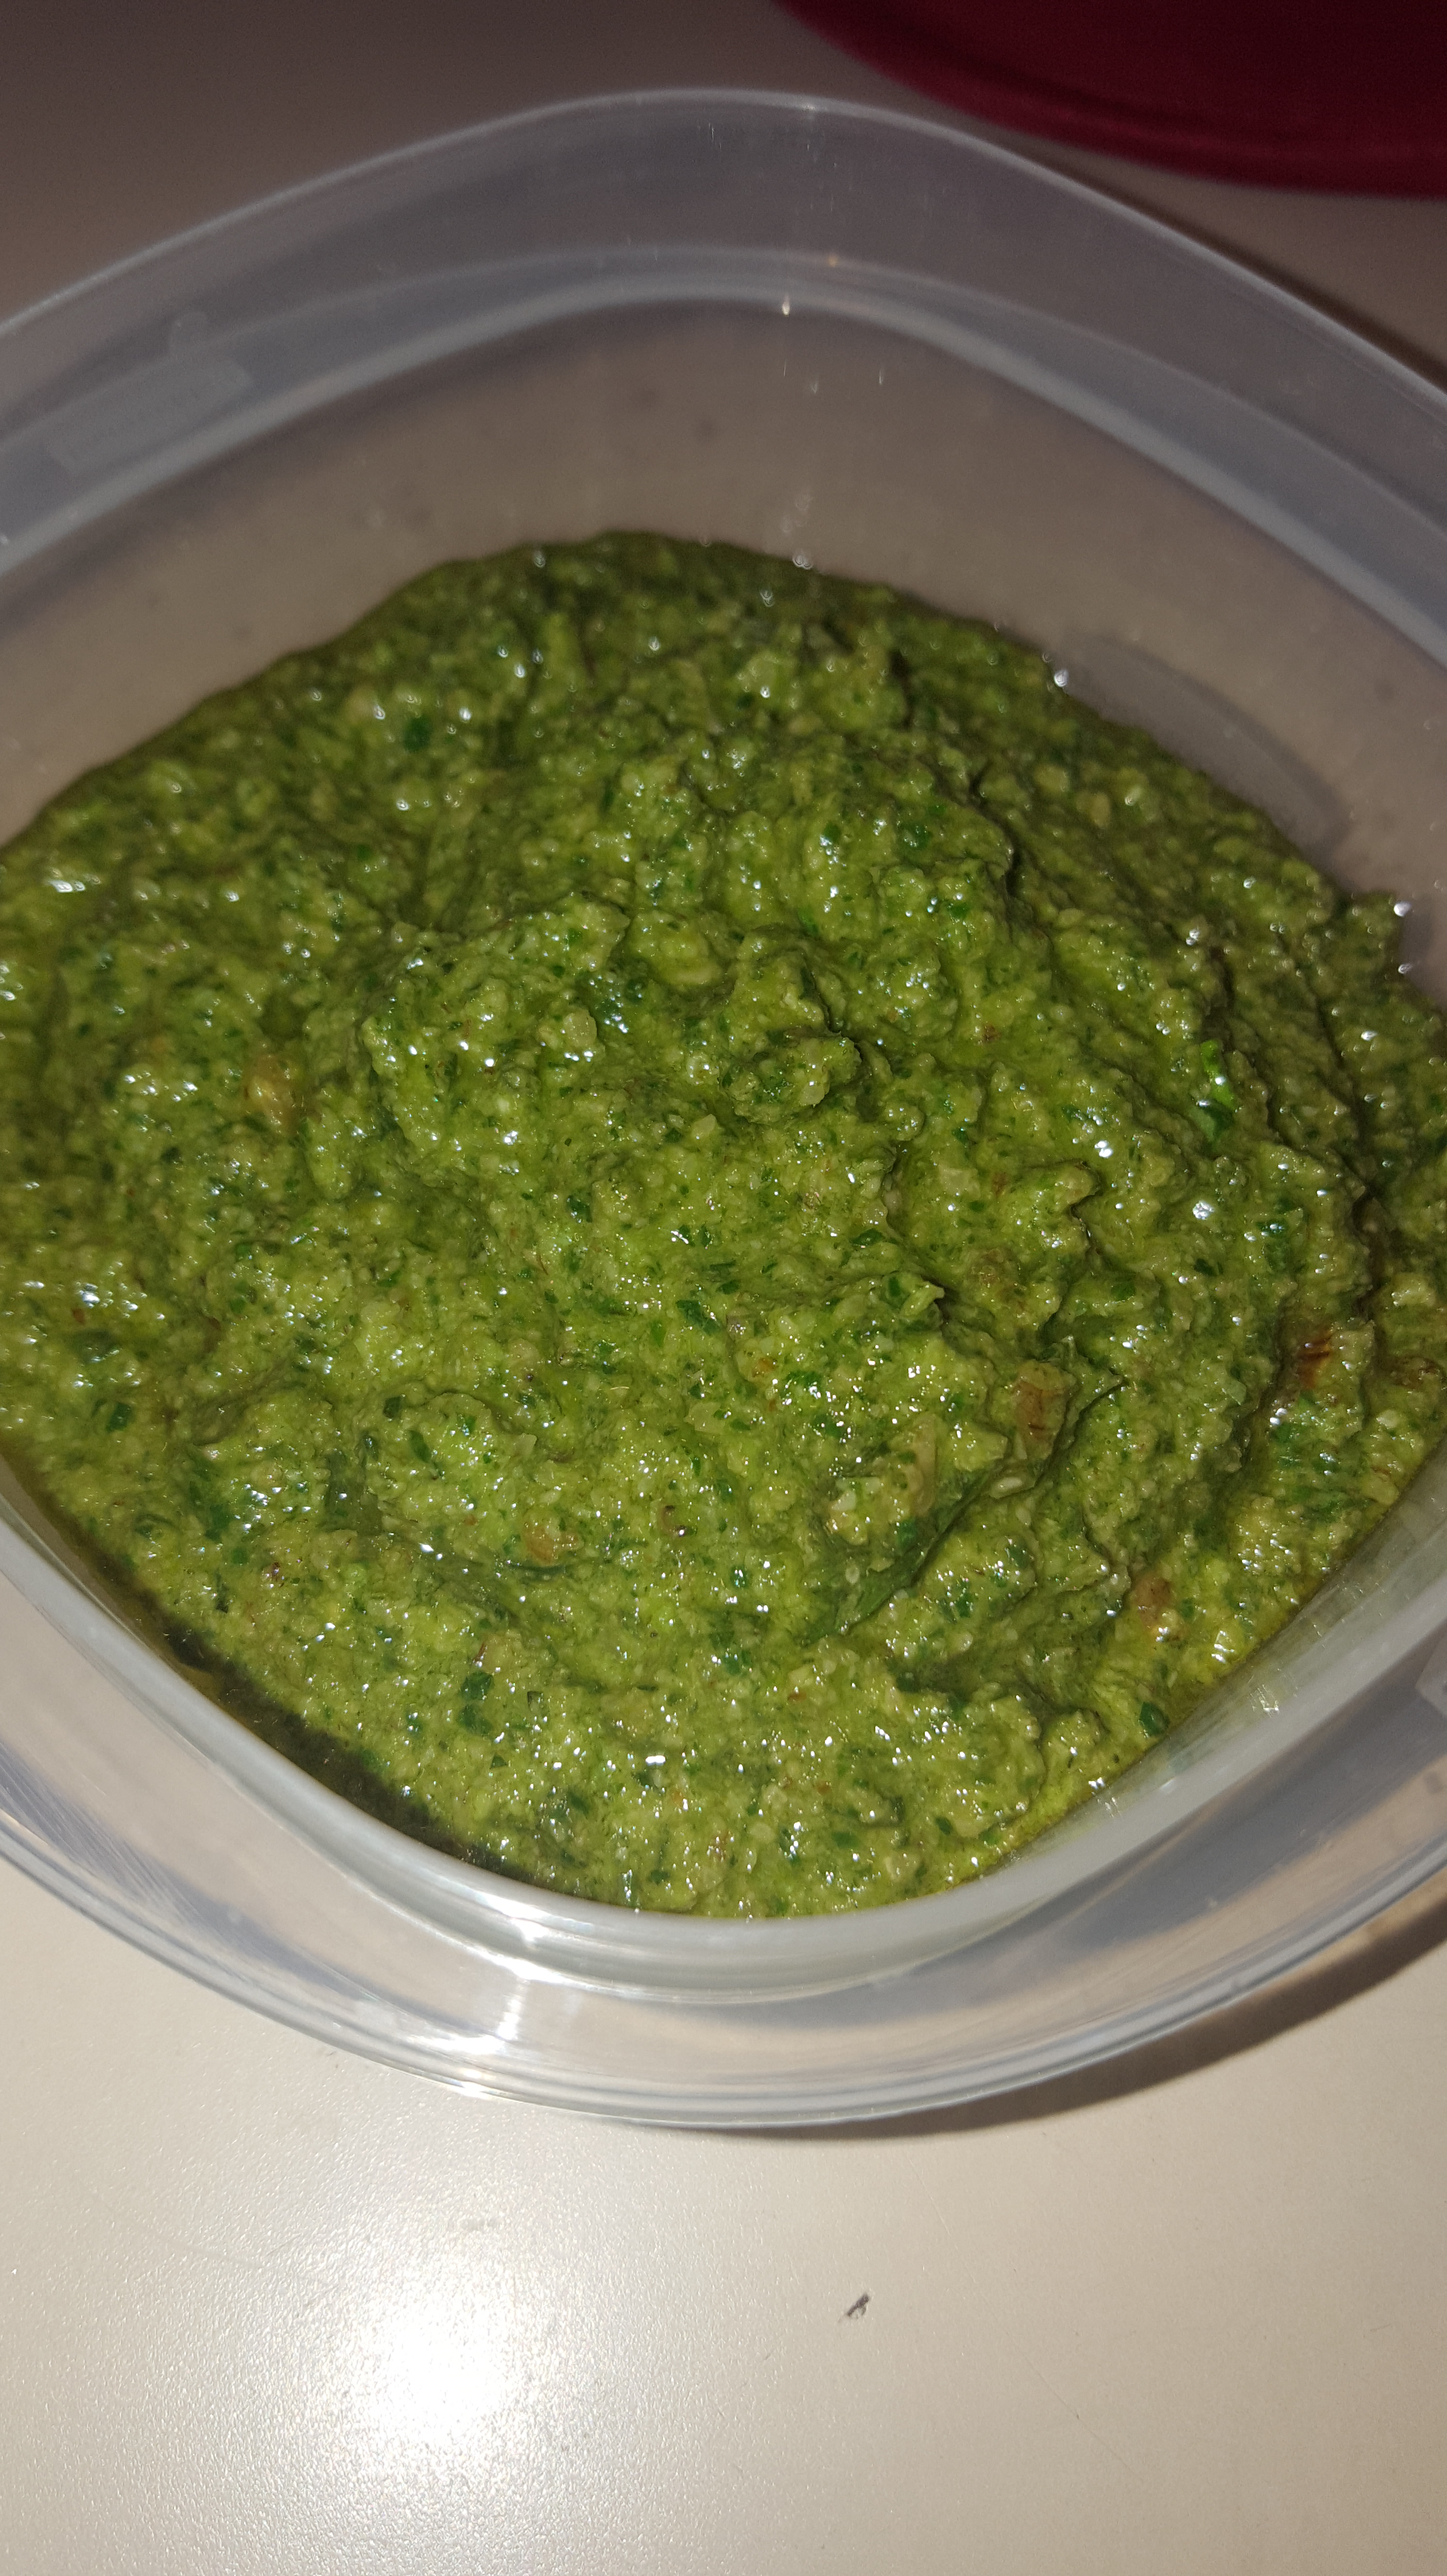
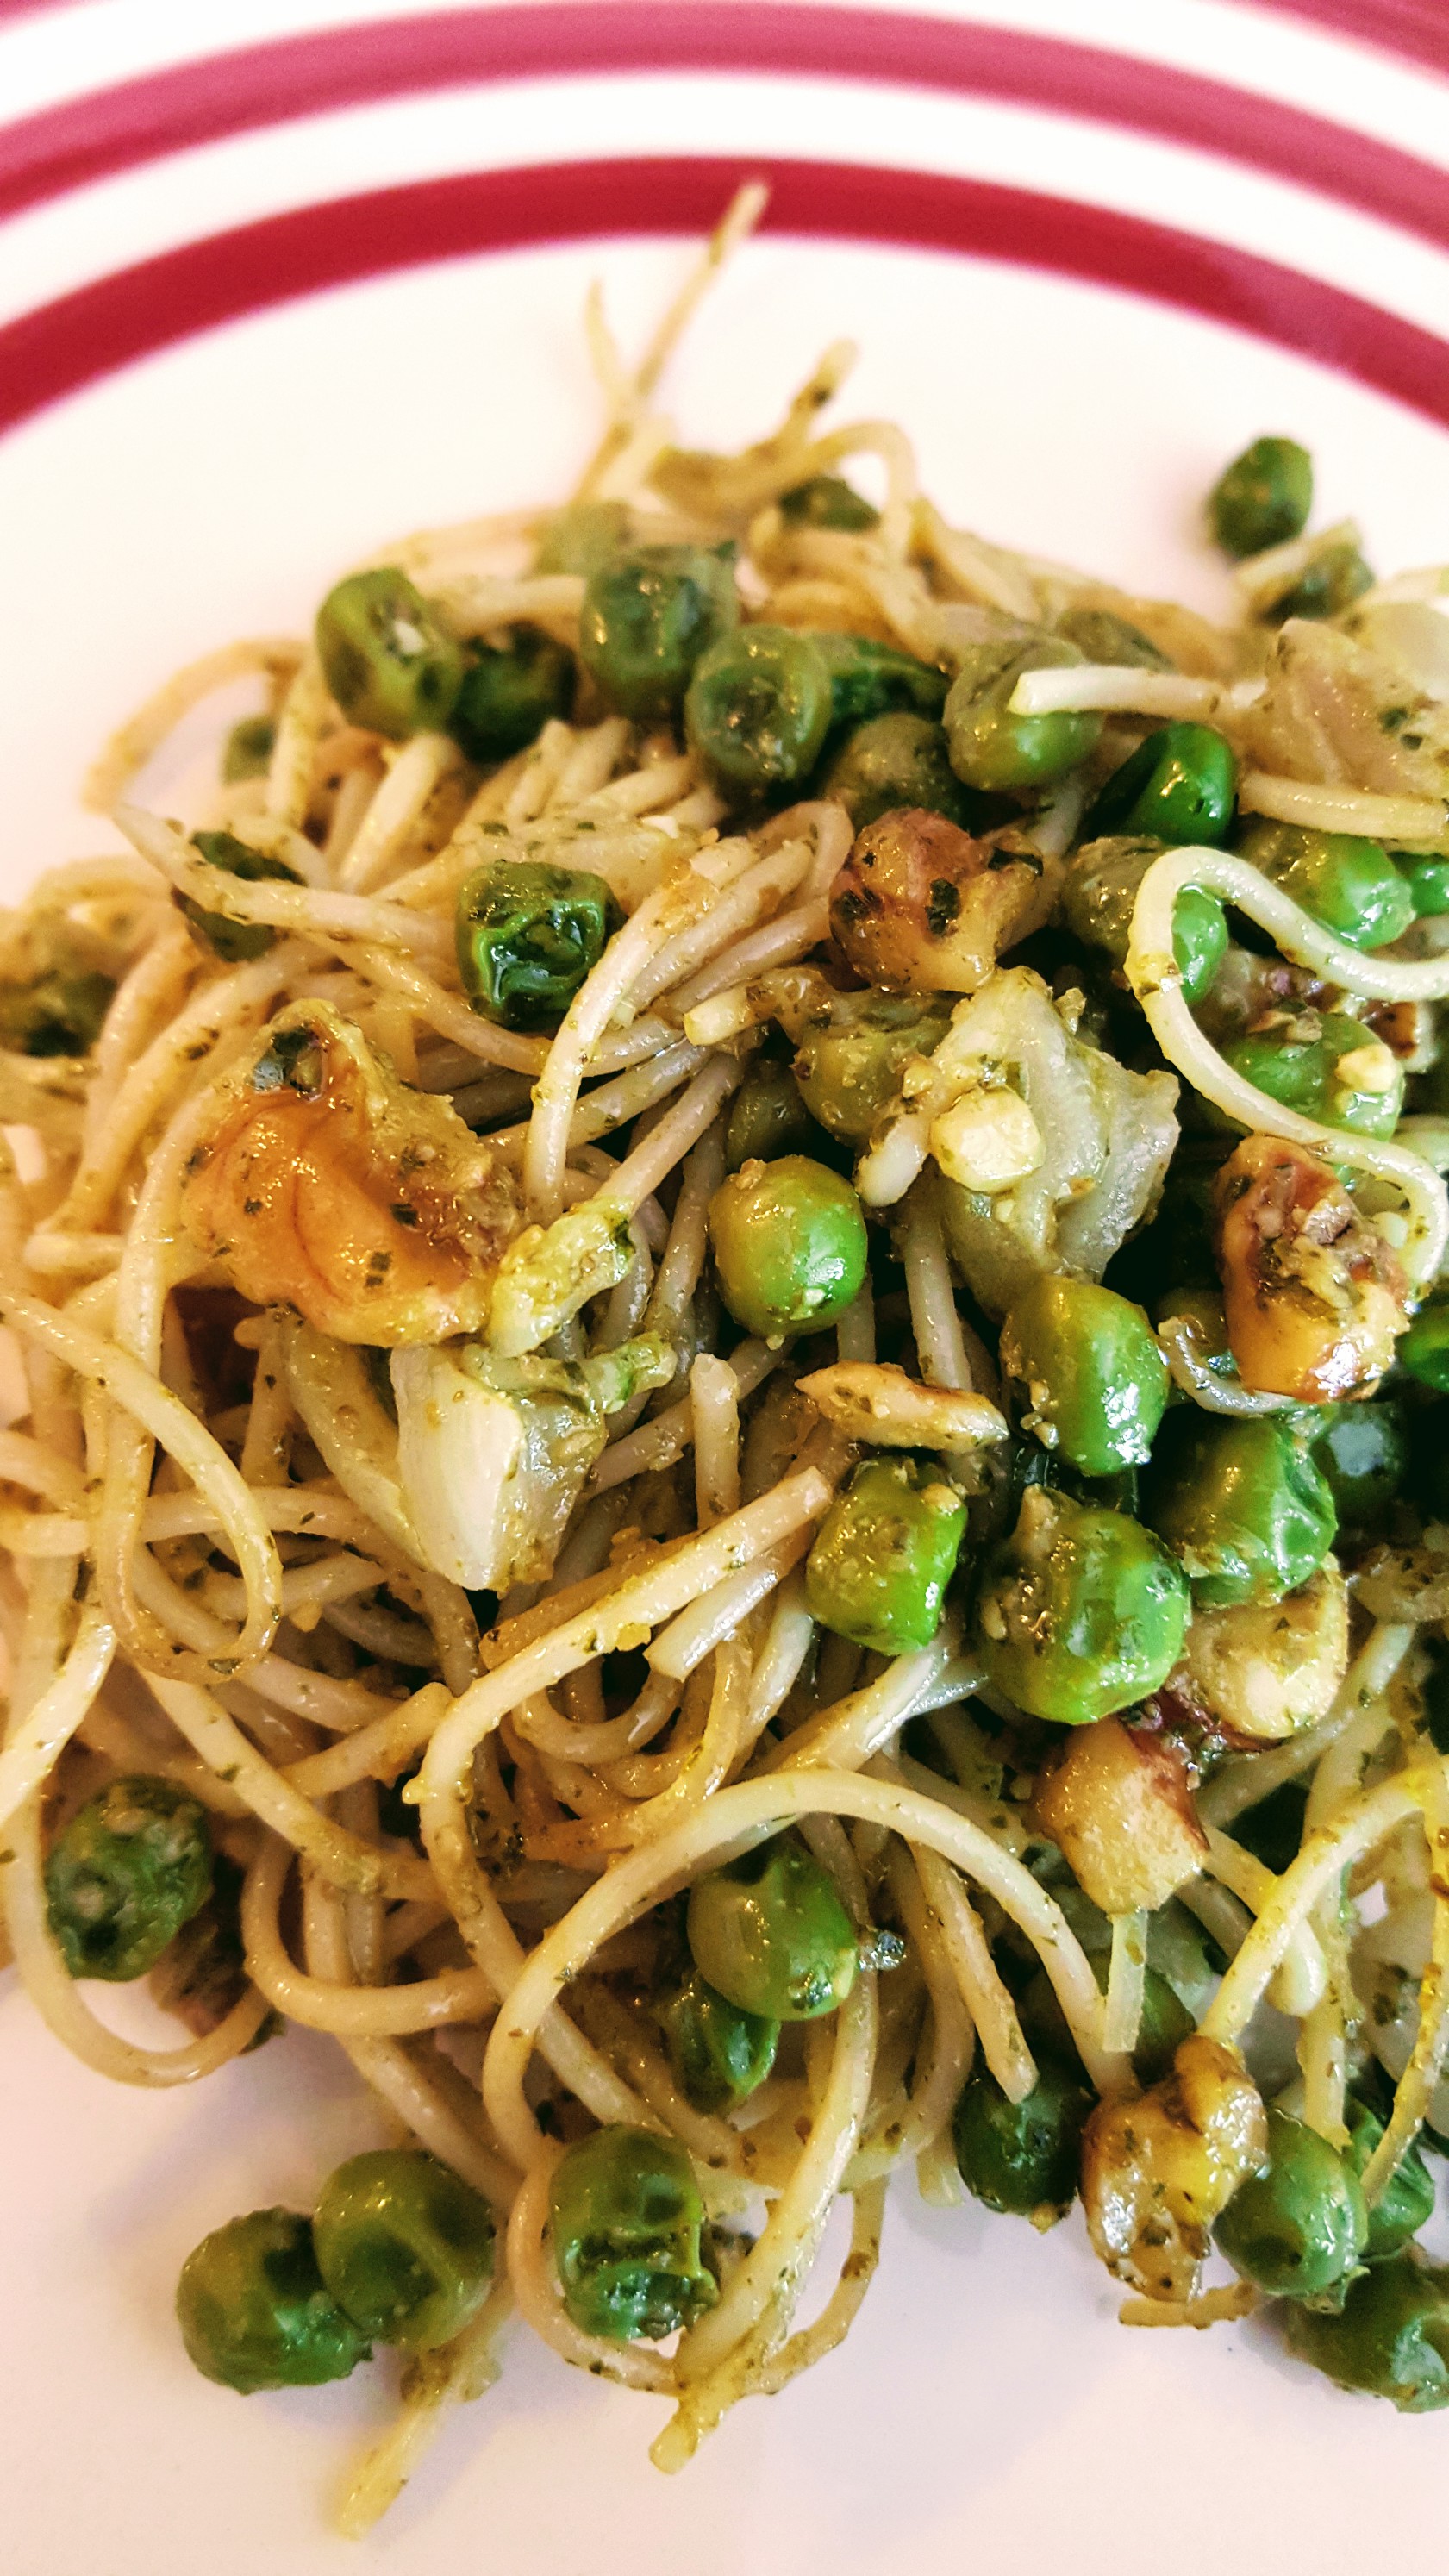
Easy Pesto Pasta recipe

When I was growing up, my dad was in charge of dinner once in a while, and his go-to was pesto. I have a special place on my palate for this style of pesto, and when I have a bit of fresh basil to use, I make a batch of pesto to keep in the fridge. I use the pesto in my spag bol, or as a spread on a cold chicken sandwich, but most especially for the fastest midweek dinner.

The pesto I make has walnuts, which may turn off a few due to taste or allergy, but you can substitute a nice hard, Italian cheese for the nuts if you prefer. Pine nuts are more traditional, but I find them expensive and less versatile than the walnuts, which also find their way into baked goods in my house. You can also add more olive oil than the recipe calls for to taste, but I usually add olive oil to the dish I’m using the pesto to flavour, so I use just enough to blend and preserve.

If you don’t fancy making the pesto from scratch, you can always tear in basil leaves and crush fresh garlic for the pasta recipe, and it’s still flavorful and quick. My kids aren’t the biggest fans of this pasta if it isn’t angel hair and the garlic is overpowering, but they never notice when it’s in the spag bol!  This dish takes all of 15 minutes, the longest step really is waiting for the water to boil. You can even make the pesto in the food processor while you wait for the water and then pasta. So quick, and so tasty!

You’ll need:

Pesto (food processor to a paste)

  • 1 cup fresh basil leaves, rinsed
  • 2 teaspoons (or two cloves) fresh peeled garlic
  • ½ cup olive oil
  • ¼ cup walnut halves or pieces
  • 1 teaspoon salt

Pasta

  • Angel Hair pasta (or spaghetti) to serve four (one handful usually does the trick)
  • ½ cup chopped onion (I use frozen)
  • 1 teaspoon olive oil
  • 1 cup sweet peas (again, frozen)
  • ½ cup rough chopped walnuts
  • 1-2 tablespoons pesto from above batch (or a handful of basil leaves and a bit of garlic)
  • ½ cup shredded Parmesan or preferred hard cheese
  • Salt and pepper to taste

The method:

Using a food processor, blend the basil leaves, garlic cloves and olive oil until smooth.

Add the walnuts and salt, and any more olive oil to keep the mixture smooth up to an additional tablespoon. The pesto paste should not clump up, but remain semi-liquid.

Pesto.jpg

Using a medium saucepan, bring 6+ cups of water to a boil for the pasta.

Break the pasta in half and add to the boiling water. Add salt and oil if you choose, but I usually don’t bother.

While the pasta cooks, scrape the pesto into an airtight container; this will keep in the fridge for a couple of weeks!

Drain the pasta in the sink and return the pan to the cook top with a medium heat.

Add the onions, peas and oil and thaw/lightly fry the onions and peas.

Add the pesto you’ve created and the additional walnut pieces and stir into the onions and peas. This allows the garlic to fry off lightly before adding the pasta.

Return the pasta to the pan and toss lightly. You can also pour the pasta and sauce into a large serving bowl for tossing, it may provide more space for evenly coating the pesto.

Remove from the heat and either in the pot or bowl, add the cheese and toss again.

Salt and pepper to taste before serving. Enjoy!

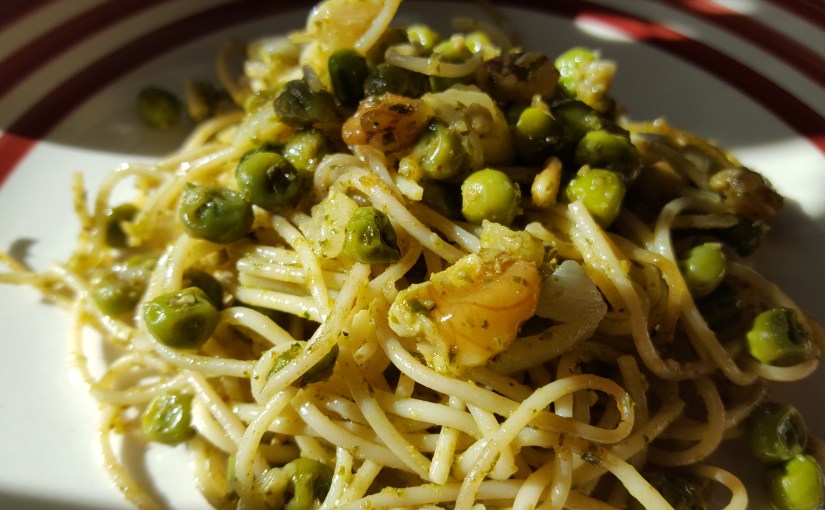
Plated pesto pasta.jpg

Tired of deciding what to cook?

What to cook.jpg

“I’m just buying loads of food and hoping it might arrange itself into a meal like monkeys writing Shakespeare.”

That’s my creative caption for the featured photo. Are you tired of deciding what to cook for your family week after week? Are you stuck in a rut, cooking the same things every week? Are you tired of buying expensive ingredients to try something new, only to have your kids reject it?

I know I am. In my house, I’m responsible for cooking 3 days a week: Monday, Wednesday and Friday. My husband does the other days, and he is a much more creative and resourceful cook. Moreover, he doesn’t get quite so cross about the soul-destroying experience of slaving over a hot stove to produce something the kids won’t even eat.

So from a combination of being busy with work and a general sense of ennui, I rely on the same old failsafes every week. And even I’m getting tired of it.

I do “Freezer Food Monday”, which is fish fingers or previously frozen Richmond sausages, accompanied by potato waffles and frozen peas (I do cook the peas; I don’t serve them frozen. I’m not that bad). Come on, don’t judge me … it’s Monday and I can’t be bothered. If we’re all very lucky, we had a roast chicken on Sunday and instead of freezer food I mix the leftover chicken with a jar of Korma curry sauce.

We then have “Mince Wednesday”. My kids are mad for mince, so I might as well be the one to cook it for them. I usually do a mild chilli con carne (the Hairy Bikers one is best) or a spag bol. But I get so bored and think there must be some more ways to serve the mince.

The week is rounded off by Pizza Friday. Usually it’s one of those ones they make for you in Morrisons. Sometimes we get one delivered or even occasionally go out for one. When the day is very special, I buy the pizza bases and other ingredients and we build our own. I’m quite happy with Pizza Friday, actually. I’m sure I read somewhere that a pizza each week keeps you on fleek. Although I am over the age of 30 so I don’t actually know what that means.


In any case, I really would like – for my own sanity if not for the sake of expanding my children’s tastebud horizons – to try some other stuff. But the problem for me is that the stakes (and the price of the steaks) are too high. I don’t want to make things that require a lot of effort and expensive ingredients, only to have my kids reject it.

This very website actually has some great family-friendly recipes to try out if you’re in a rut (written by a mate of mine, not me, in case you didn’t realise I had a reclusive guest poster). But another cool idea is to try out new recipe subscription service, Mum’s Meal Planner. This is a small business venture by a normal mum named Becky, who felt just the same about the difficulty of getting meal inspiration.

The way her service works is you pay £2.50 per month, and she sends you a weekly email with a whole week worth of meals (and 2 substitutes on the list if you really don’t like some of the main options). This is accompanied by a full shopping list that will cover everything for the week and use all of the ingredients without excess waste.

I’ve been getting her emails for a while now and I’m really impressed by the variety of easy recipes that keep things a bit fresh, along with the convenient shopping list. As I don’t cook every day of the week, I don’t use all of the recipes, but I enjoy getting some options each week to choose from. It’s fantastic that they’re all easy to follow even for those among us (like me) who have the bare minimum of culinary skills.

For this “Mince Wednesday”, I tried doing her cottage pie and beans recipe. There is minimal chopping and throwing the can of beans in adds loads of flavour and bulk with a minimum of effort. It tasted just as good as the much more labour-intensive cottage pie we usually make. It had a bit less depth of flavour (because our usual one has wine and worcestershire sauce in it), but that’s all well and good when you’re feeding children (the culinary cretins). My husband and I both really enjoyed it.

Sadly, my kids basically still didn’t eat it. But I didn’t mind so much because the expense and effort was low. Normally, when I worked so hard on a meal and my kids don’t eat it, I’m all like:

giphy-downsized.gif

But I didn’t feel that way today because the meal was low effort. I just shrugged and cracked open a beer. I’m looking forward to trying more of Becky’s meals. I’m sure my kids will find one or two they might deign to eat.

Becky subscribed me to her service for free for a short time so I could evaluate the service, but this is my honest opinion. I just like helping out small businesses. 

Mission Mindfulness

Generate your button code

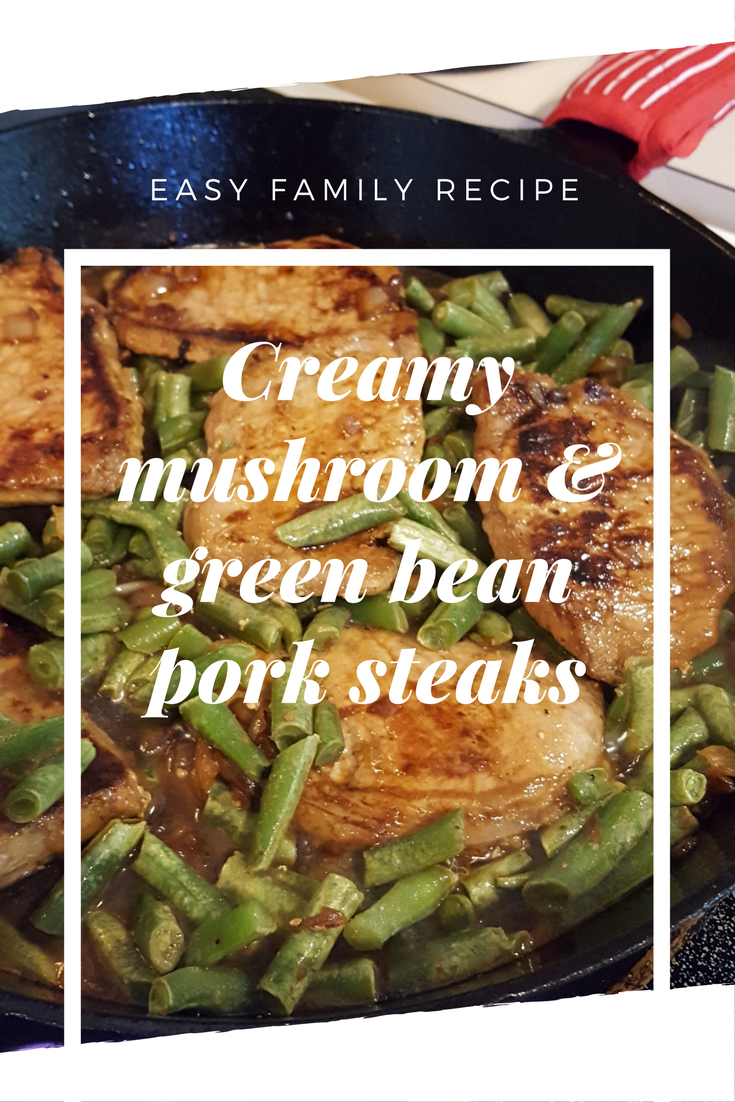
Creamy mushroom & green bean pork steaks recipe

It’s hard to get kids to eat more mature meals – grown-up dinners that appeal to the adults – so I wasn’t sure how to serve my children some gorgeous pork loin steaks that were making my mouth water. I decided to go for a tried and true recipe I grew up with, pork chops with cream of mushroom soup. Of course, not content to just dump the contents of the tin onto some fried chops, I created this recipe, which went down a treat. Using my cast iron pans makes colouring the meat really easily, but if you don’t have one, just leave the meat alone for several minutes to sear the colour onto it in any deep frying pan. I was really surprised at how keen the kids were once the chops were in bite-sized pieces and swirled into the mash.

You can choose to make your mash anyway that suits, but this recipe offers a microwave shortcut that shaves time and clean up in half. Peeling the skins once the whole potatoes have been cooked is much easier, and you don’t have to worry about a pot adding to the steam in your kitchen in the summer.

I used a teaspoon of bacon fat I had saved in my fridge to fry off the steaks, but a bit of veg oil will do the trick if you don’t have lard on hand. I happened to have it after a bacon-heavy brunch, but I must admit it adds a lovely depth of flavor to the pork and onions. You can keep it basic, or add more of your own flare to this dish, so I hope you’ll find inspiration in this ramped-up old standard that takes less than 30 minutes.

Creamy mushroom & green bean pork steaks recipe

You’ll need:

  • 4–6 pork loin steaks or pork chops (depending on the thickness of the steak)
  • 2–3 tablespoons Worcestershire sauce
  • 1 tablespoon garlic granules/powder
  • 1 teaspoon bacon fat or veg oil
  • 1 cup chopped white onion (I use frozen)
  • 2 cups chopped green beans (again, frozen is so easy)
  • 1 cup water
  • 1 8oz (small) tin cream of mushroom soup
  • 1 tablespoon dried oregano
  • 1 teaspoon dried tarragon (optional)
  • ¼ cup single cream or half & half (optional)
  • 4 large baking potatoes
  • 2 tablespoons salted butter
  • ½–1 cup milk
  • Salt and pepper to taste

The method:

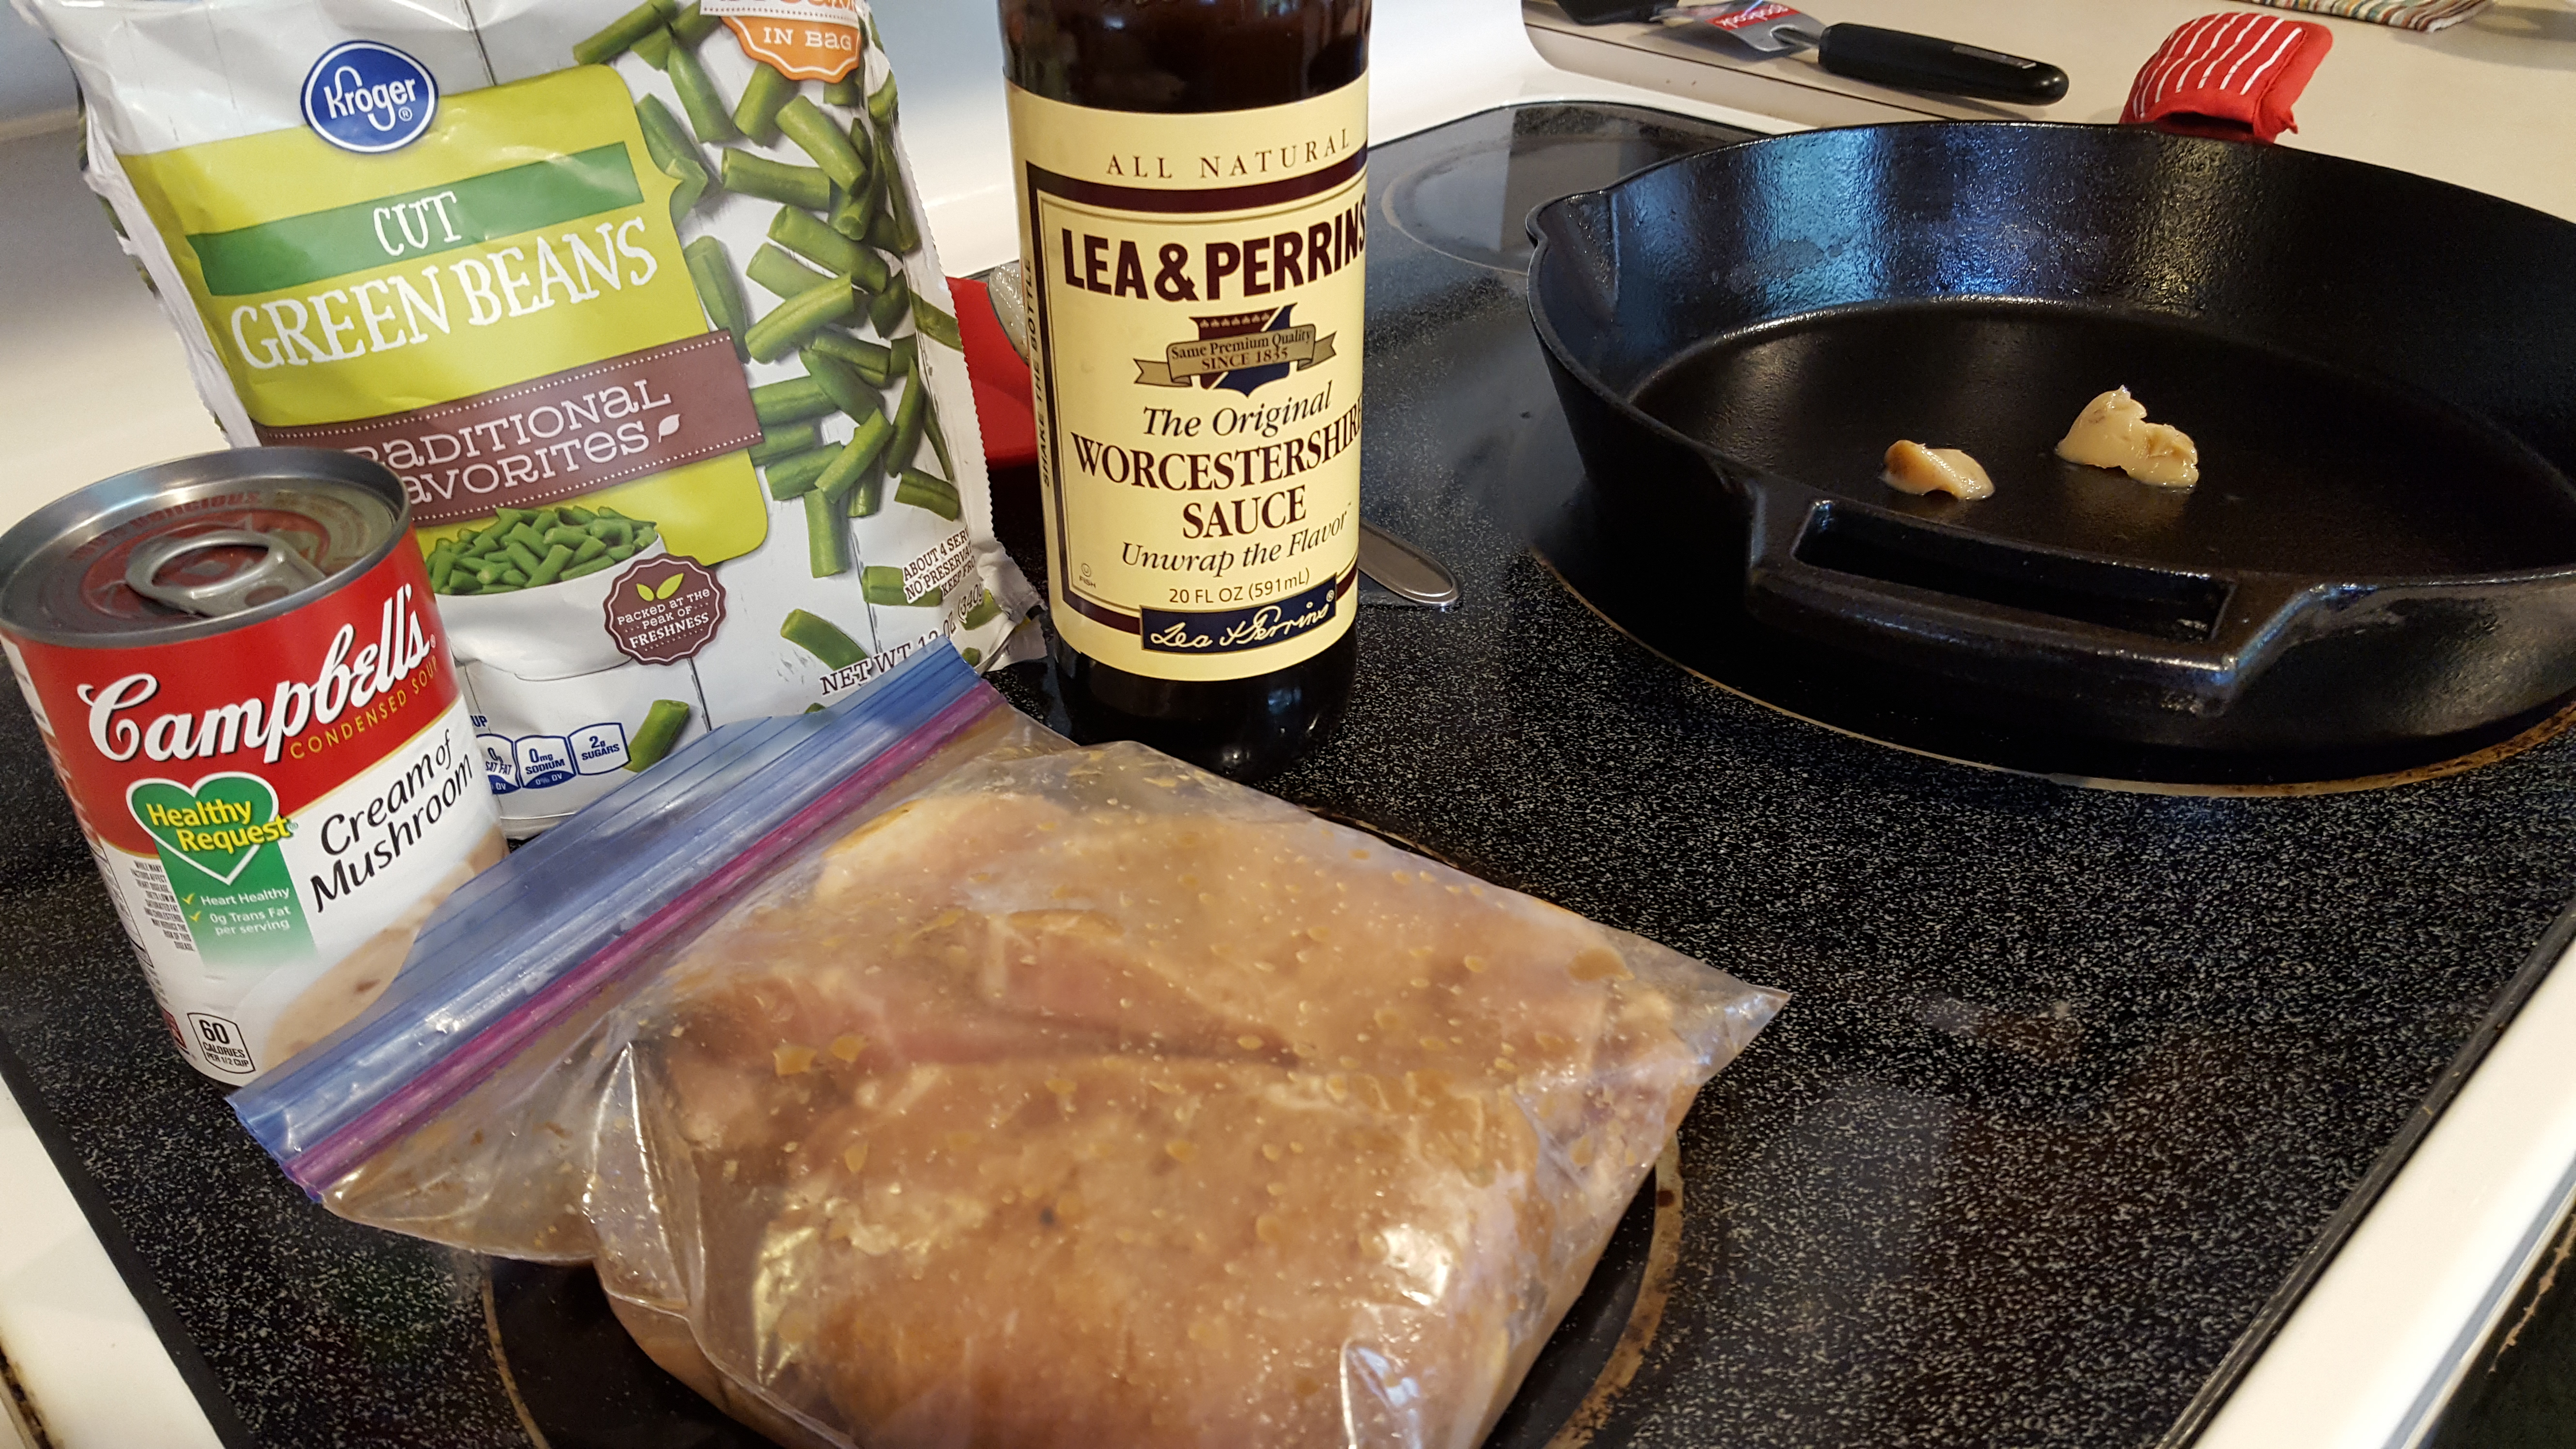
At least one hour prior, but preferably the night before, place your steaks or chops into a plastic bag to marinate in the Worcestershire and garlic.


Pork steaks marinating

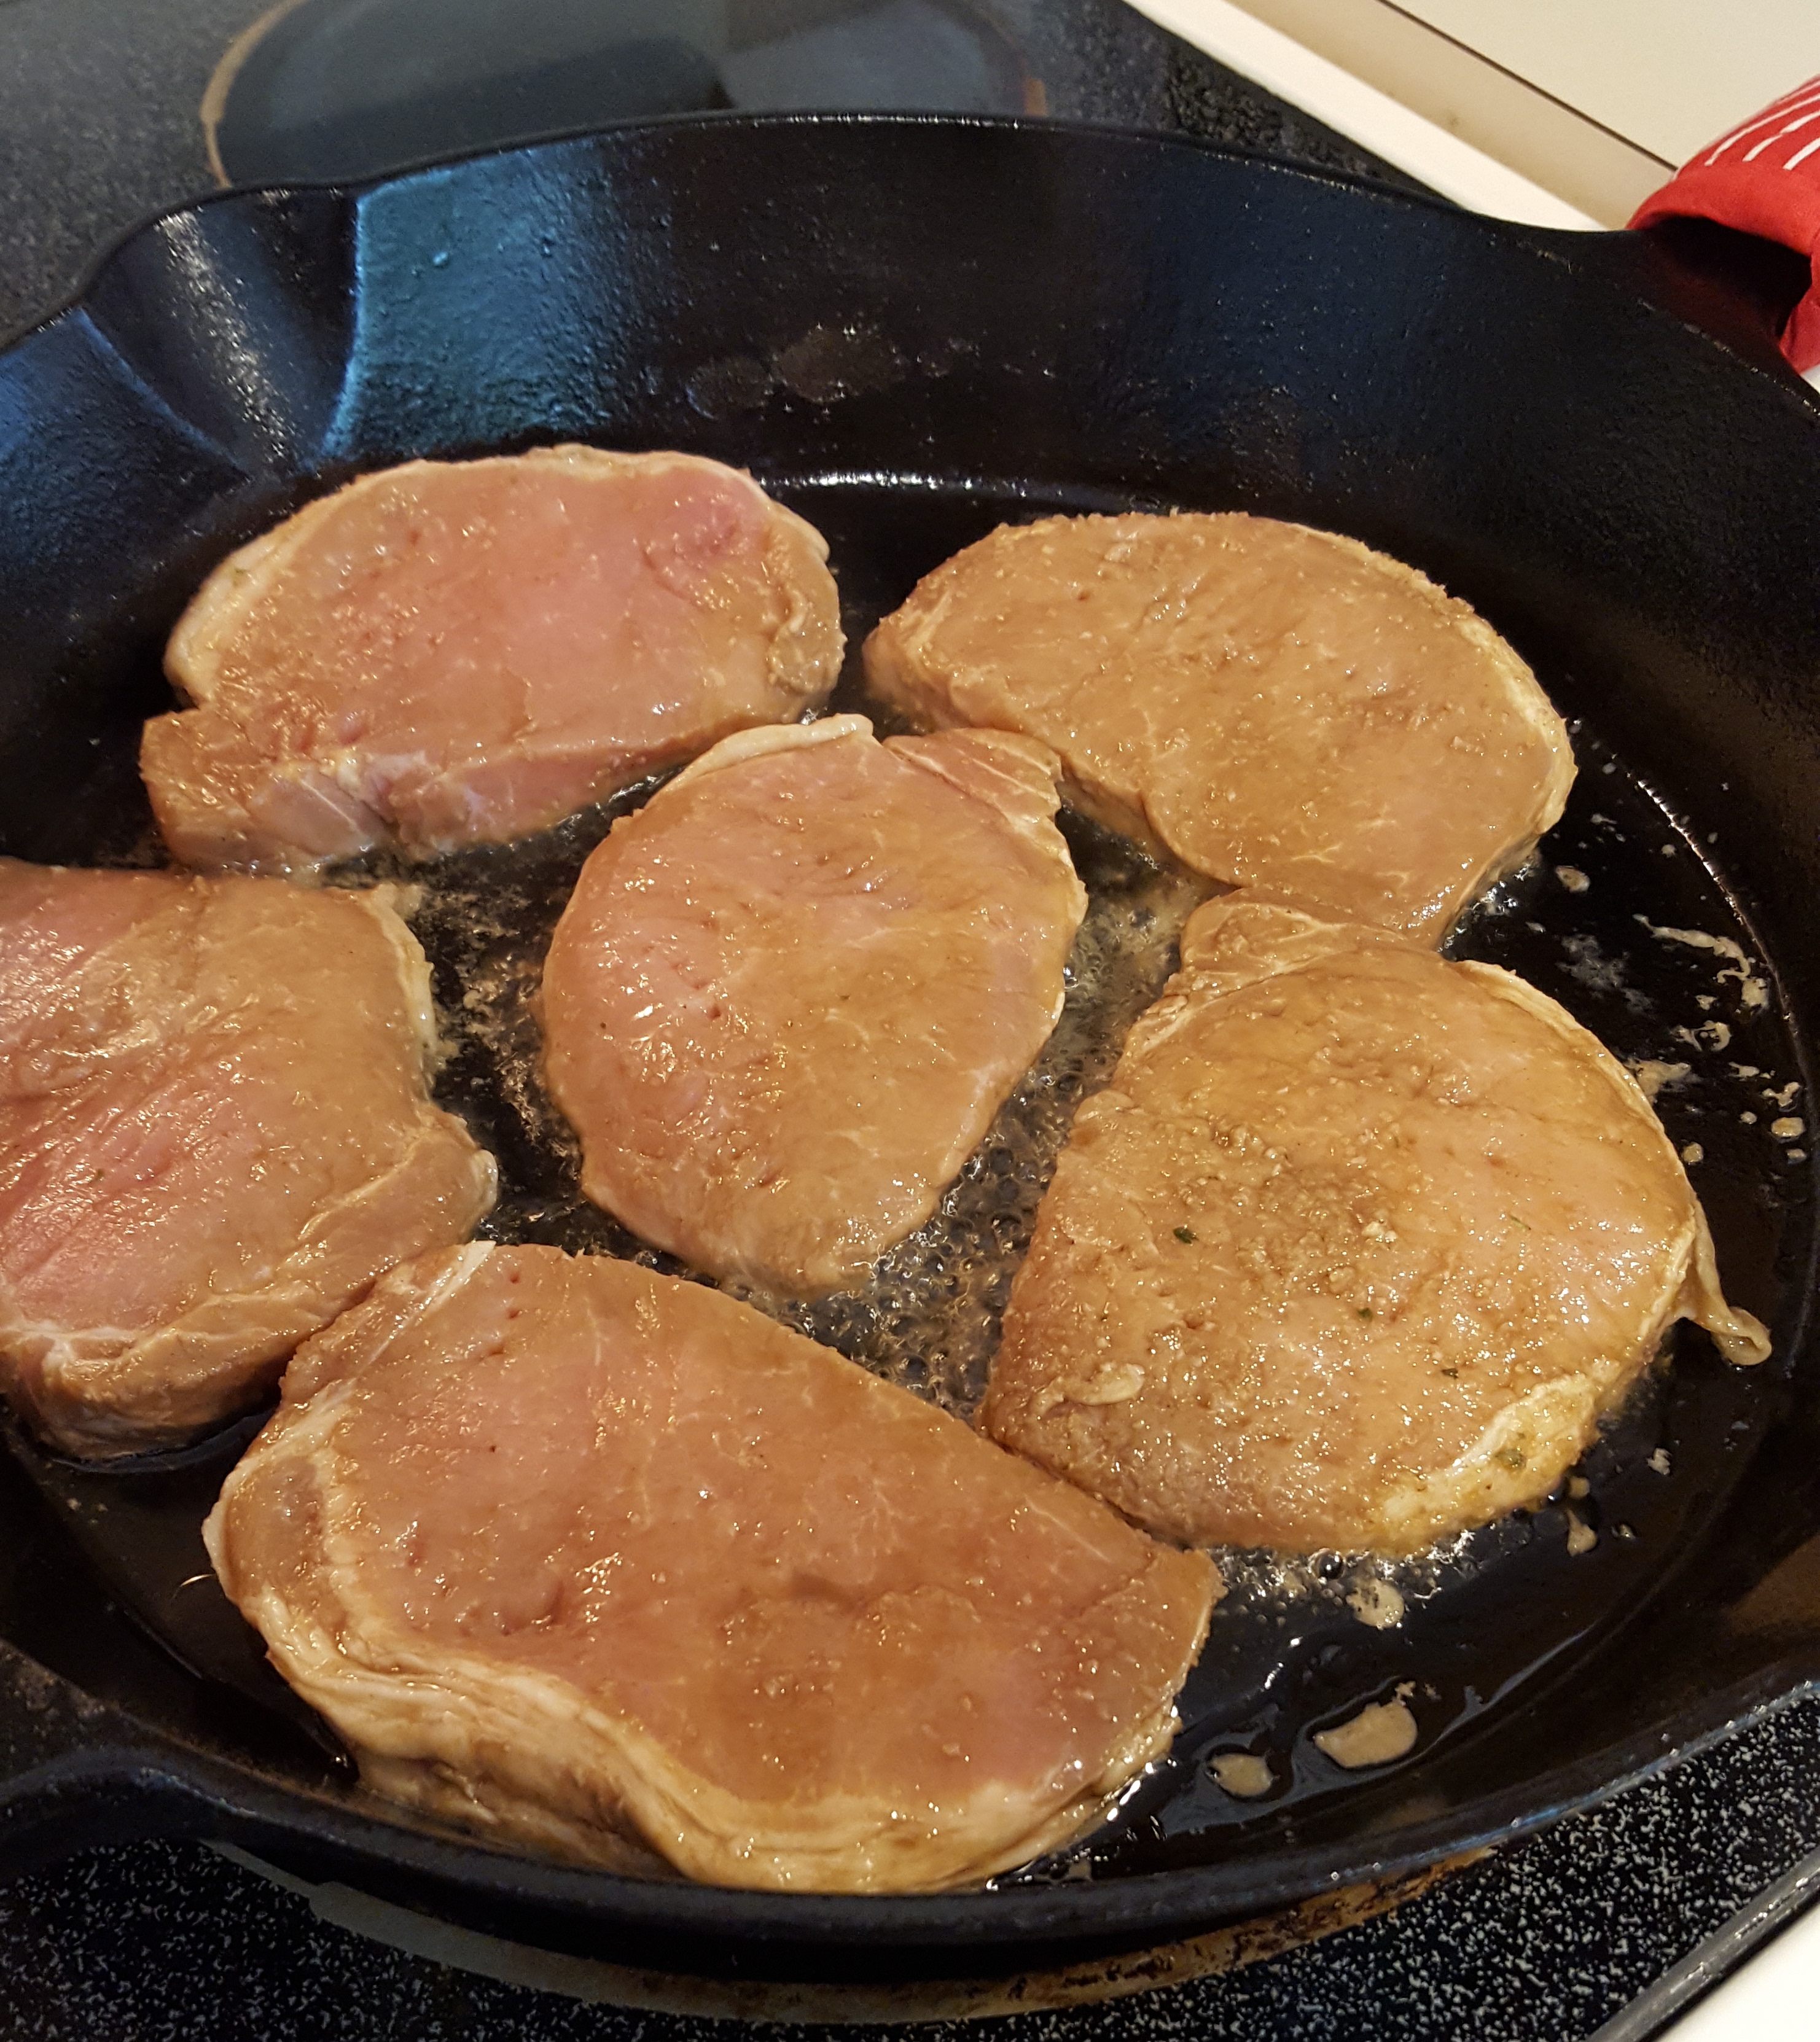
Bring a nice deep frying pan to a medium-high heat with either the lard or oil to fry off the steaks. Try not to move them so you get a lovely, deep colour on both sides.

Pork steaks browning

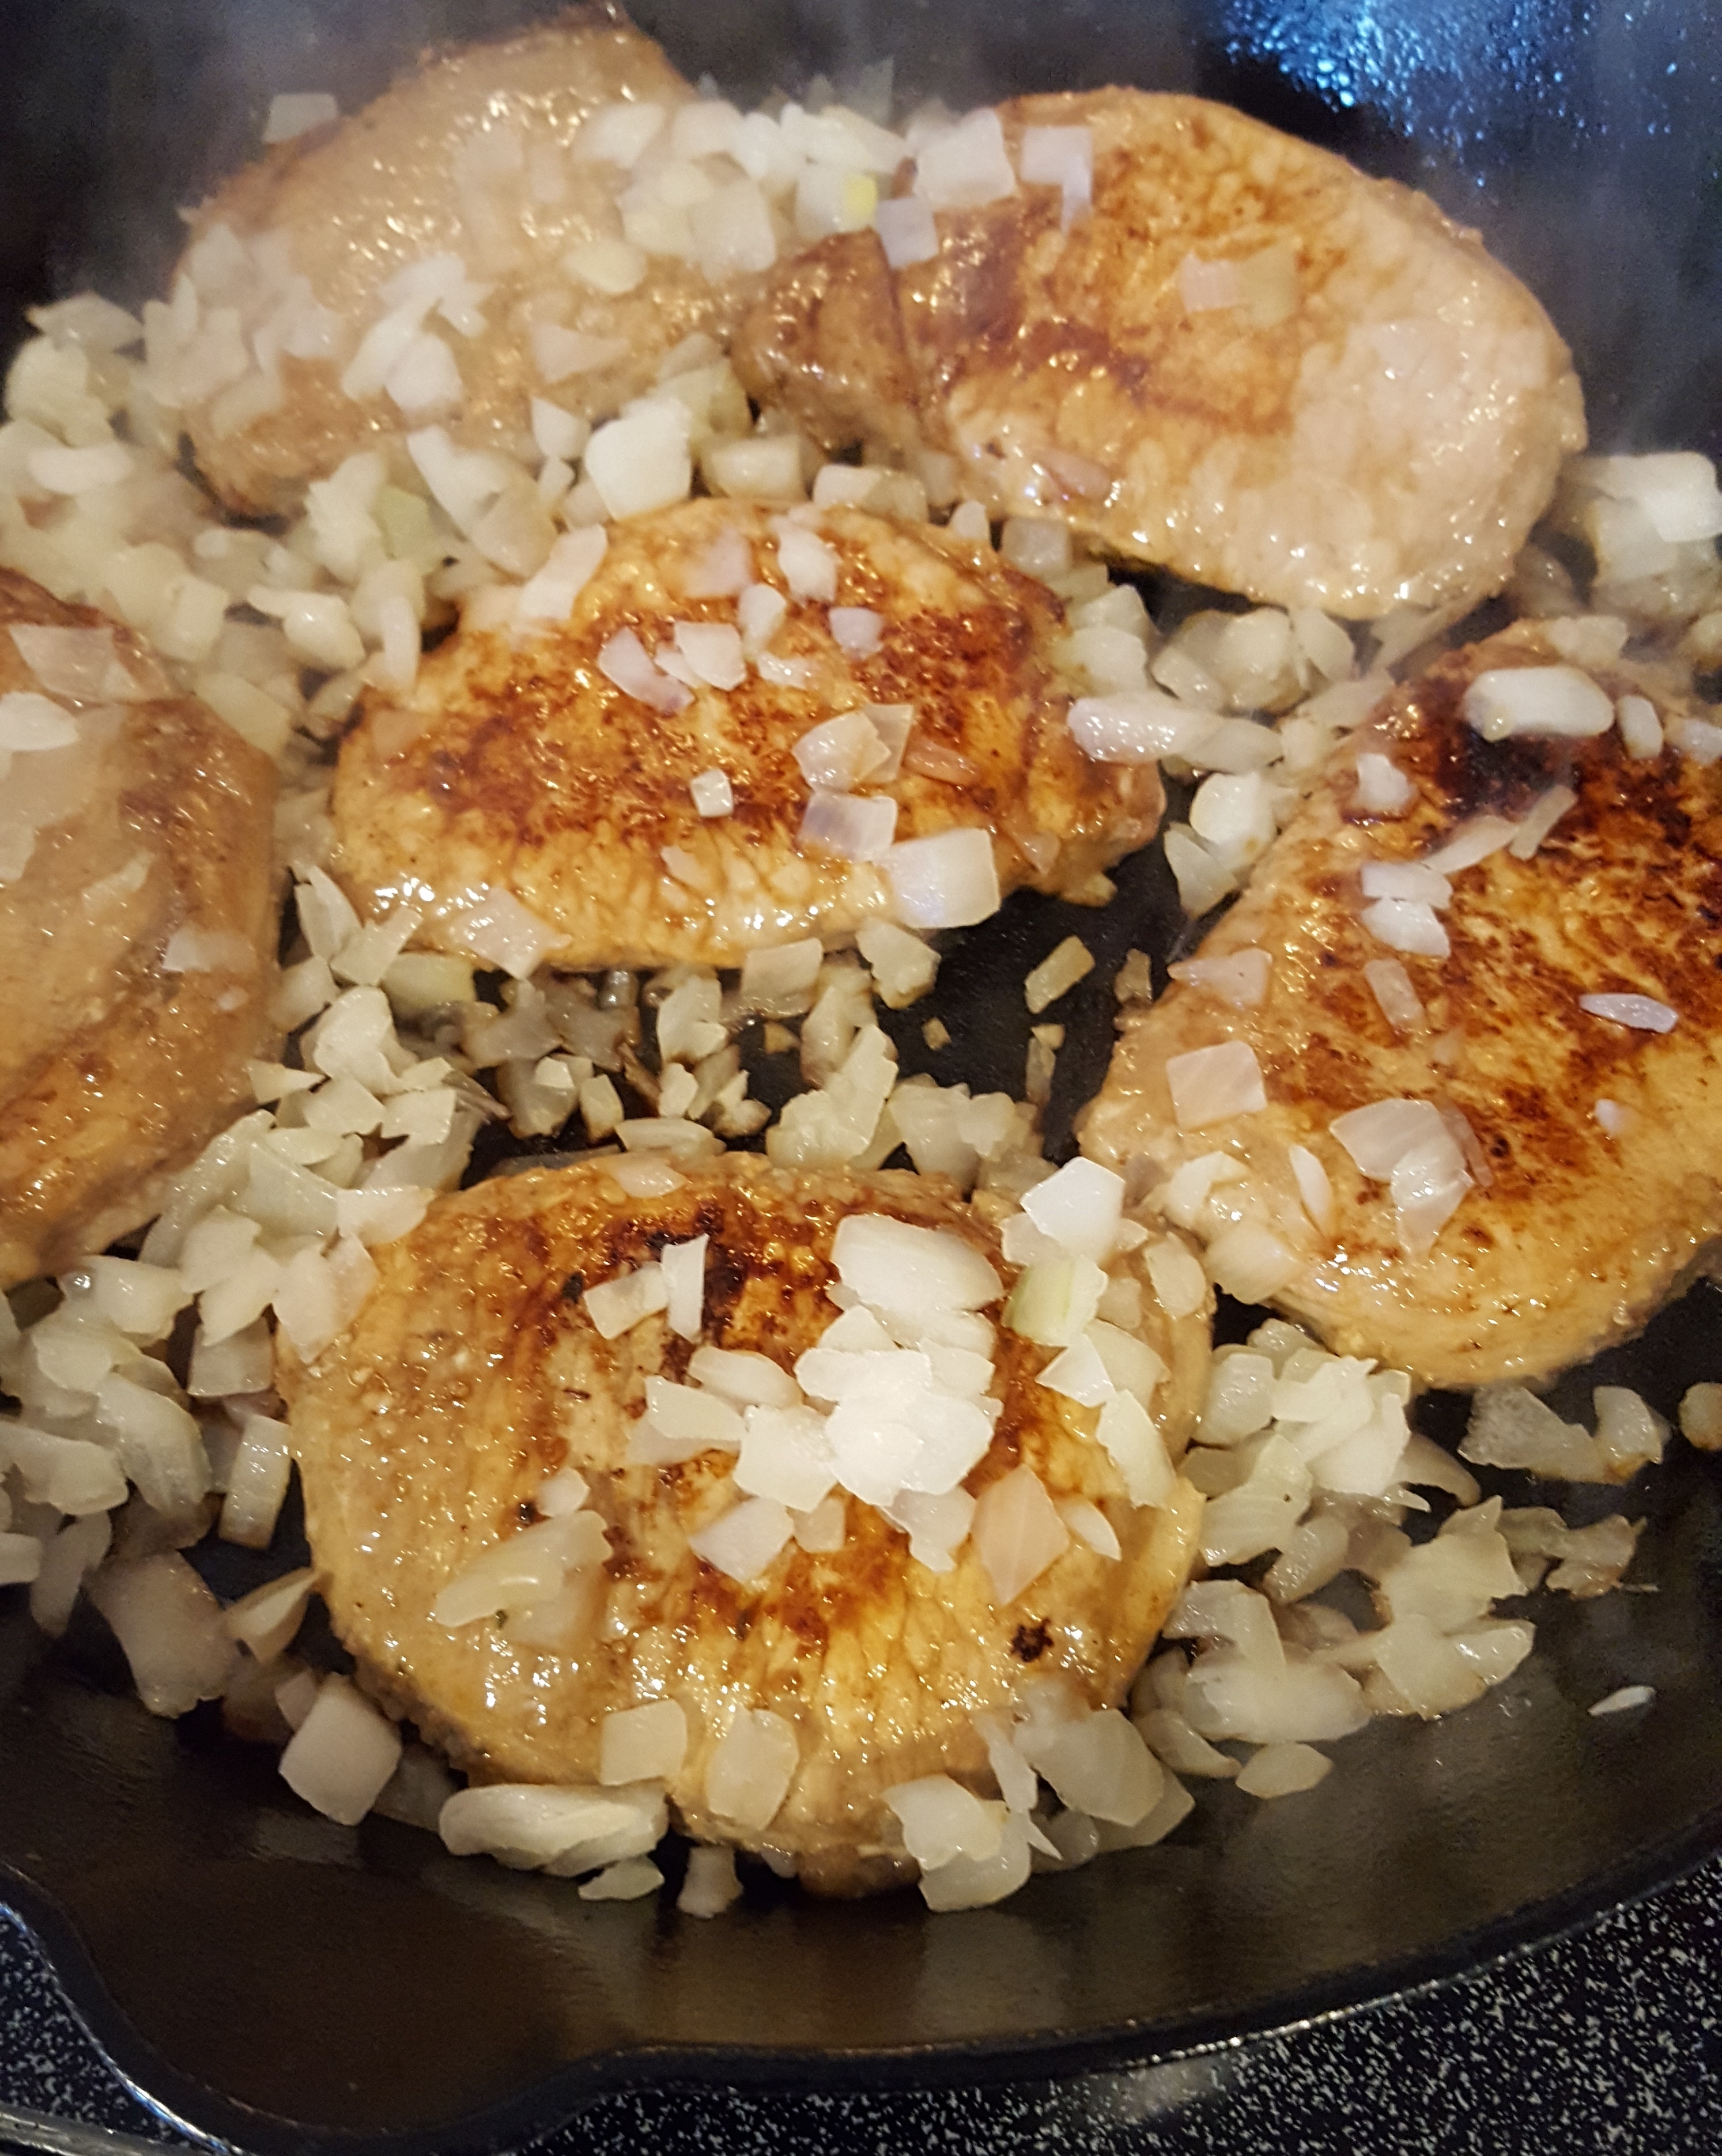
Add the frozen onions after both sides have some colour, and allow them to create a bit of liquid for clearing the fried bits off of the bottom of the pan.

Pork and onions.jpg

Add the green beans and mix into the onions. You can add up to one cup of water to help if needed.

Stir the liquid created with the dried oregano before adding the tin of soup.

Stack the steaks to one side whilst you incorporate the soup and the onion and green bean sauce.

Add another splash of water if you want a thinner sauce, but it will reduce as you decrease the heat to medium-low.

Allow the sauce to come to a slight bubble over the steaks, for about ten minutes to keep the steaks tender.

While the pork is finishing and the sauce is reducing, scrub a few good-sized potatoes and poke them each in several places before placing on a microwave safe plate.

Microwave on high (or use the “baked potato” setting) for 8–12 minutes, or until they’re all soft to the touch.

Once the potatoes are all cooked through, roll them in your hands with an oven glove to loosen the potato inside. Allow the potato to cool slightly before peeling away the skins by hand.

Add the butter and milk, salt and pepper, and mash together with a fork. Reheat if necessary before serving.

As the sauce for the pork reduces, add salt and pepper to taste. Optional additions are a bit of cream and dried tarragon right at the end, which I find add a richness and aromatic quality. I mix them in right before I turn off the heat.

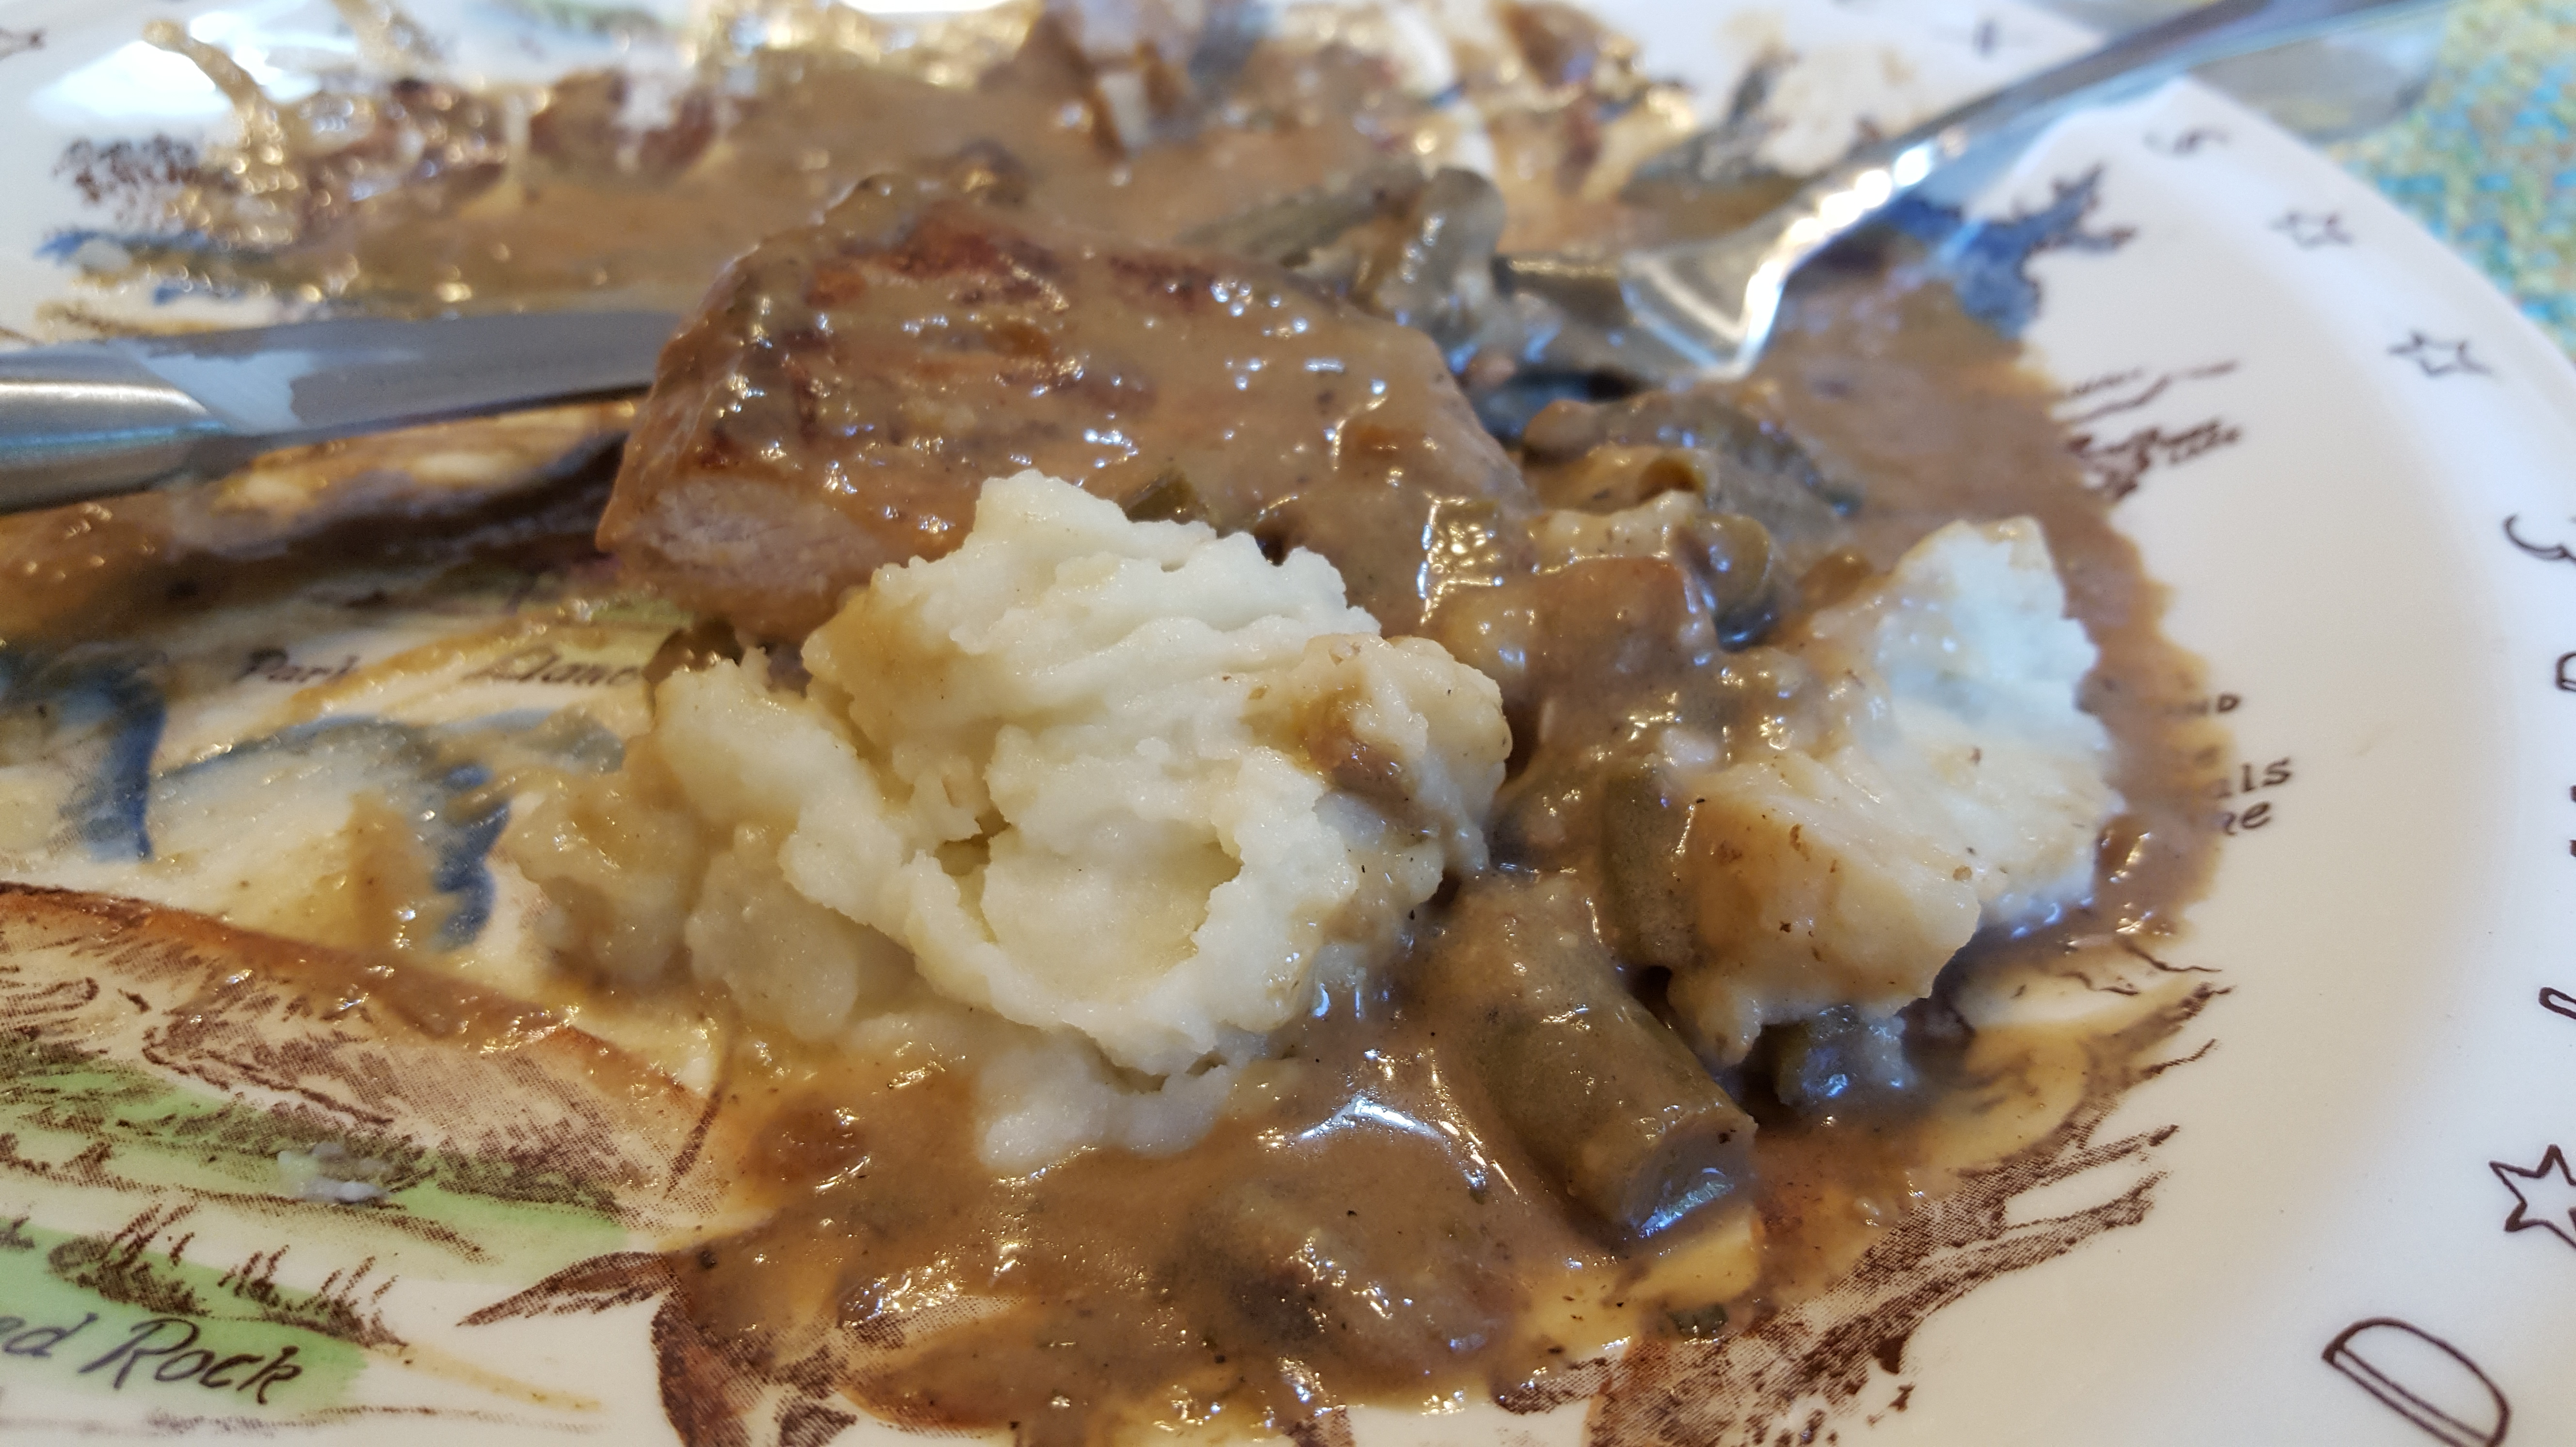
Serve the steaks with the mash, and drench them both in the gorgeous sauce and beans. I promise you won’t be disappointed.

Forkful of pork and mash

Grilled Salmon and Sweet Corn recipe

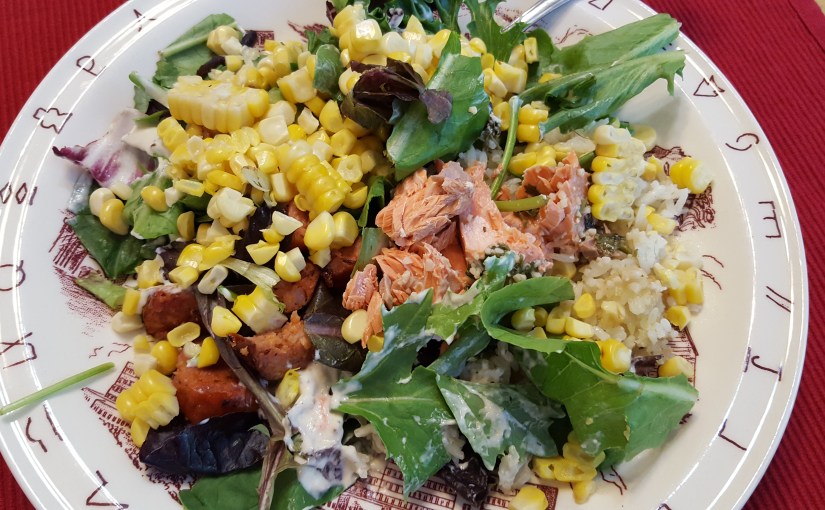
Summer is upon us, and in full on heatwave mode! The sunshiny days are glorious, but they don’t inspire a love for slaving over an even hotter stove. In protest, I take to the grill and opt to BBQ nearly everything that requires cooking. Fresh ears of half-husked sweet corn are plentiful in the grocery, and I keep my eye open for the sales of fresh fish and grillables. I recently saw a stellar deal on salmon fillets, so decided to grill the fish in a bid to tempt my children. They aren’t the most adventurous eaters, so when my 6yo proclaimed he loves salmon and wants it every night, I figured I had better share the recipe!

summer deals!.jpg

You’ll need:

  • Approximately 2.2kg/1lb fresh, skin-on salmon fillet
  • 2–3 tablespoons lemon juice (fresh is best, but I tend to use the plastic squeezy type for ease)
  • 2 teaspoons fresh pressed garlic (I keep a jar in the fridge)
  • 1 cup fresh chopped coriander
  • 1 teaspoon cumin powder
  • 1+ teaspoon coarse salt
  • 3–4 ears half-husked sweet corn on the cob
  • Optional bag of mixed greens for a quick bed of salad
  • Optional 1 cup of white rice for a bed of rice (I tend to have leftover rice in my fridge, but you can make it while the fish is grilling if you like)

The method:

Using a large sheet of aluminium foil, lay your salmon fillet skin down onto the centre of the foil.

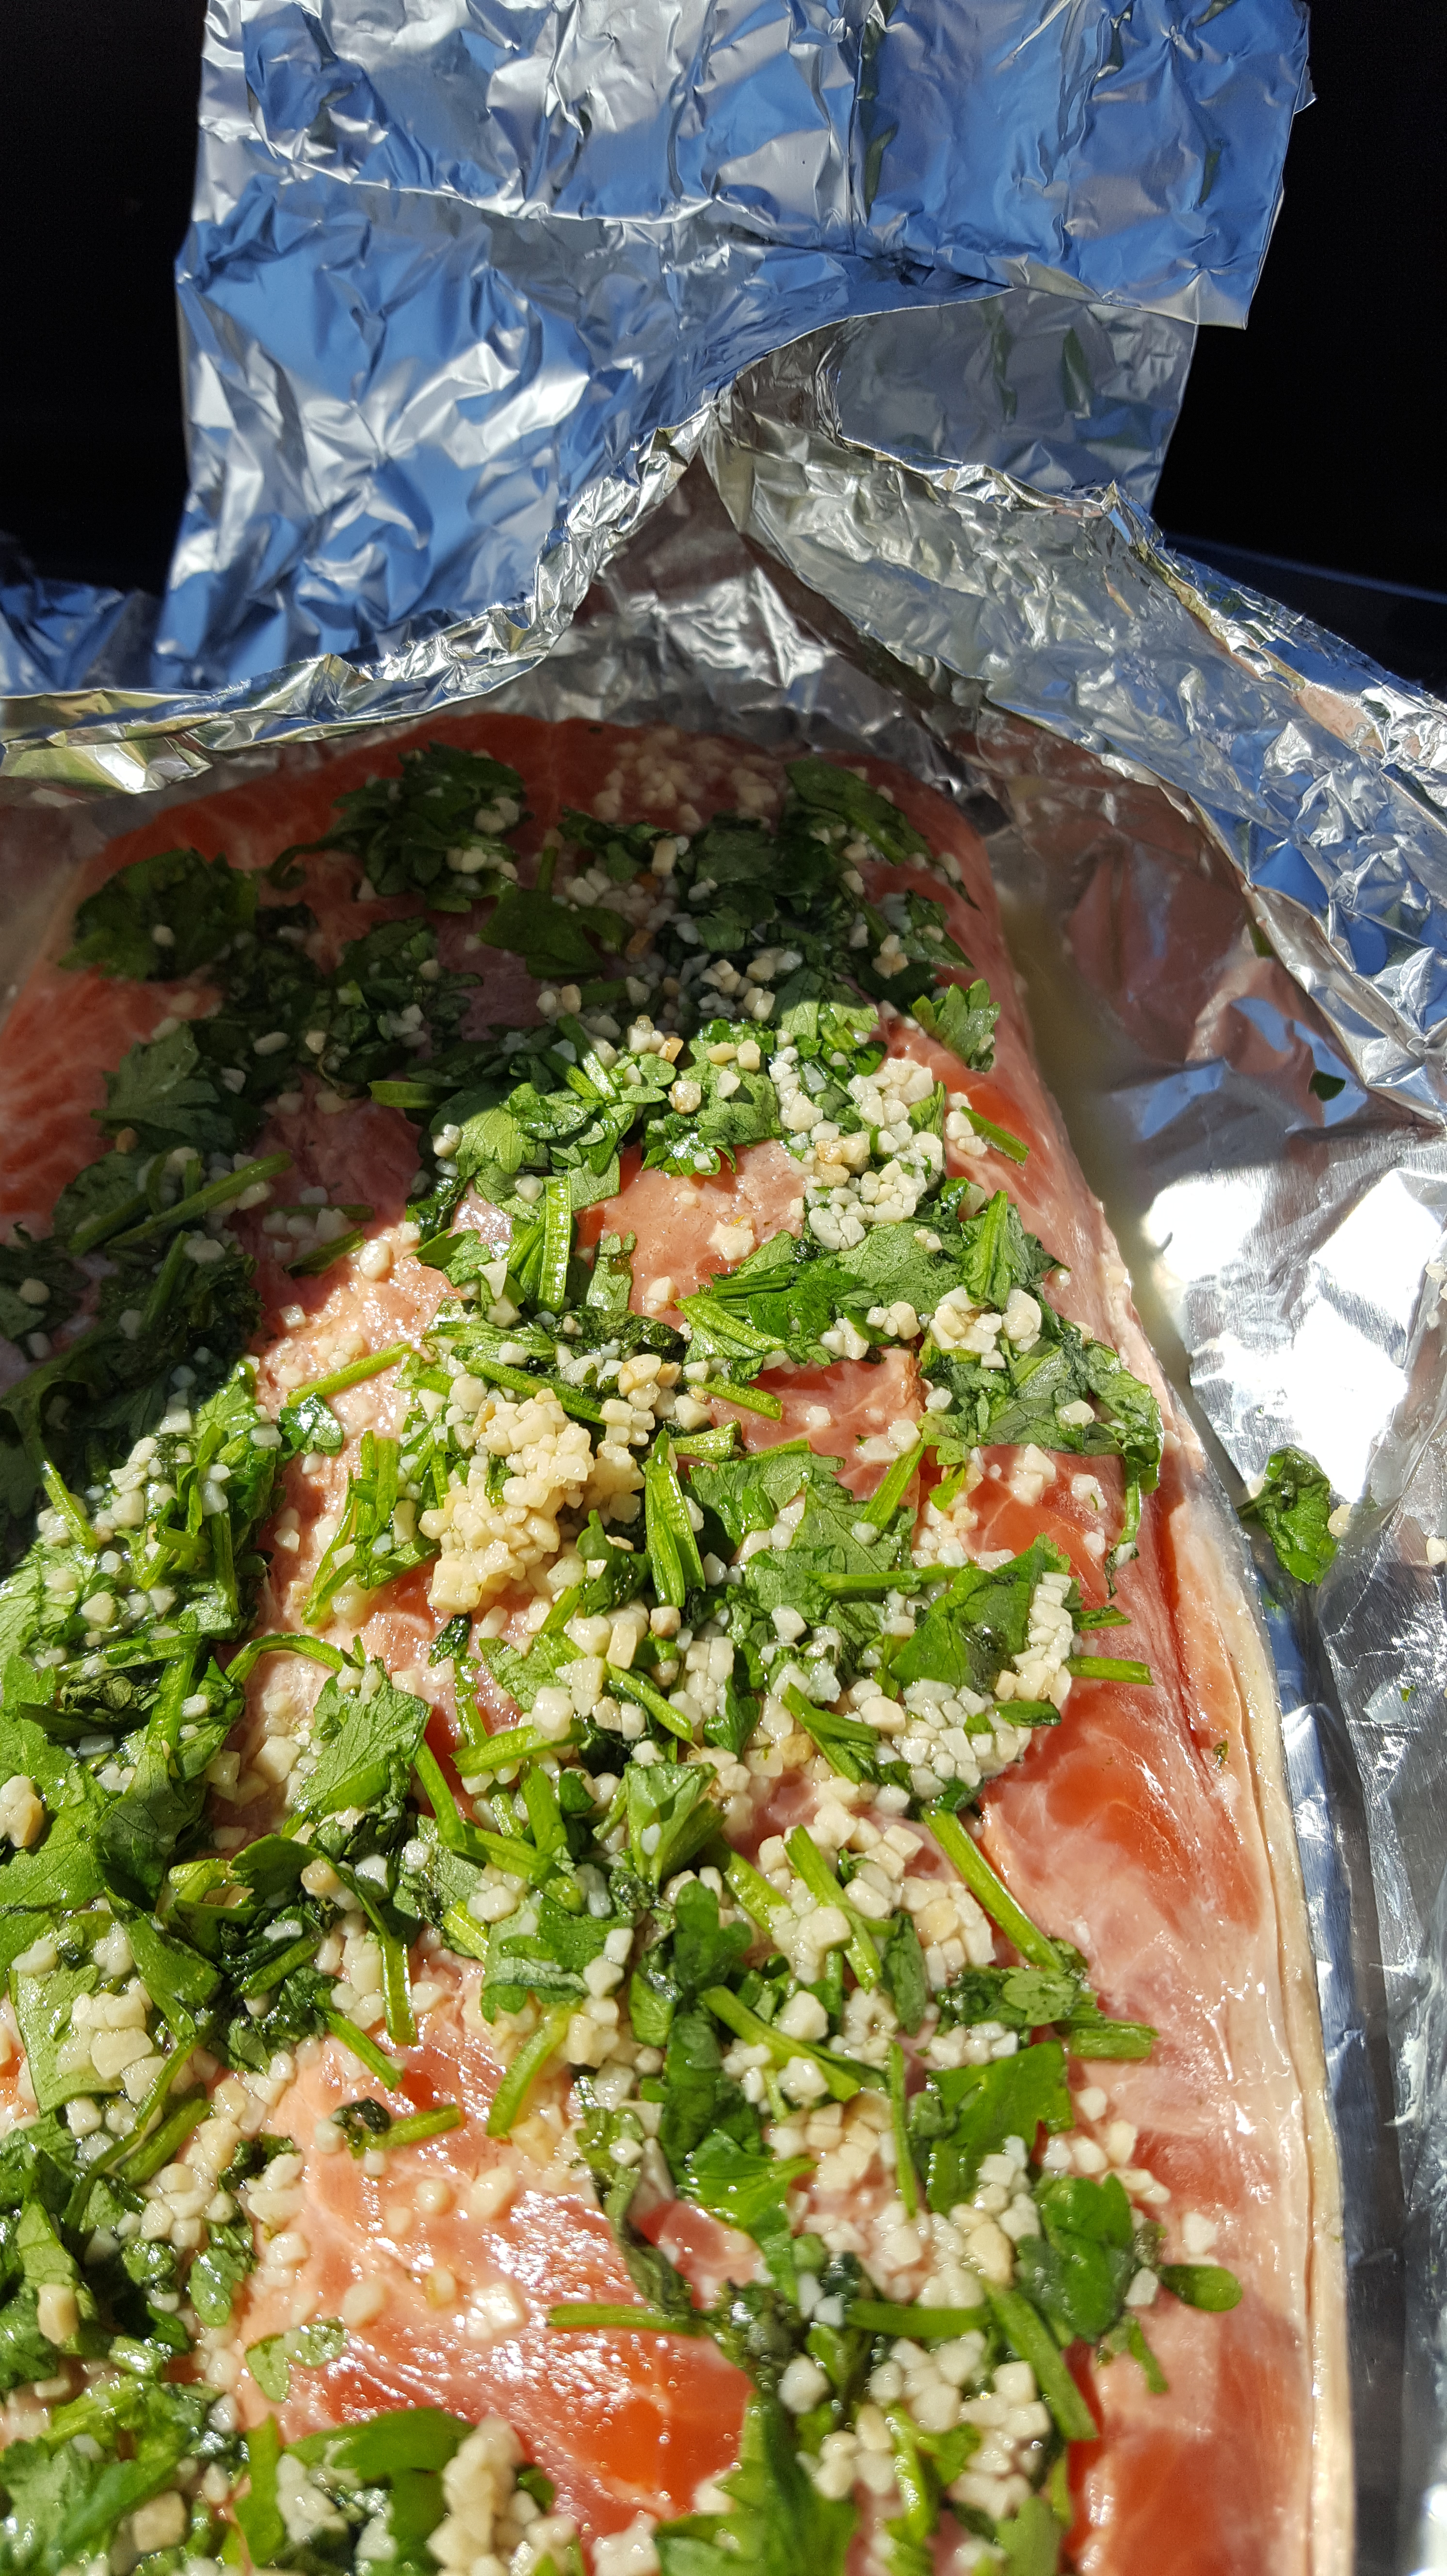
Using a small bowl, combine the lemon, coriander, garlic, cumin and salt before spreading the mixture on top of the salmon.

Salmon ready for the grill.jpg

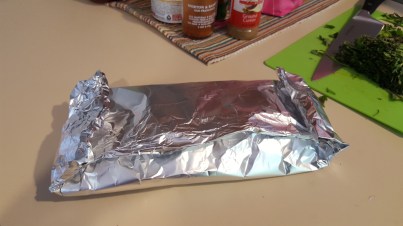
Loosely cover the fish with the foil and seal the strip with a bit of crimping at the top and sides. Your salmon parcel is ready to marinate for about 15 minutes, while you get the grill ready (you can also use the oven at 200C/400F).

Salmon parcel.jpg

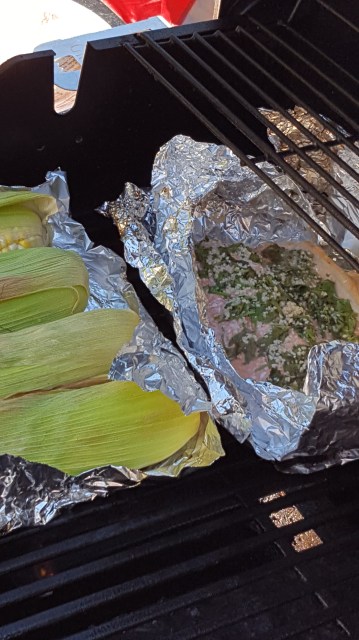
Using another sheet of foil, cover the grill and place the corn cobs husk up so the kernels are against the foil. This helps to steam the corn in the radiant heat and lessens the risk of burning.

Corn ready for the grill.jpg

After the corn has been on the grill for about 10 minutes, add the salmon parcel and reduce the heat to a medium flame/setting. Be sure to place the fish skin down, the top/opening of your foil parcel up and ready to open.

After 10–15 minutes, depending on the thickness of the fillet, you should open the parcel and allow the steam to escape. Check the centre to ensure the fish is fully cooked before removing from the grill. You shouldn’t need to have the fish on the grill for more than 20 minutes total.

If you’ve put the corn on before the fish, these should finish at the same time. Pierce a kernel beneath the husk to be sure it’s cooked through; it should squirt a bit of corn juice at you if it’s finished.

Corn and salmon on the grill.jpg

Clear off the husks once the corn is cooked and cooled slightly. Serve on the cob or sliced off into kernels.

The skin of the salmon may well be stuck to the foil, so if you’re a fan of the skin, I suggest oiling the foil and fish on the skin side when preparing. I love that the skin stays in place while I serve the flesh, but it’s my preference.

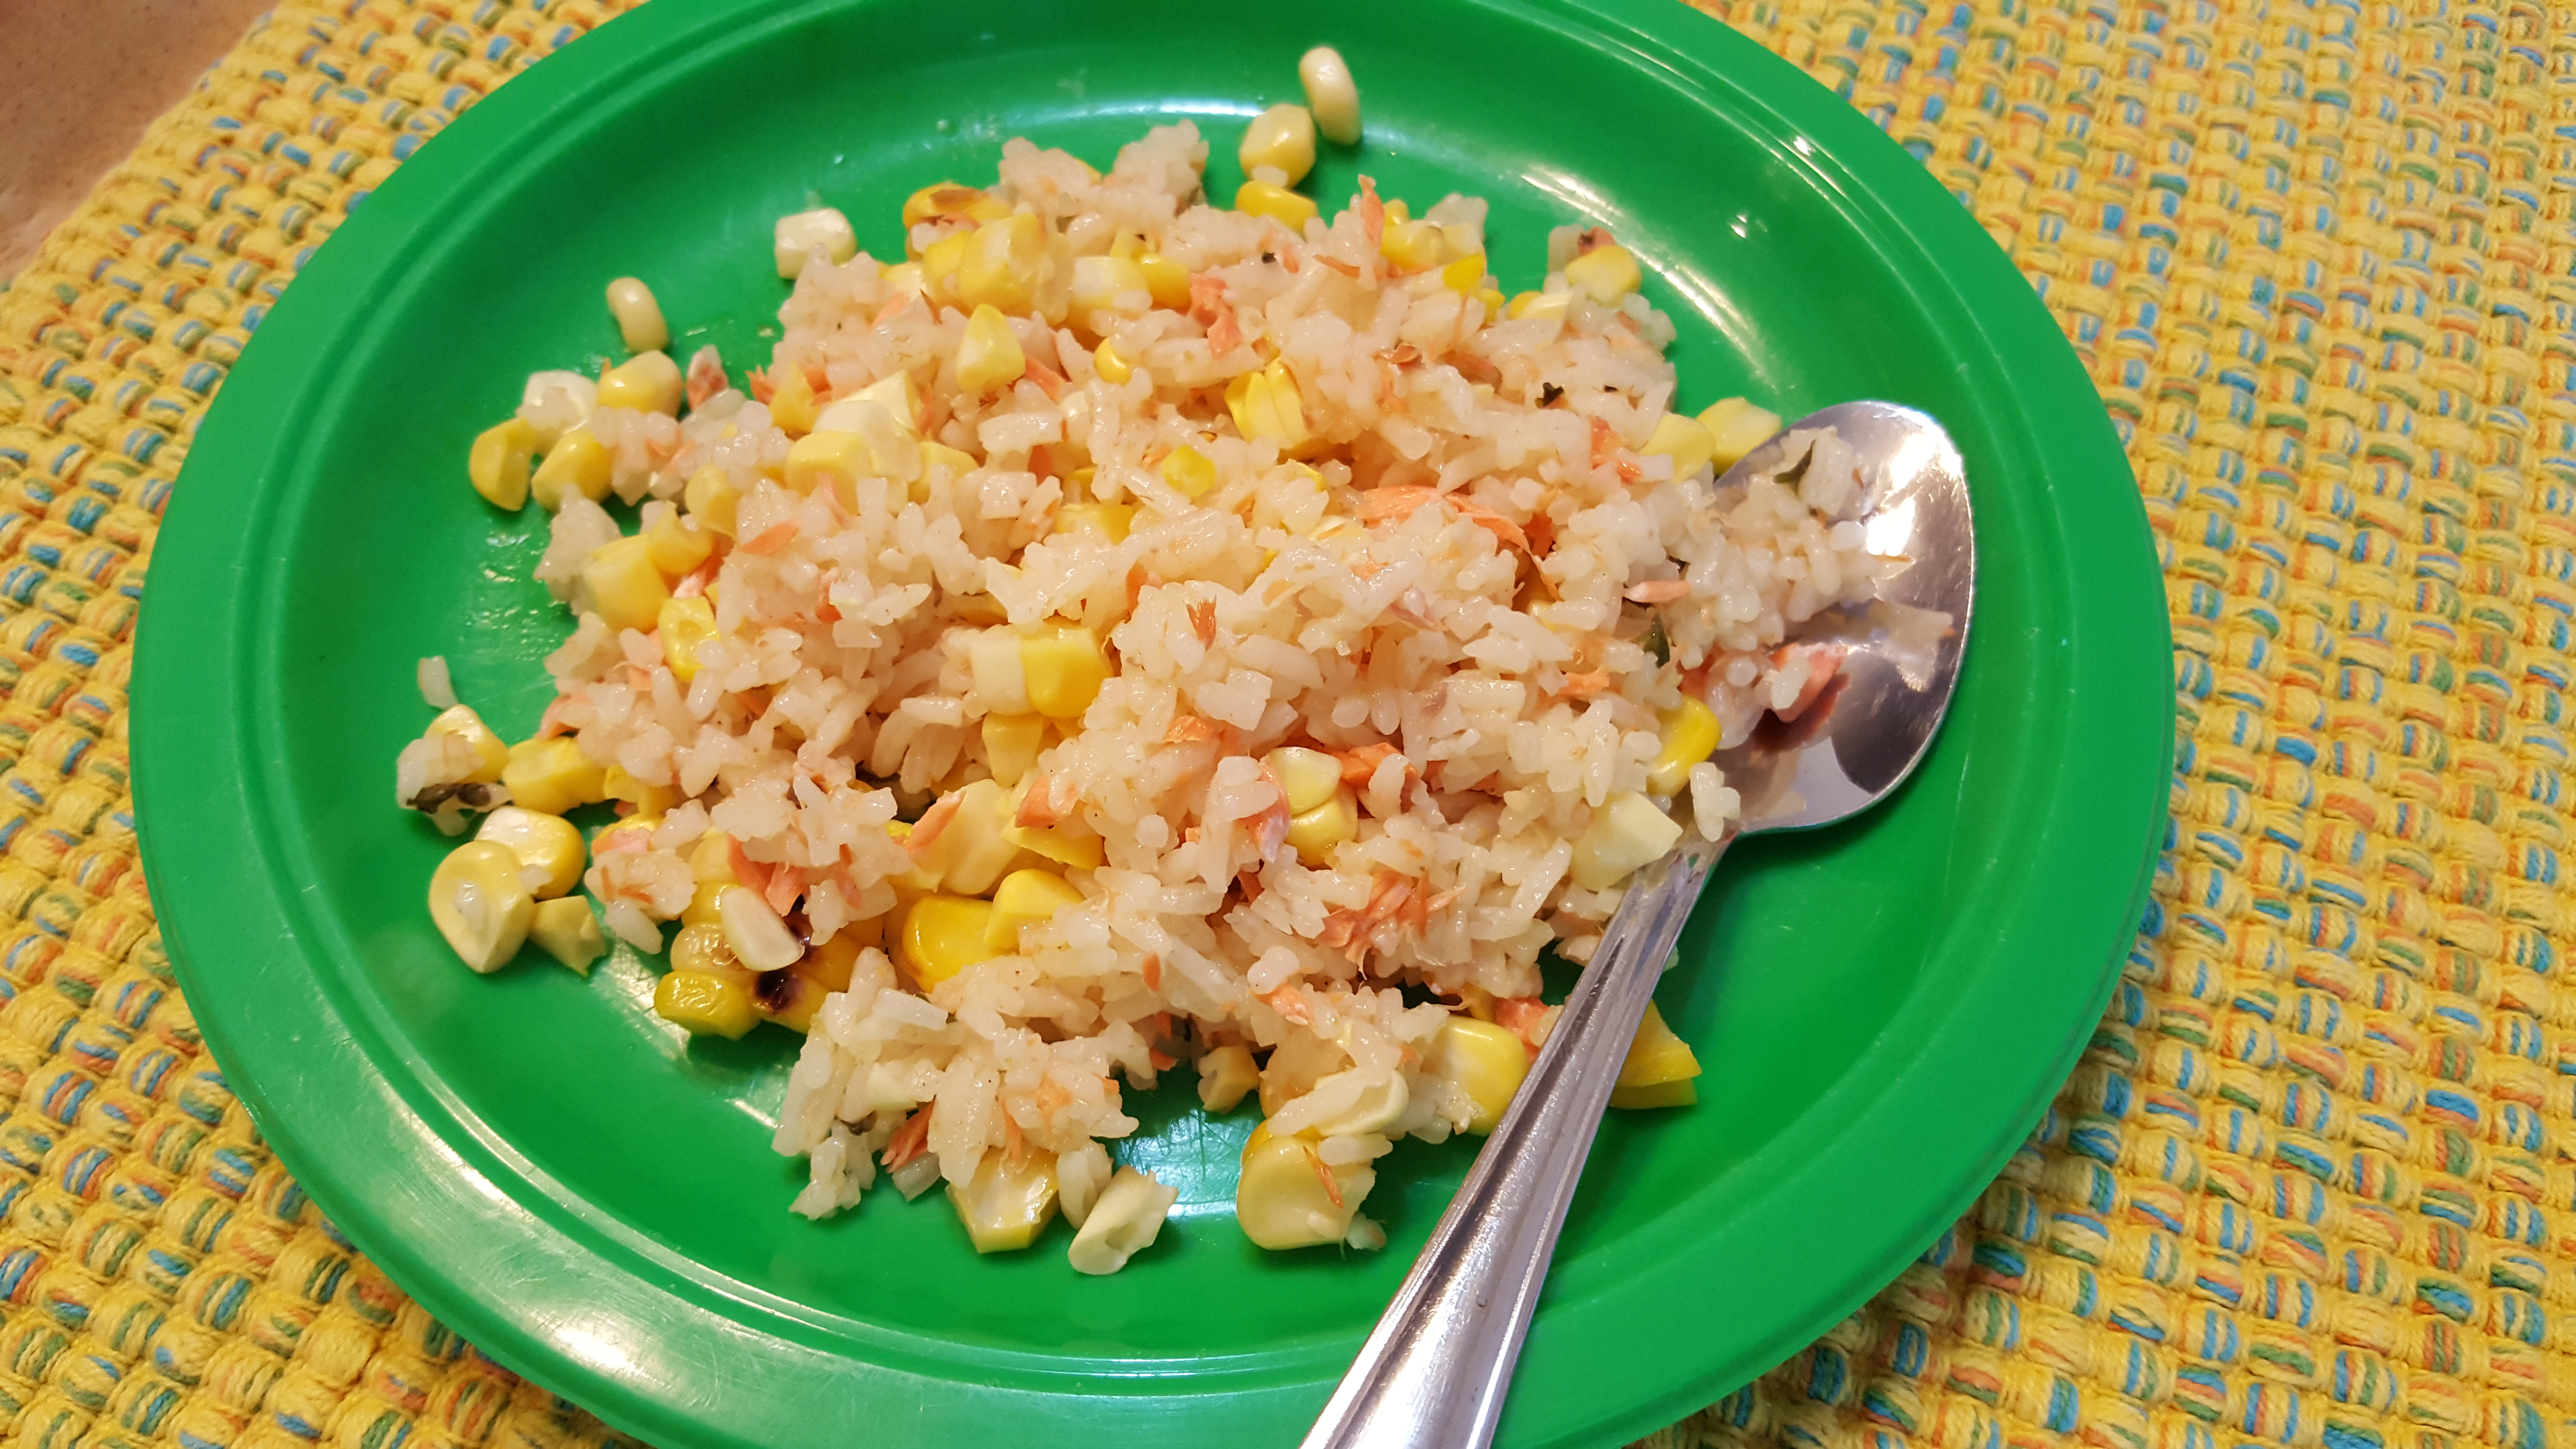
With the salmon and corn slightly cooled, you can enjoy these over a salad, with some steamed rice, or with a bit of mashed potato to your tastes. I serve the kids with flaked salmon and sliced corn mixed into rice, but my husband and I prefer to have a big salad. The flavor of the salmon with the coriander is so fresh and earthy, it’s just about my favourite summer treat.  Enjoy!

Kids plate salmon and corn.jpg

Slow-cooked Mexican shredded beef recipe

When we get into the early parts of summer, I start to get really lazy and fall out of love with being in the kitchen. It’s hot. I don’t want to be hotter. I haven’t built up my tolerance for warm weather and so I abandon the cooker. I usually end up with lots of grilled food and salads, fresh fruit desserts and sweet corn on the cob. But there’s always the allure of roasted, stewed and baked foods that require a modicum of sweat equity, as it were, if you want to cook for yourself and avoid breaking the budget with takeaways. Enter the crock pot: a delightful convenience that also works magic on meats with the low and slow method.

I used to think it couldn’t be that important to sear meats before putting them in the crock, but for the sake of one dish dirtied, it’s completely worth the additional flavor. The secret to searing is to just leave it alone; place a steak or piece of poultry onto the pan and don’t even think about wiggling it for a couple of minutes at least. It really does make all the difference to the depth of flavor, even after all of the spices added. I use a jar of salsa verde to cover the meat, but if you can’t find green salsa, you can use any tomato-based salsa that you love to the same effect. I add dry spices towards the end of the recipe to taste, based on the flavor of the beef and salsa, after a few hours. Each salsa is unique, so it will flavour the beef in its own right; however, it’s mostly used for the acidity in the tomatoes, which help to break down the beef and keep it super tender.

This is a favorite when steak is on sale. I know I can make it last for many more meals than 6 steak dinners, and the kids will eat it once it’s wrapped in a burrito. I’ll usually make my refried beans to go with this (early in the morning if it’s a scorcher), but you can have a lovely meal with just this beef in a wrap, over a salad, or topping nachos. I used a healthy portion of the shredded beef to make enchilada casserole when my parents came over for dinner: an easy layering of corn tortillas, beef, refried beans, cheese and enchilada sauce. My husband routinely puts the cold beef on a sandwich for lunch, and I’ve been known to toss some into my scrambled eggs. The versatility is endless, and it’s just incredibly delicious. Hope you love it!

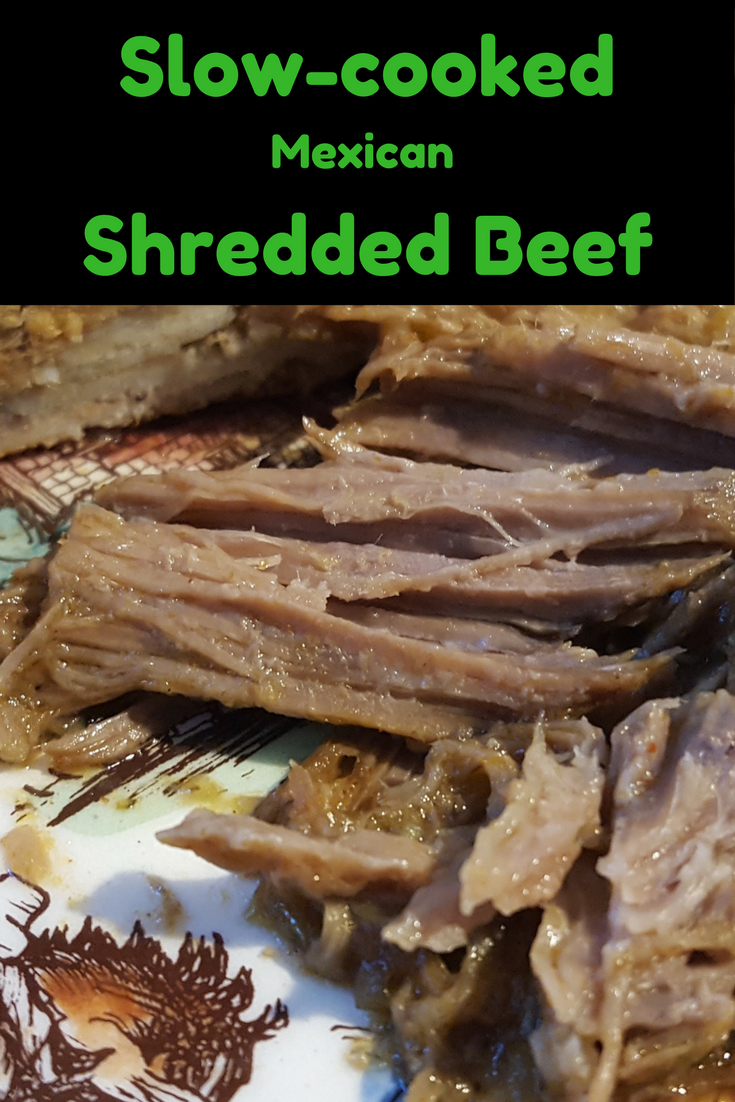
Slow-cooked Mexican shredded beef

You’ll need:

  • 4 to 6 good-sized lean steaks, your favourite cut (or whatever is on sale)
  • ½ teaspoon garlic powder
  • ½ teaspoon ground black pepper
  • ½ teaspoon cumin powder
  • ½ teaspoon paprika
  • 1 tablespoon vegetable oil
  • 1 24oz jar of salsa verde (or salsa of choice)
  • ½ teaspoon smoked paprika, to taste
  • ½ teaspoon chili powder, to taste (I like chipotle powder)
  • ½ teaspoon cumin powder, to taste
  • Up to 2 teaspoons salt, to taste
  • Up to 1 teaspoon granulated/caster sugar, to taste
  • ½ cup rough cut, fresh coriander/cilantro, to taste

The method:

Allow your steaks to come to room temperature and dust (dry rub) with the dry spices listed on the first half of the list.

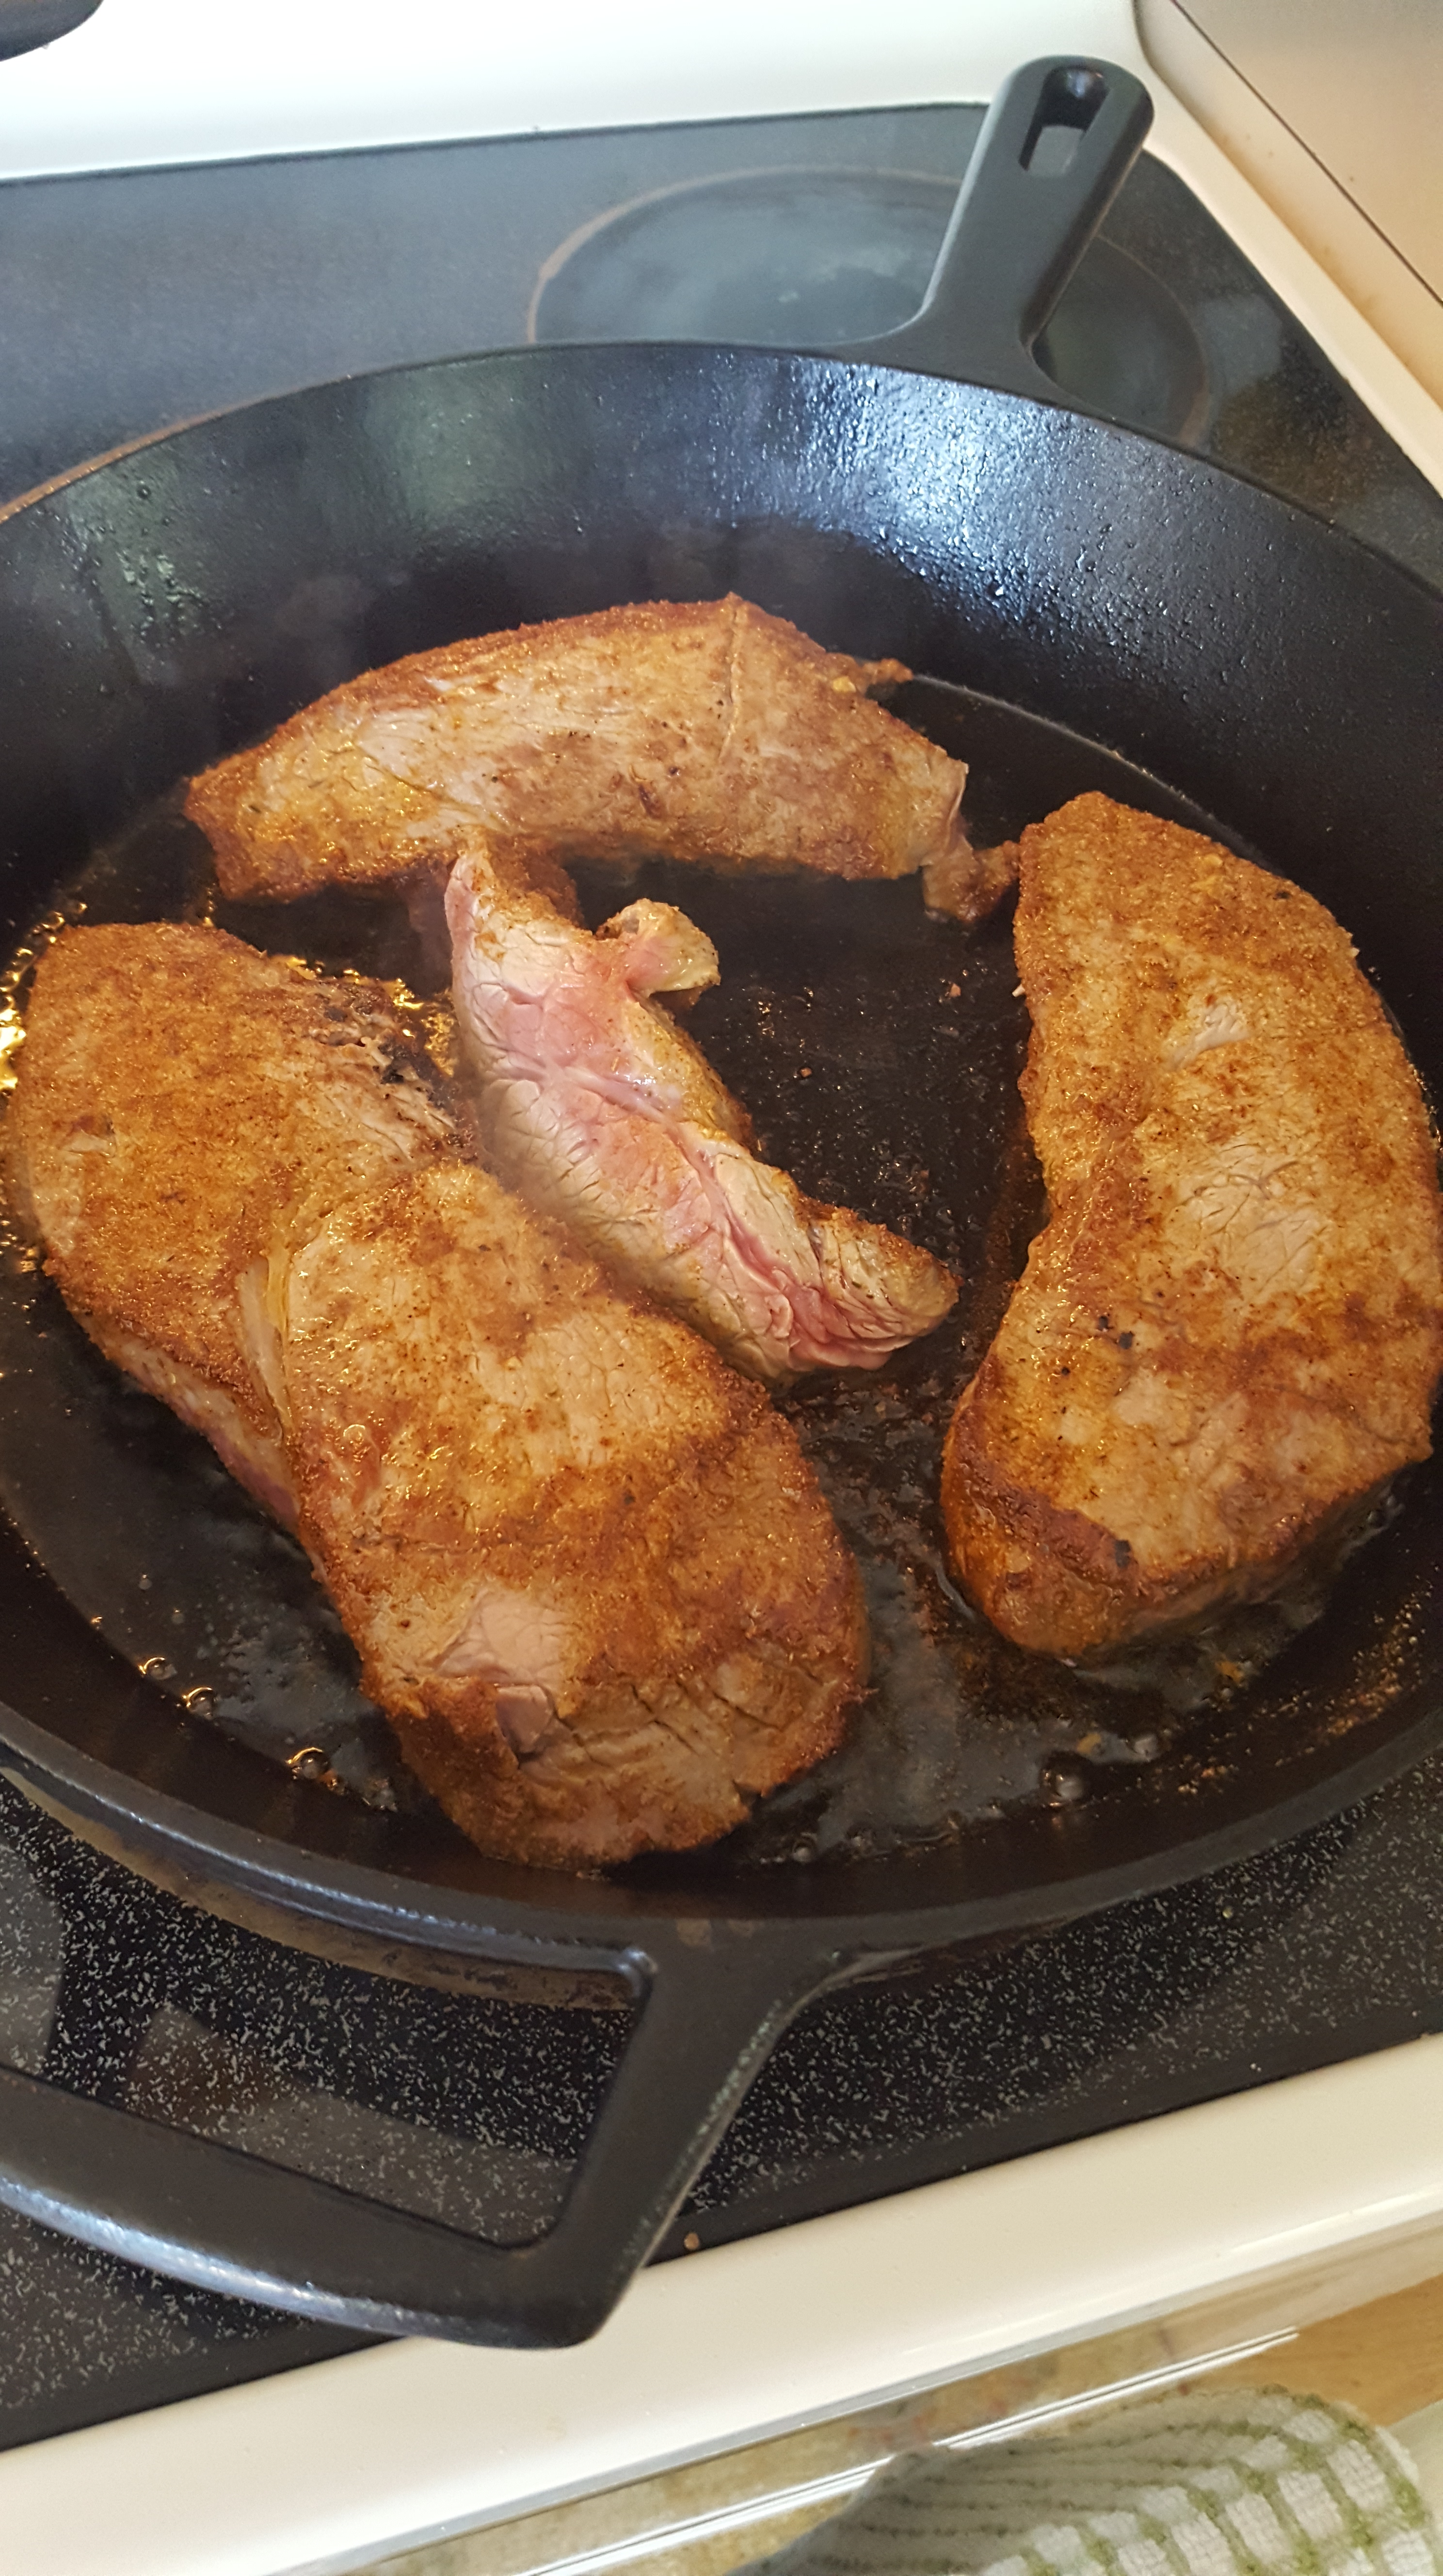
Warm your pan and the oil before adding the steaks for searing. Avoid moving the steaks to allow a good colour to develop, usually 2 to 3 minutes on each side.

steaks in pan

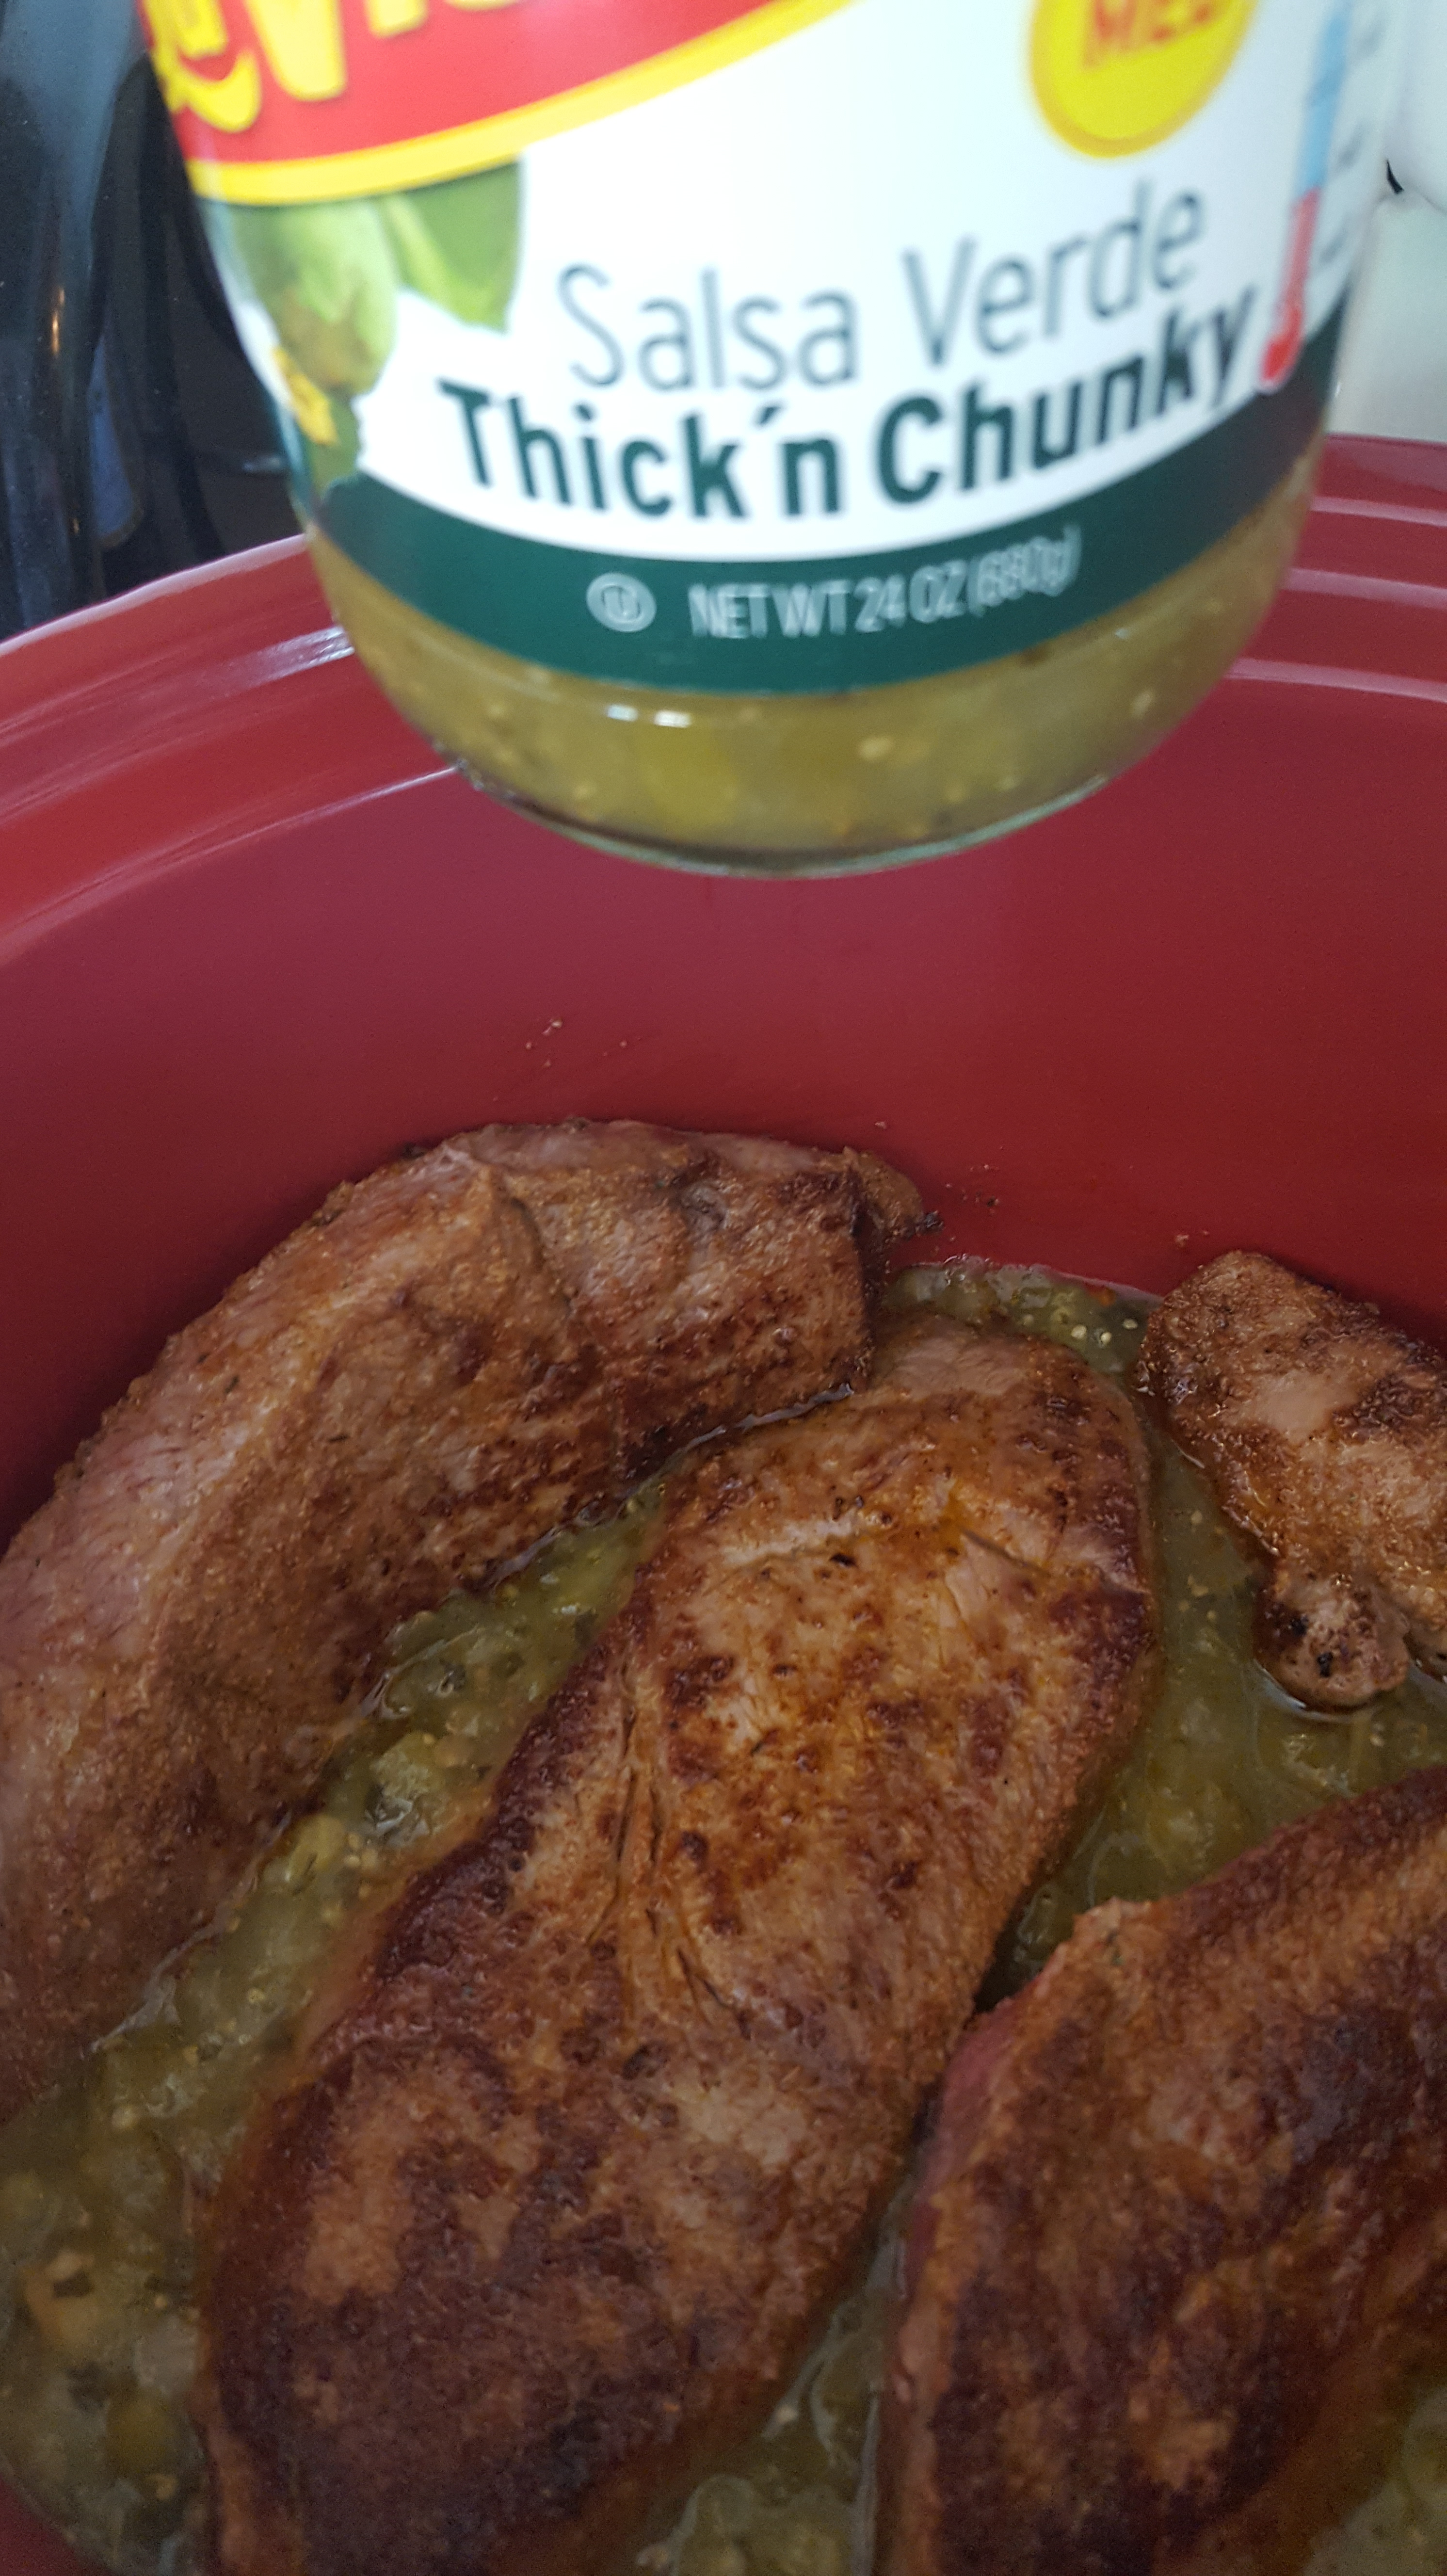
Layer the seared steaks into the crock pot with the salsa, coating the bottom of the crock pot with about 1/3 of the jar of salsa and the remainder over the top of the steaks.

salsa verde

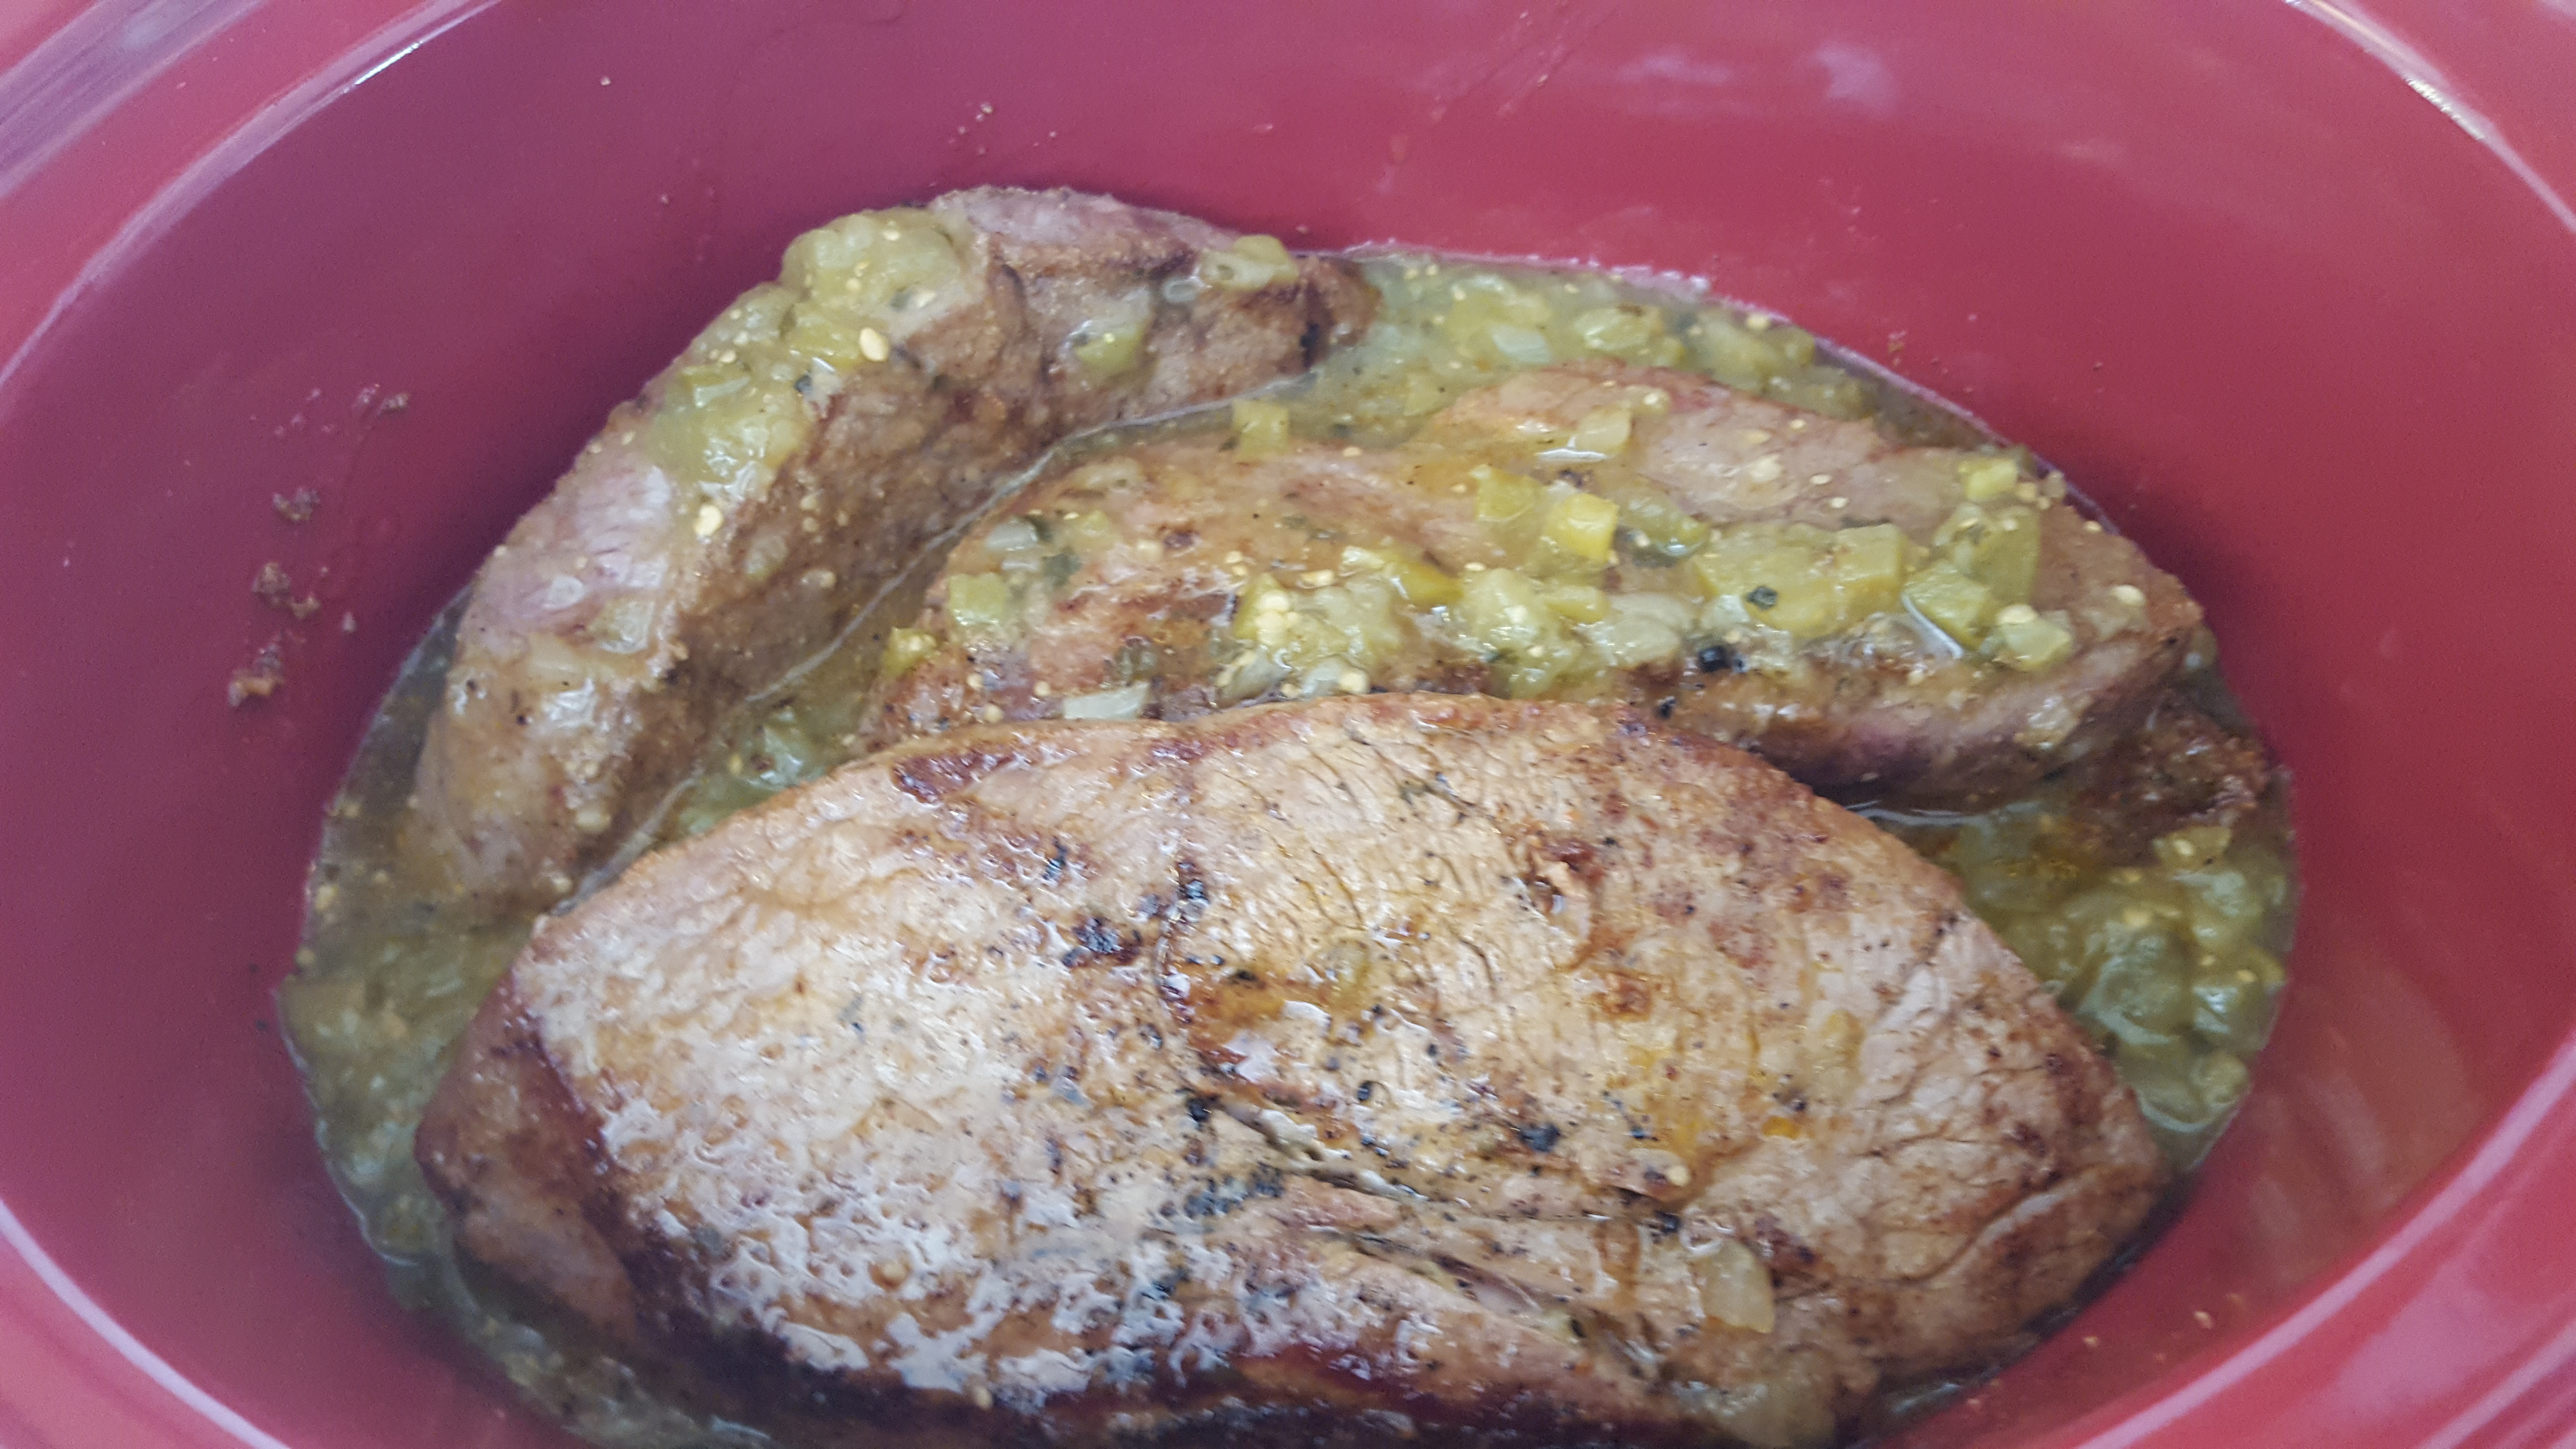
Seal the lid and allow the steaks to stew on high for 4–6 hours. You’ll barely have to look at this until a couple of hours in, when you might want to stir the steaks a bit to make sure everything’s covered.

beef in crock pot

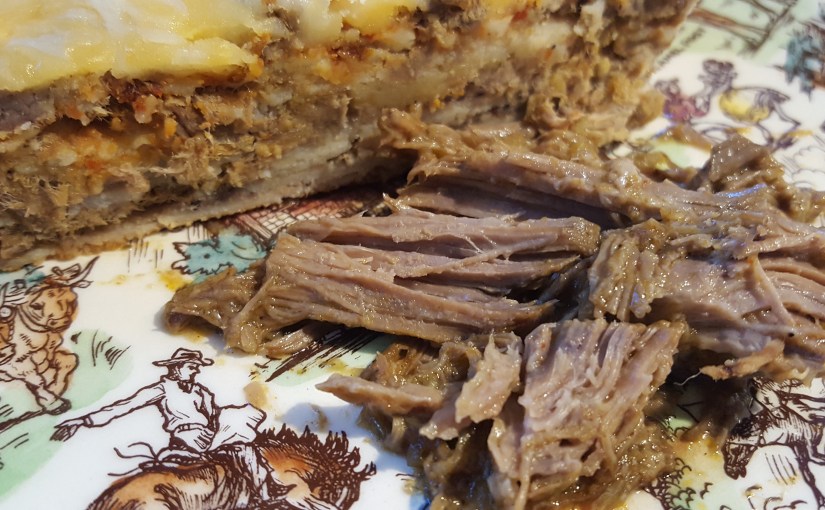
After 3–4 hours, when you get the chance, take two forks and try to pull some of the steaks into smaller pieces. Don’t worry if it still seems a bit tough – just cover it up again and try after another hour. Once it’s easy to pull the meat apart with two forks, go ahead and shred up as much as you like, leaving larger pieces for texture according to your preference.

There should be plenty of beef stock and salsa remaining after 4–5 hours, so that it’s covering the meat in a runny sauce. Taste the sauce to see what you’ve created with your chosen salsa. If you love it as is, leave the sauce to reduce a bit and you’re done. If you want to vamp it up a bit, now’s your chance. I add the second half of the list of dry spices while there’s still a fair bit of liquid, to ensure it’s incorporated. I enjoy the smokiness of chipotle powder and smoked paprika added at the end, and sugar to taste to enhance the spice.

It couldn’t be easier, but you can make this your own by try different salsas, adding shredded carrots and onions, or upping the heat index with fresh chili. Any way you shred it, it’s gonna be a winner.

Not Your Average Tuna Salad

In the early days of summer, I haven’t got a lot of salad materials on hand, but the warm days call for cool dinners. This is a recipe I can whip up with cupboard and fridge staples, but adds a fresh, crunchy salad feel to a tuna pasta dish. I start out with veggie spiral pasta, tinned tuna and mayo, but this recipe might surprise with a sweet note of balsamic vinegar and the crunch of raw broccoli.

This is a super-fast midweek gem that satisfies a busy summer afternoon’s time constraints. With twenty minutes to boil the water and cook the pasta, you can prepare the tuna and broccoli in the meantime and throw it all into the fridge before football practice or a trip to the park. My kids surprised me by barely noticing the raw florets when they were first served this dish, and I think it adds lovely texture along with the numerous health benefits of eating raw. If you prefer to avoid mayo, feel free to use your favourite Italian dressing or even yogurt-based Caesar dressing for a tailored taste. Make it your own!

Not Your Average Tuna Salad Recipe.png

You’ll need:

  • 8oz/220g tinned tuna, drained
  • 12oz/340g veggie spiral pasta (or your favourite pasta for cold salad)
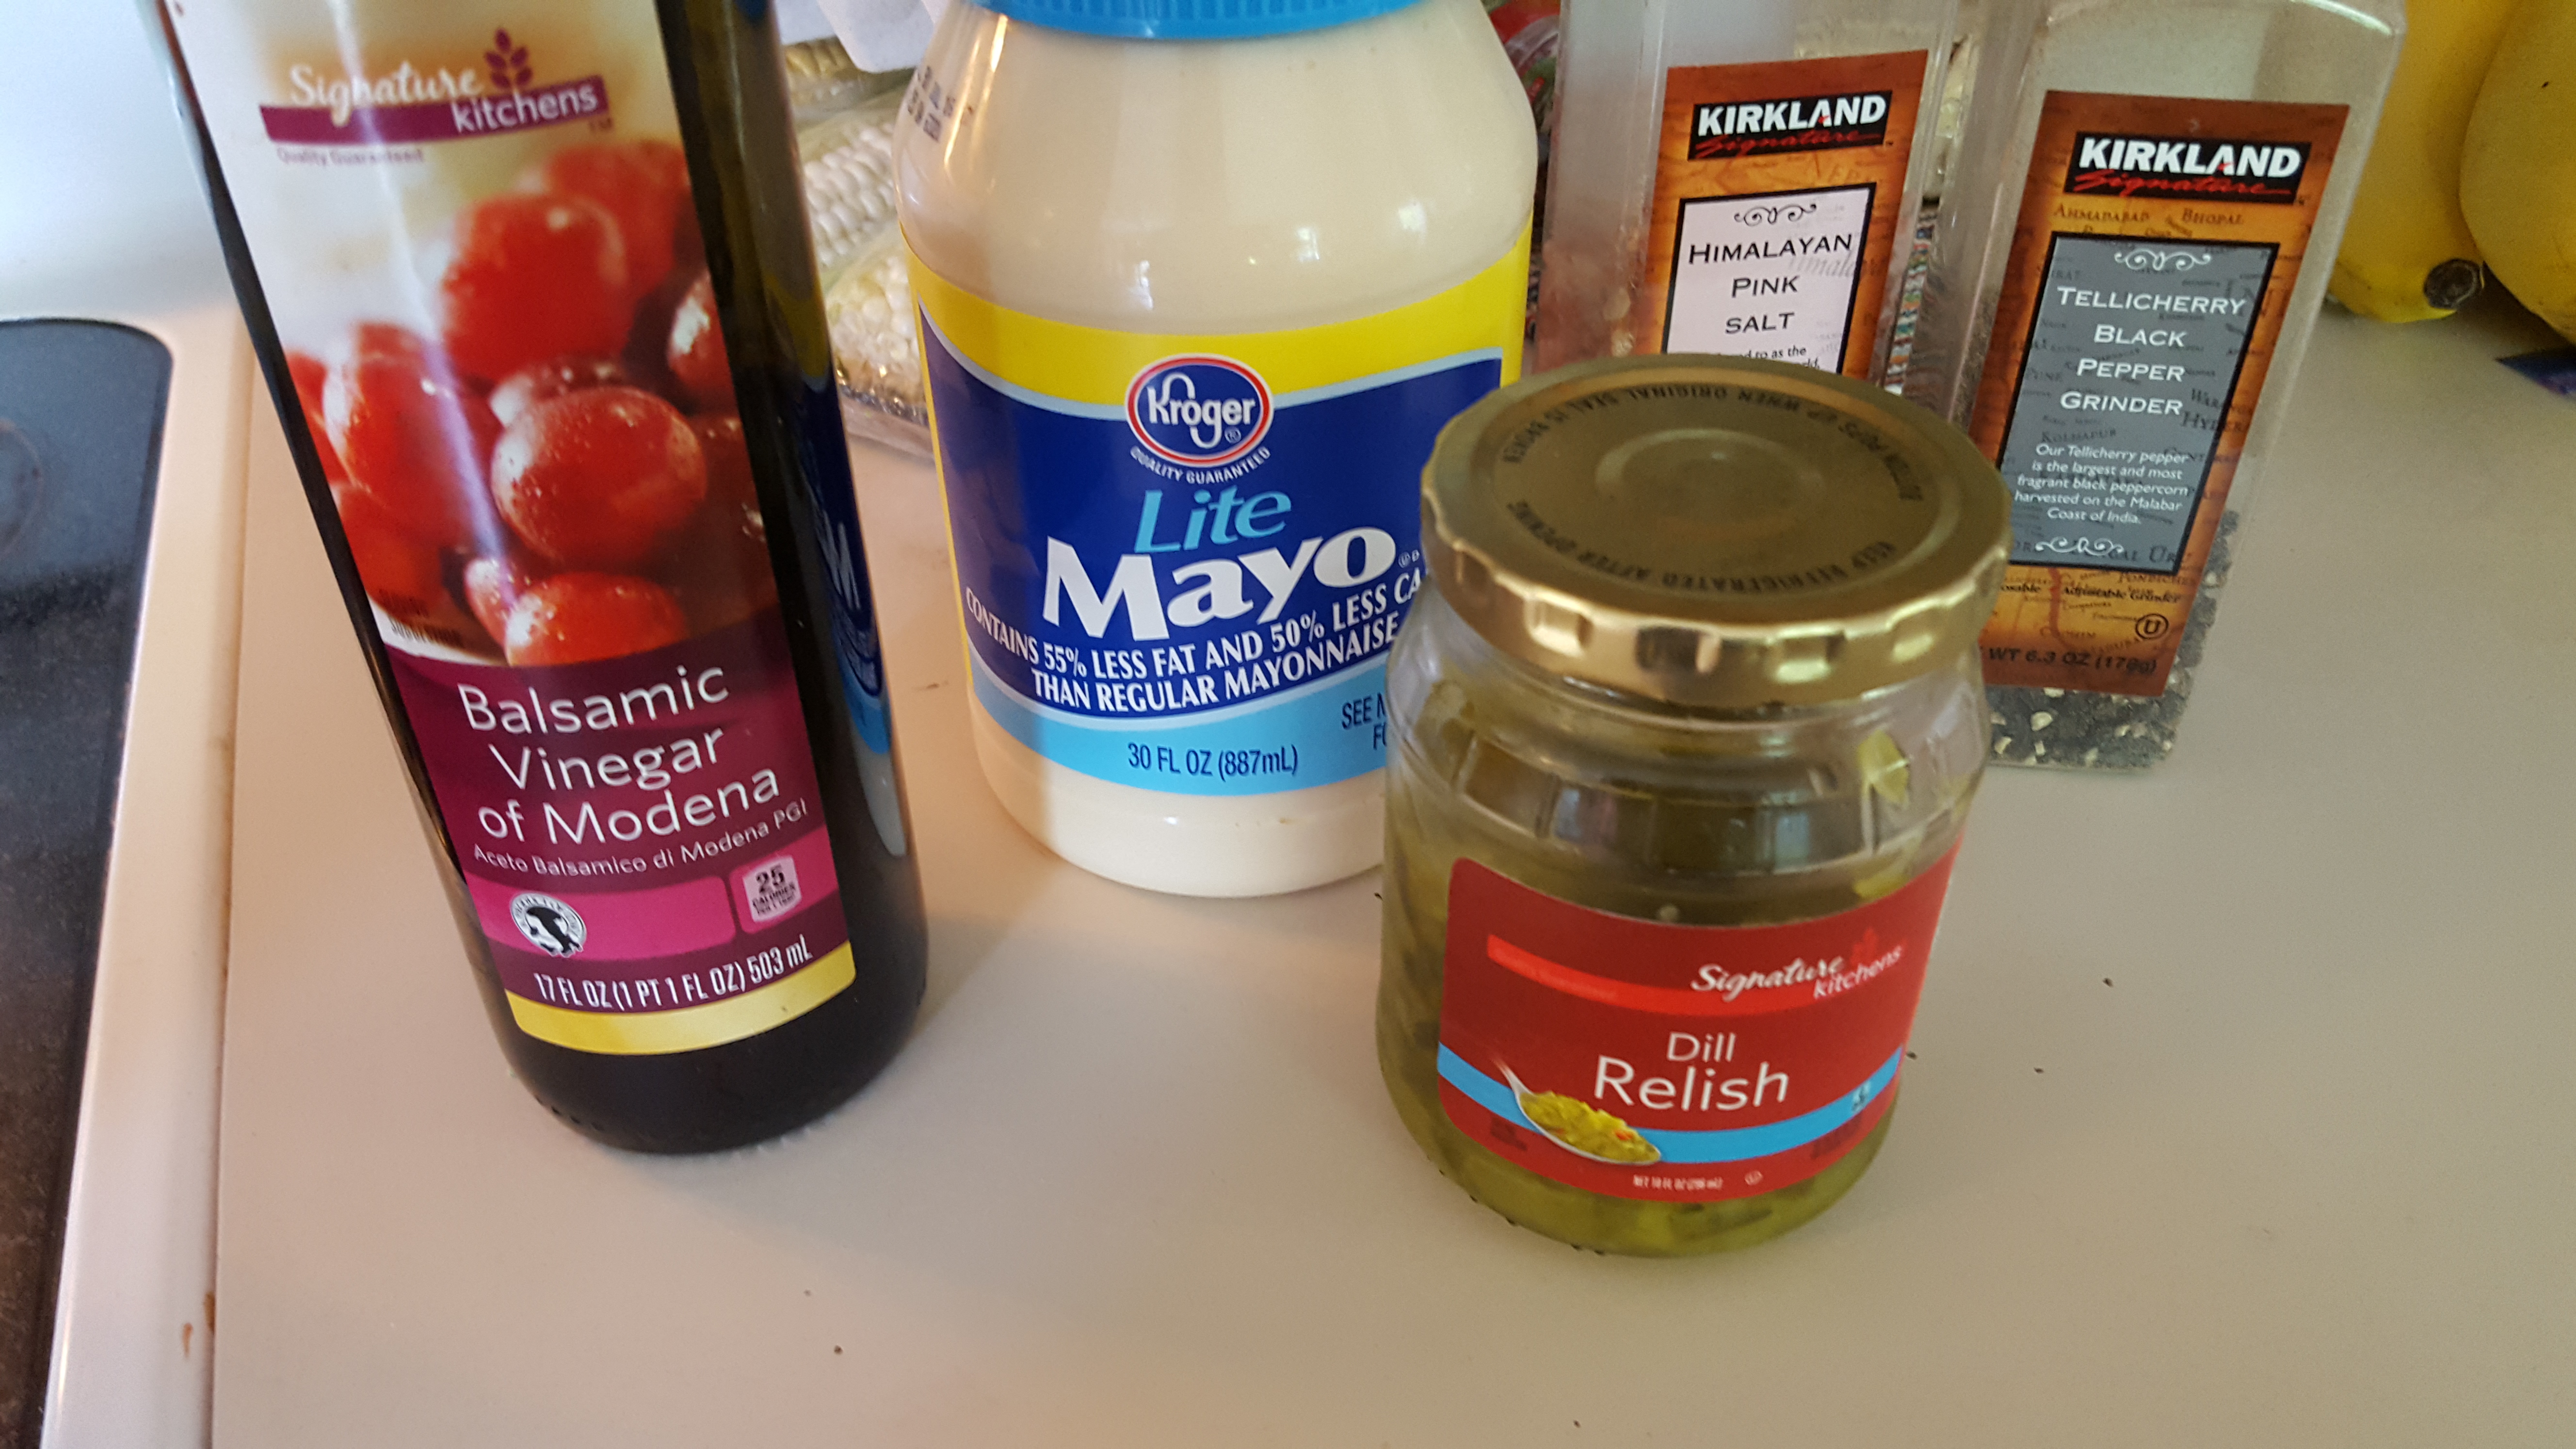
  • 3 tablespoons light mayonnaise (or more to your taste – I don’t like too much mayo)
  • 1 tablespoon balsamic vinegar
  • 1 teaspoon garlic powder (I use a garlic and herb mix with parsley)
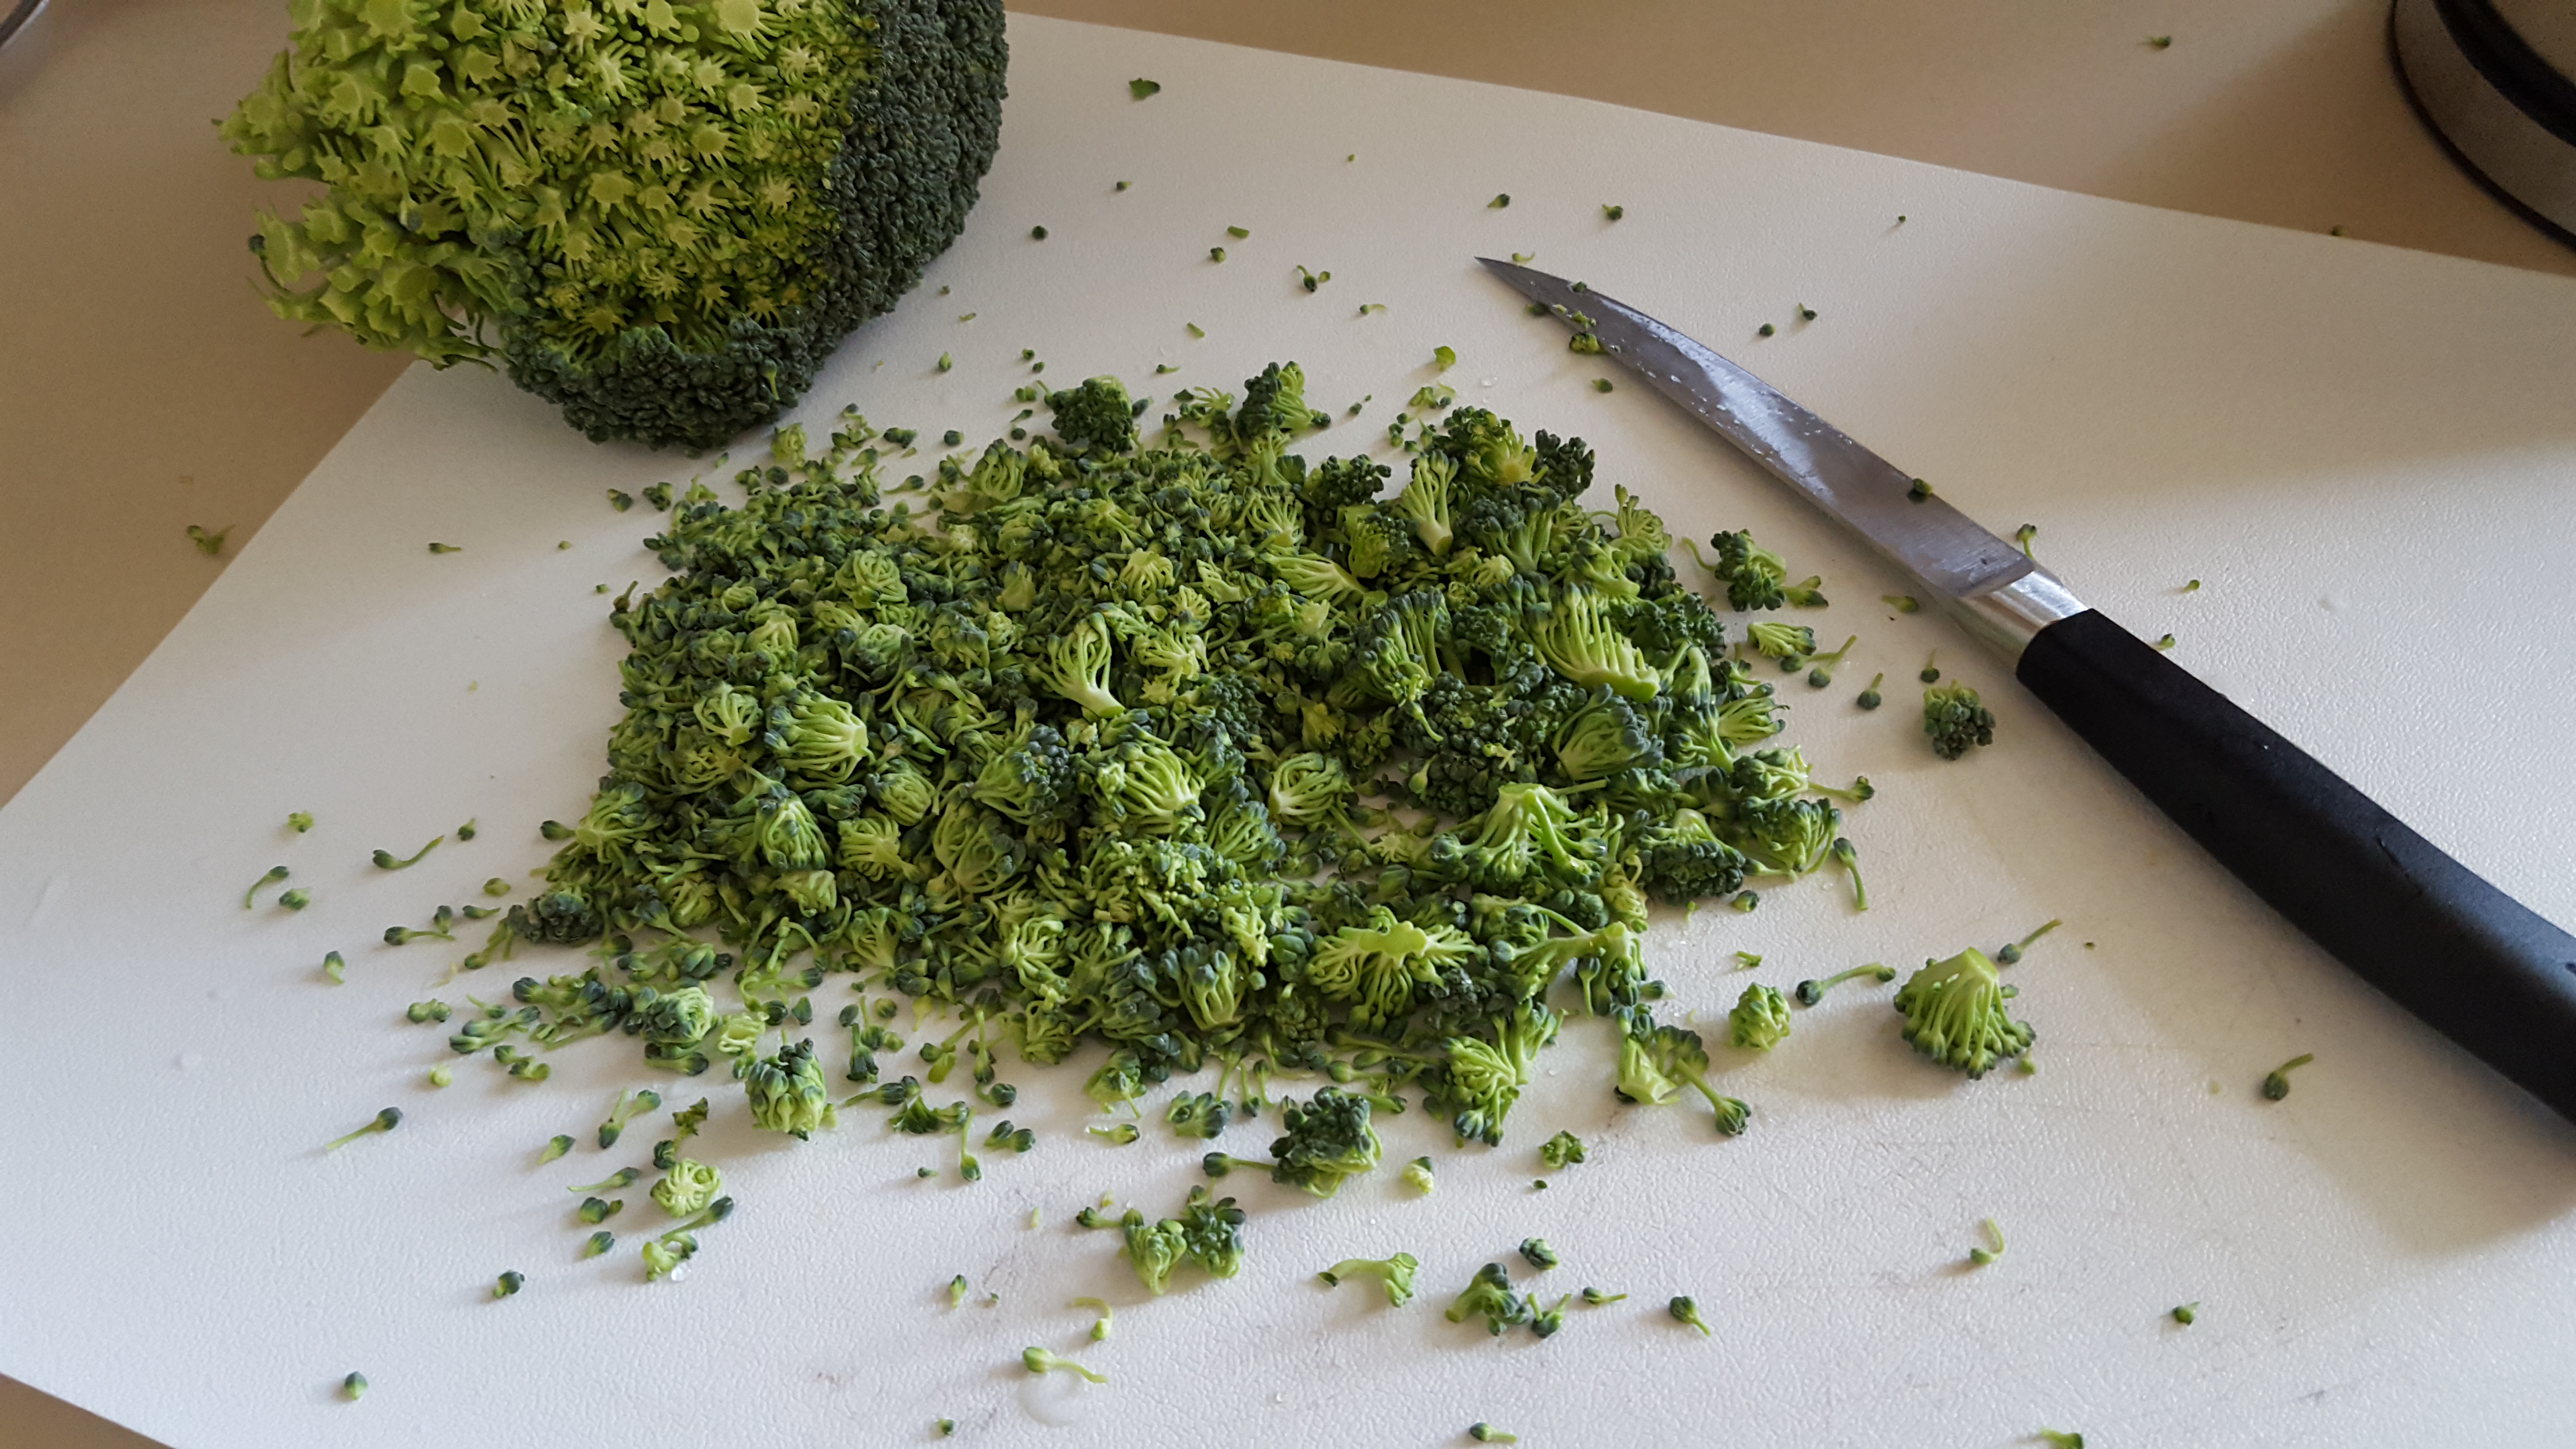
  • ½ cup fresh broccoli florets (gently cut the fine top layer of a head of broccoli, keep the rest for soup)
  • 1 cup grated cheddar (finely grated more evenly distributes)
  • 1 tablespoon chopped gherkins or American style pickle relish (optional)
  • Salt and pepper to taste

Pasta salad ingredients.jpg

The method:

Start a medium-sized pot for boiling water. No need for a giant pot – the pasta cooks as long as it’s covered. Add the dry pasta once you have a rolling boil and reduce the heat.

Drain your tuna well and scoop it into a large bowl that will accommodate the pasta as well.

Add the balsamic vinegar to the tuna and break it up very well before incorporating the mayonnaise.

Add the garlic powder, salt and pepper and mix well.

Slice the top layer of the broccoli to get just the tiniest bits for your salad and save the stalks for another recipe (soup is a favourite).

chopped brocolli.jpg

Drain your pasta once it’s al dente and rinse it with cold water to cool it quickly. Toss the pasta a fair bit to drain as much of the water from the spirals as possible.

Add the pasta to the tuna mixture and mix it well before adding the broccoli and shredded cheese. You can stir in your gherkins/relish at the end if you are adding that.

Give the salad a good toss to distribute the broccoli and cheese, but don’t overdo it or it might start to break down the pasta. Add more salt or pepper to taste before covering the bowl and putting it in the fridge until serving. It can be eaten straight away, but tastes refreshing for a hot summer dinner after about 30 minutes. Spice it up with some chili flake, or add more crunch with some bacon crumbles to make this an amazing party salad, too! Hope you like it … simple but surprising!

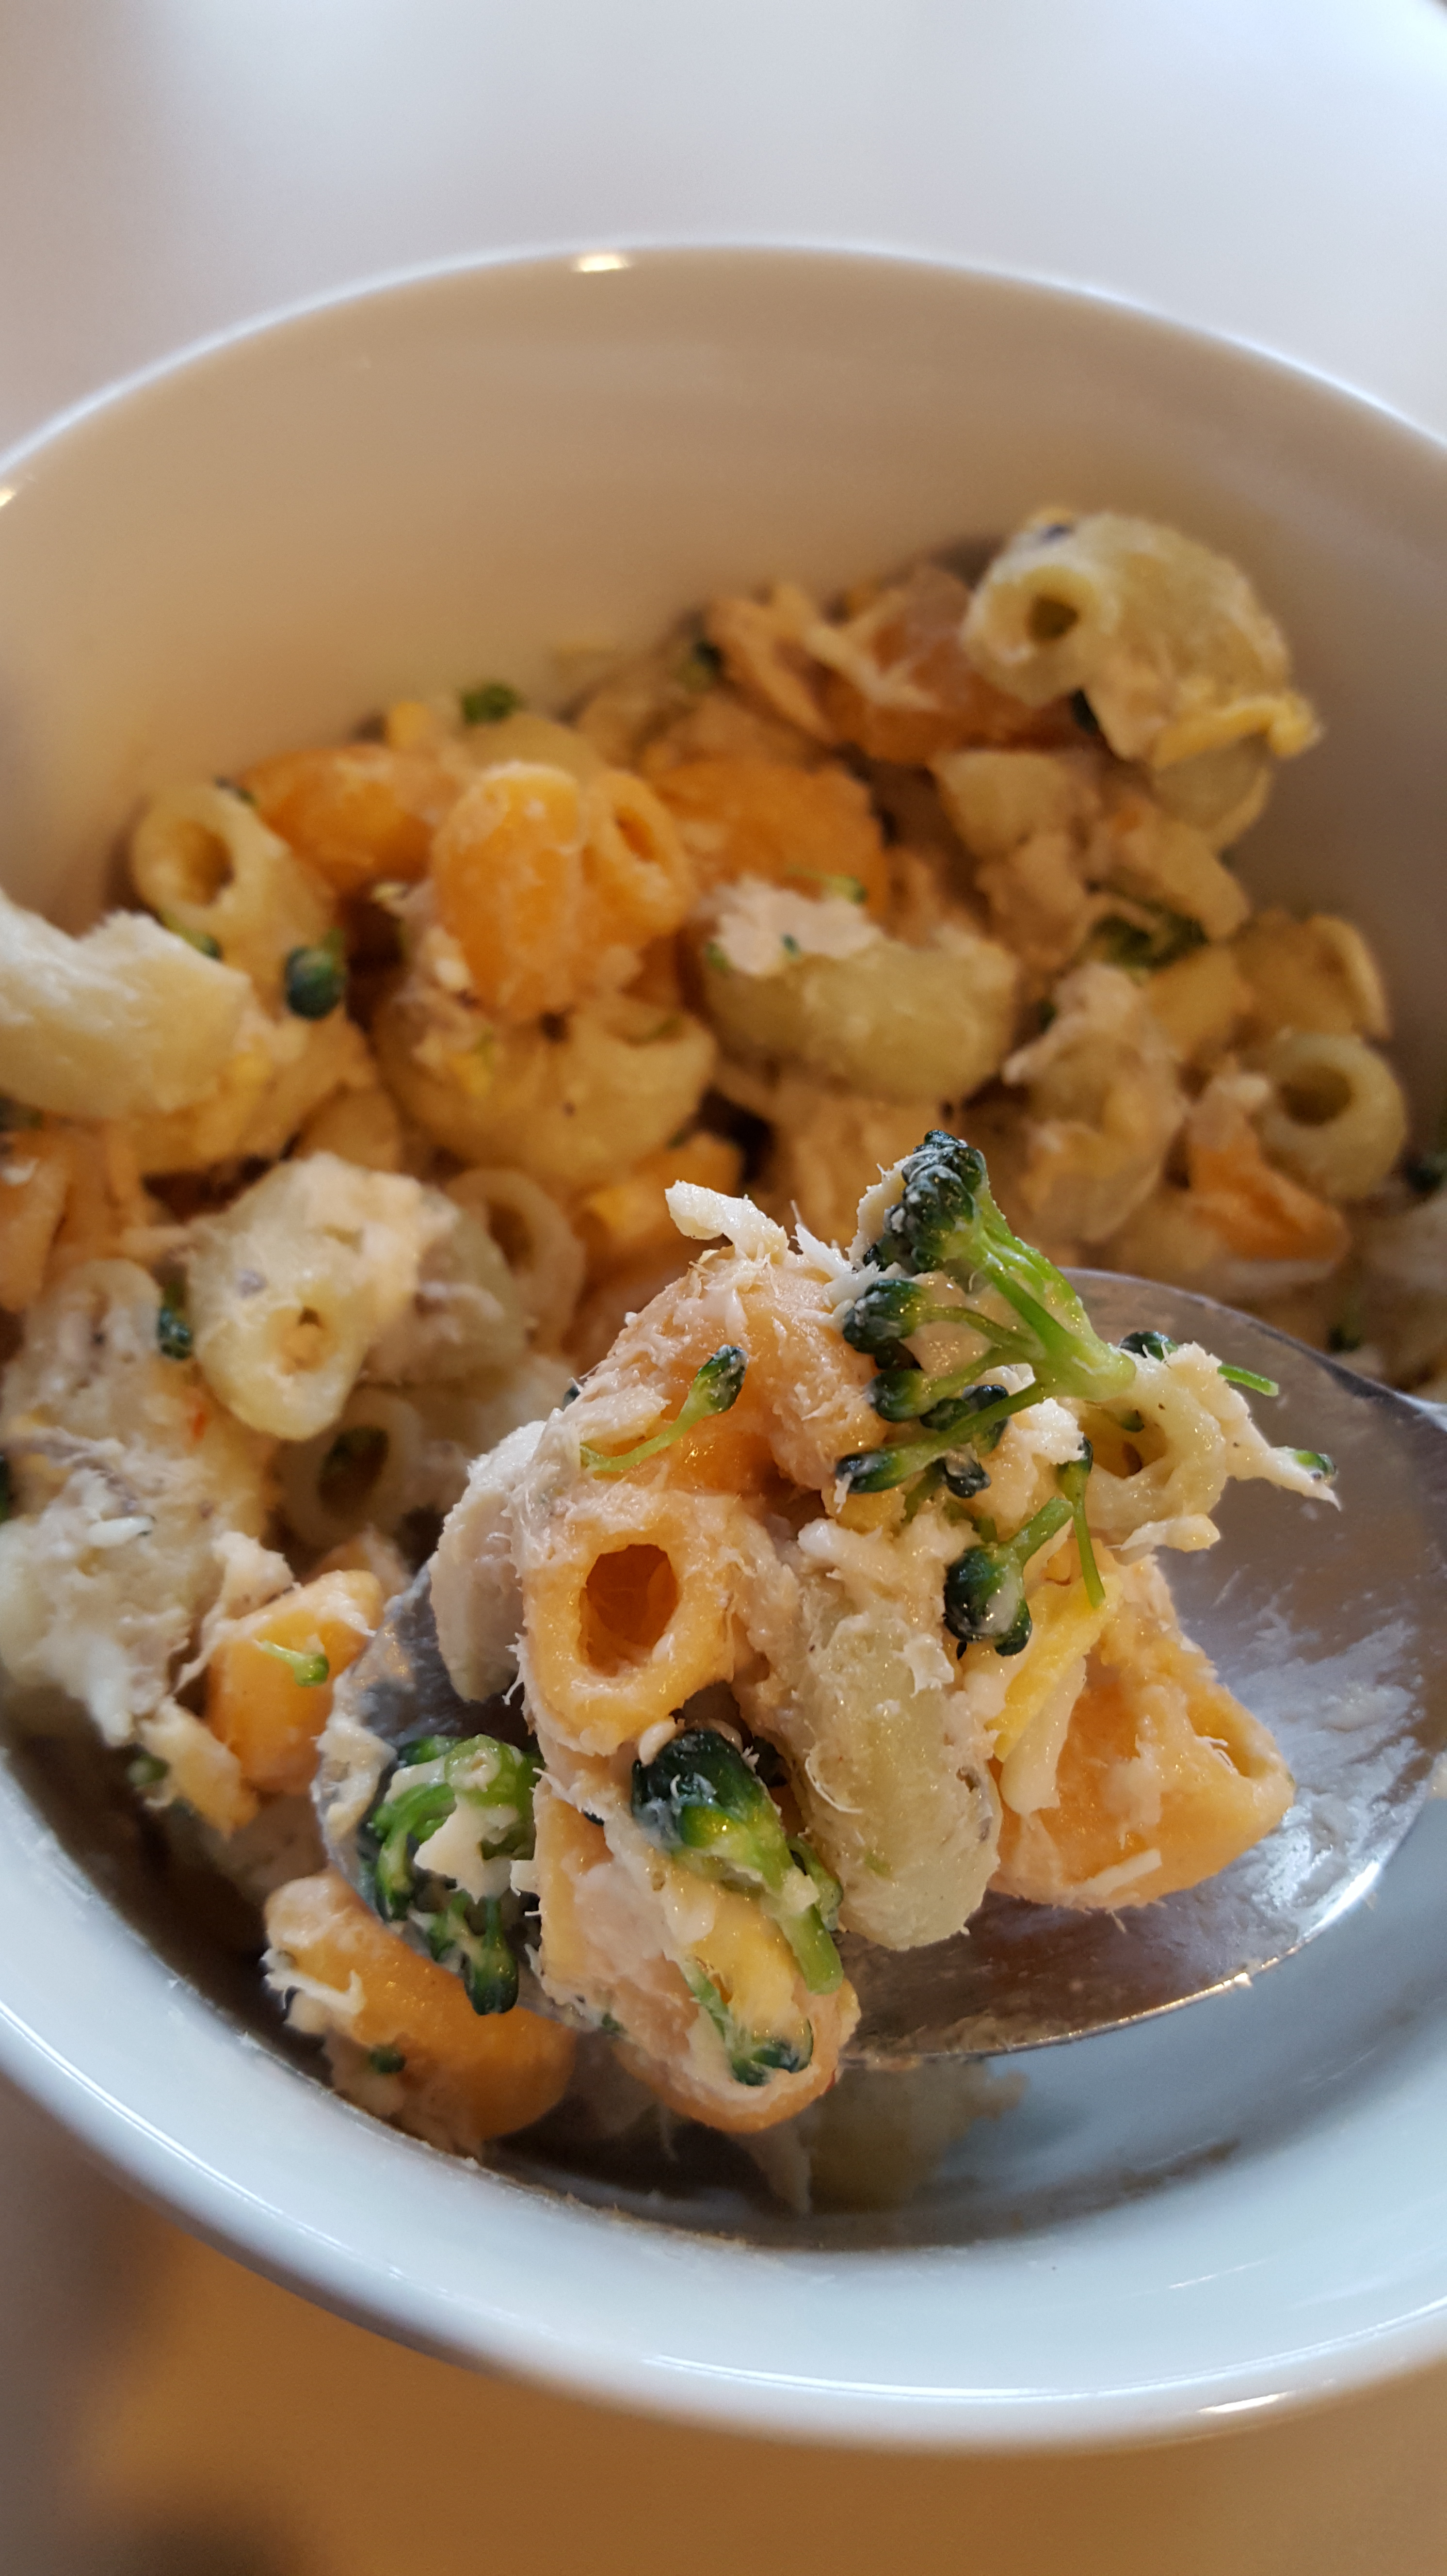
Spoonful of pasta salad

Veggie Curry with Lentils recipe

This is a curry recipe with cabbage, and before you x out of this page, let me just say it’s neither smelly nor stringy. I must admit I was slightly scared of cooking cabbage; coleslaw is great, but I’m not a big bubble and squeak fan, so my main experience with cooked cabbage has been bland, smelly and limp. That being said, cabbage is really good for you, and I’m always trying to find new ways of forcing veg ingestion upon my children, so when they turned their noses up at coleslaw, I thought I’d trick them into the rest of the slaw. I bought a big bag of pre-shredded cabbage and carrot that you’re meant to add dressing to for coleslaw, but it ended up helping create to most delicious curry.

My daughter is my biggest food critic, but she’s also my biggest fan if I make lentils for dinner. At 4 years old, she’s determined to polish off any vegetarian meal I make, convincing me she’s going to refuse meat any day now. As long as I have a half an hour to allow the lentils to soften, I’ll make this type of dish for lunch or dinner. This particular recipe took about 45 minutes from start to finish, but I was faffing a bit. The depth of flavour that the spices and cabbage add are gorgeous – sweet and savoury, and a little bit creamy. I hope you’ll give it a try, even if you don’t think you like cabbage, because I was surprised by how sweet and tender it was in this curry.

lessons.png

 You’ll need:

  • 1 tablespoon veg oil
  • 1 tablespoon butter
  • 1 cup crushed or diced tomato (tinned is easiest)
  • 1 teaspoon dried mustard powder
  • 1 teaspoon garlic powder
  • 1 teaspoon ginger powder
  • 1 teaspoon dried cumin
  • ½ teaspoon cinnamon
  • ½ teaspoon turmeric powder
  • ½ teaspoon paprika
  • 1 cup dried red lentils (rinsed well)
  • 2–3 cups shredded cabbage (I used a coleslaw pre-shred with a bit of carrot)
  • 1 cup chopped coriander/cilantro (I use my scissors and just snip into the pot)
  • ½ teaspoon chicken (or veg) stock concentrate, or 1 dried cube
  • 1 tablespoon brown sugar
  • 4–6 cups of water to cover and periodically top up until the lentils are softened
  • ½ cup Greek yogurt

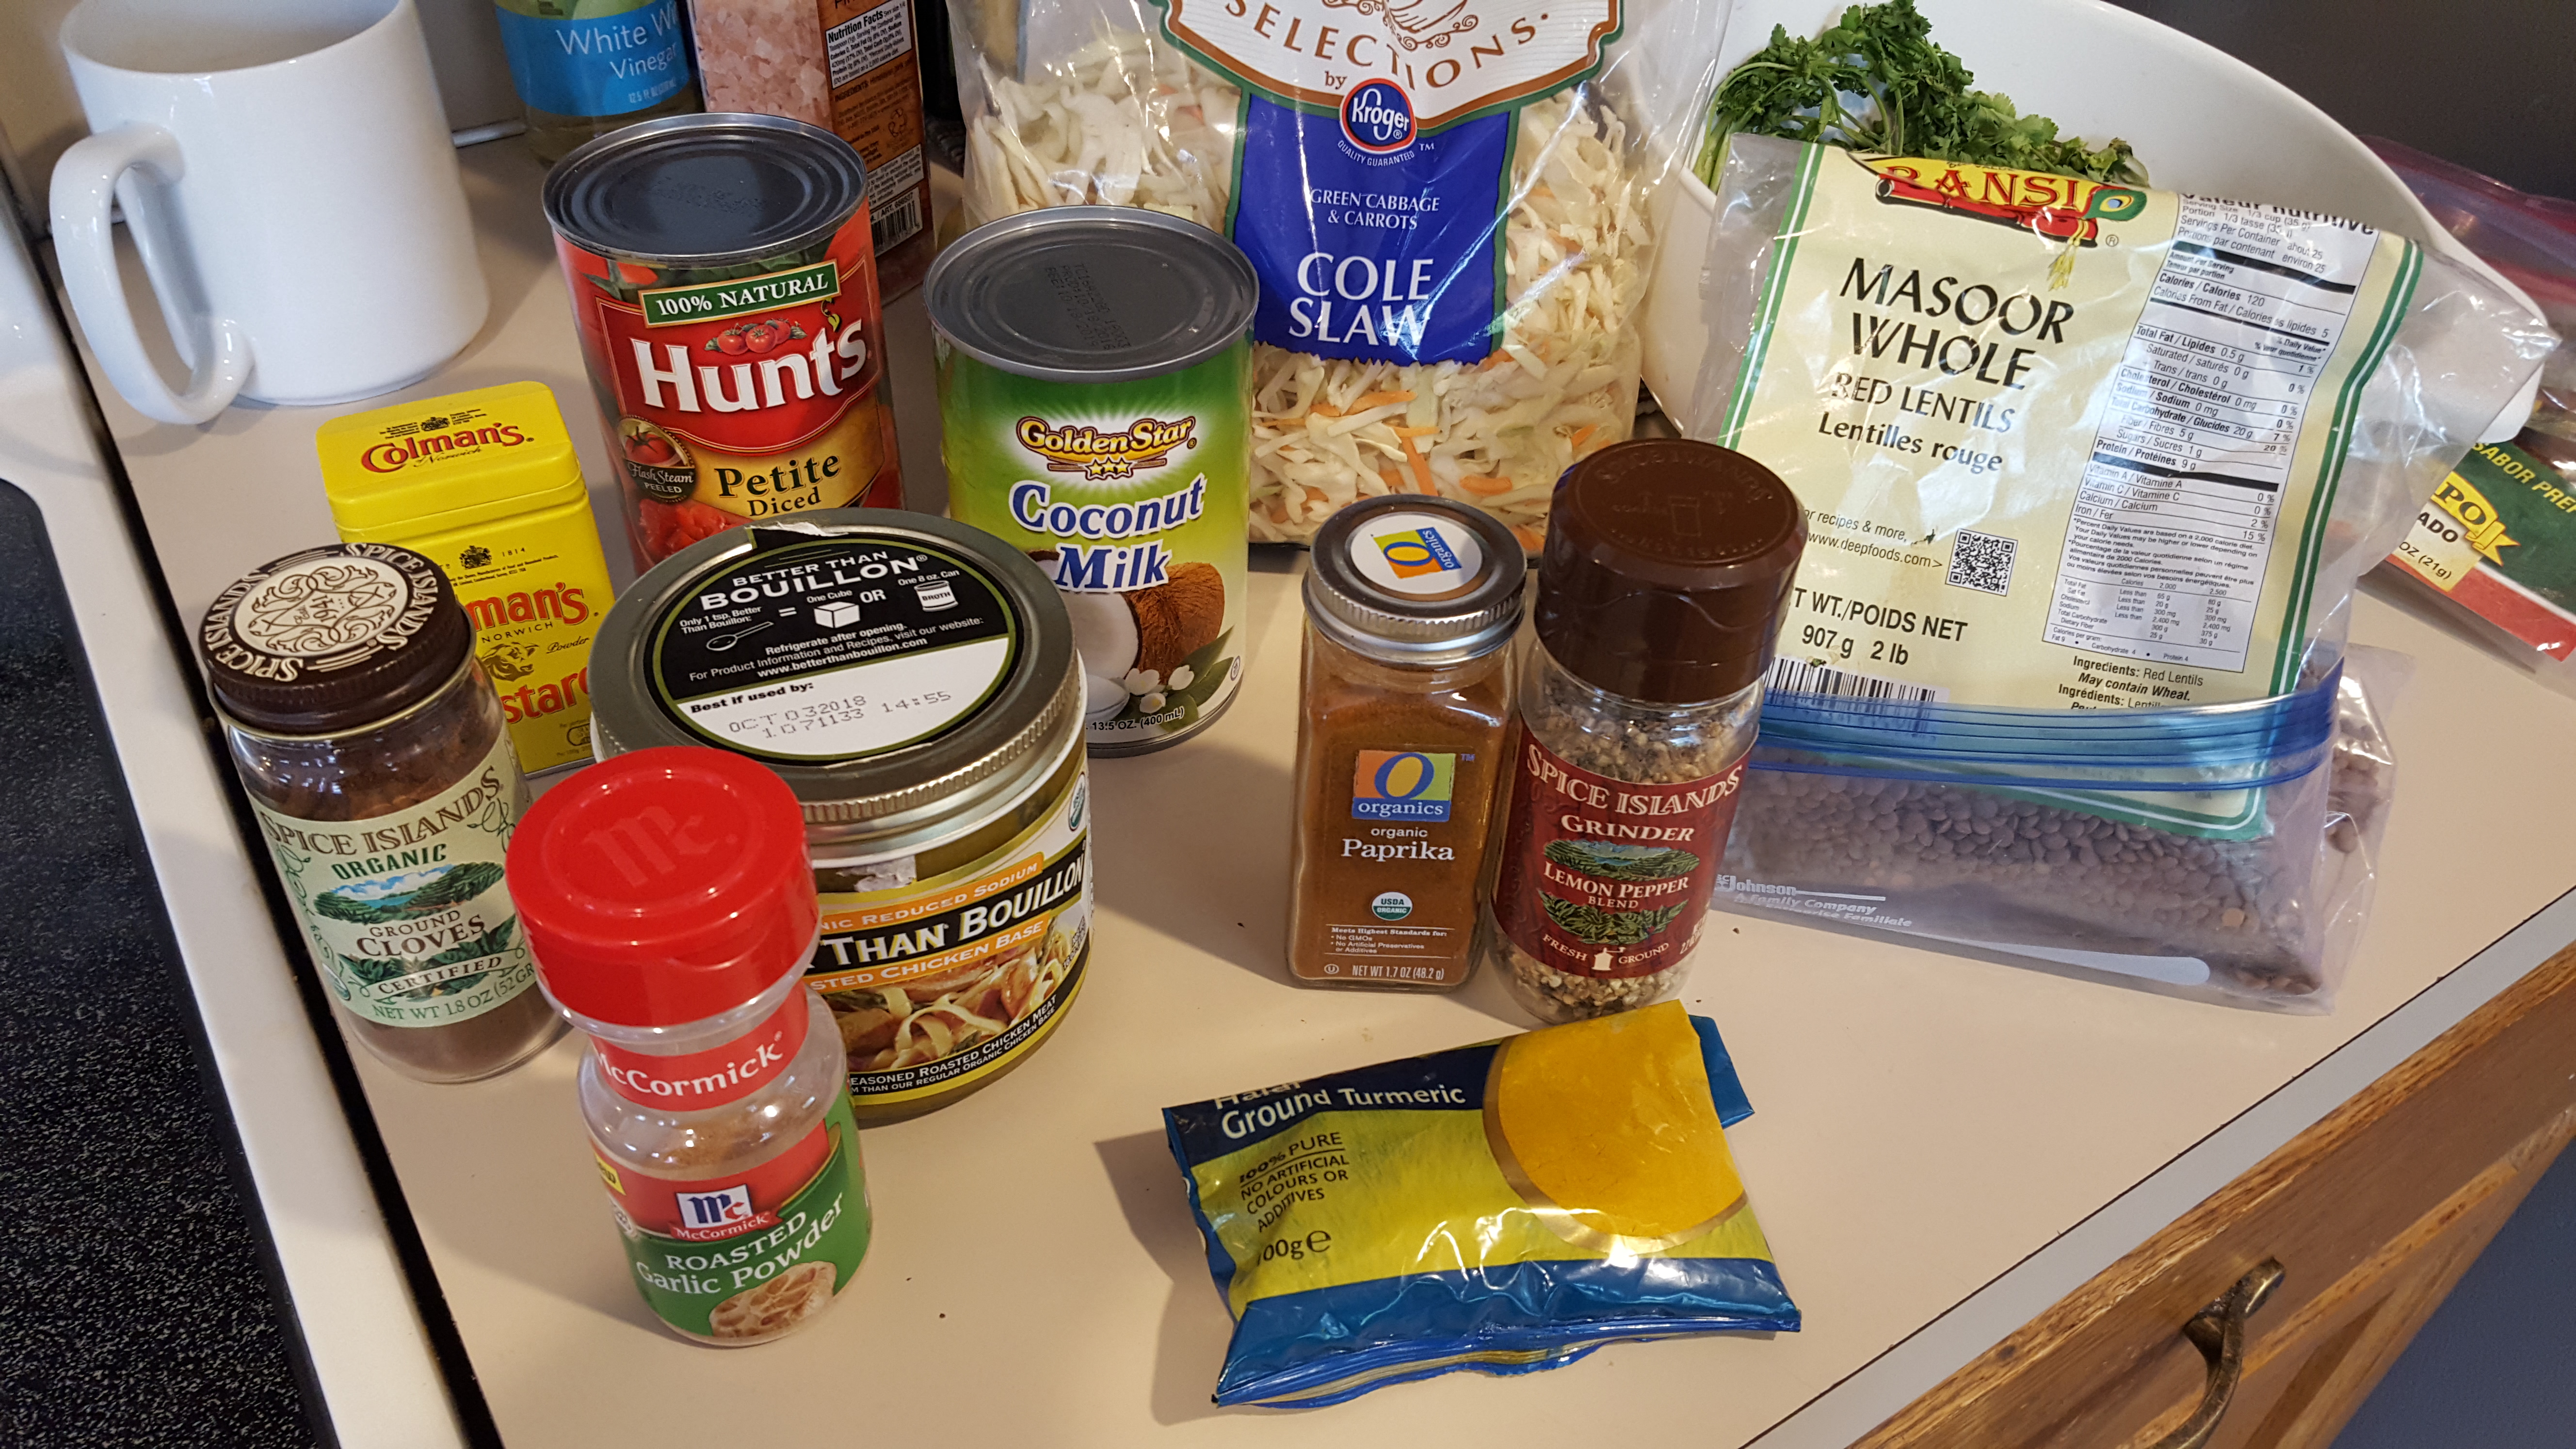
Veg curry ingredients

The method:

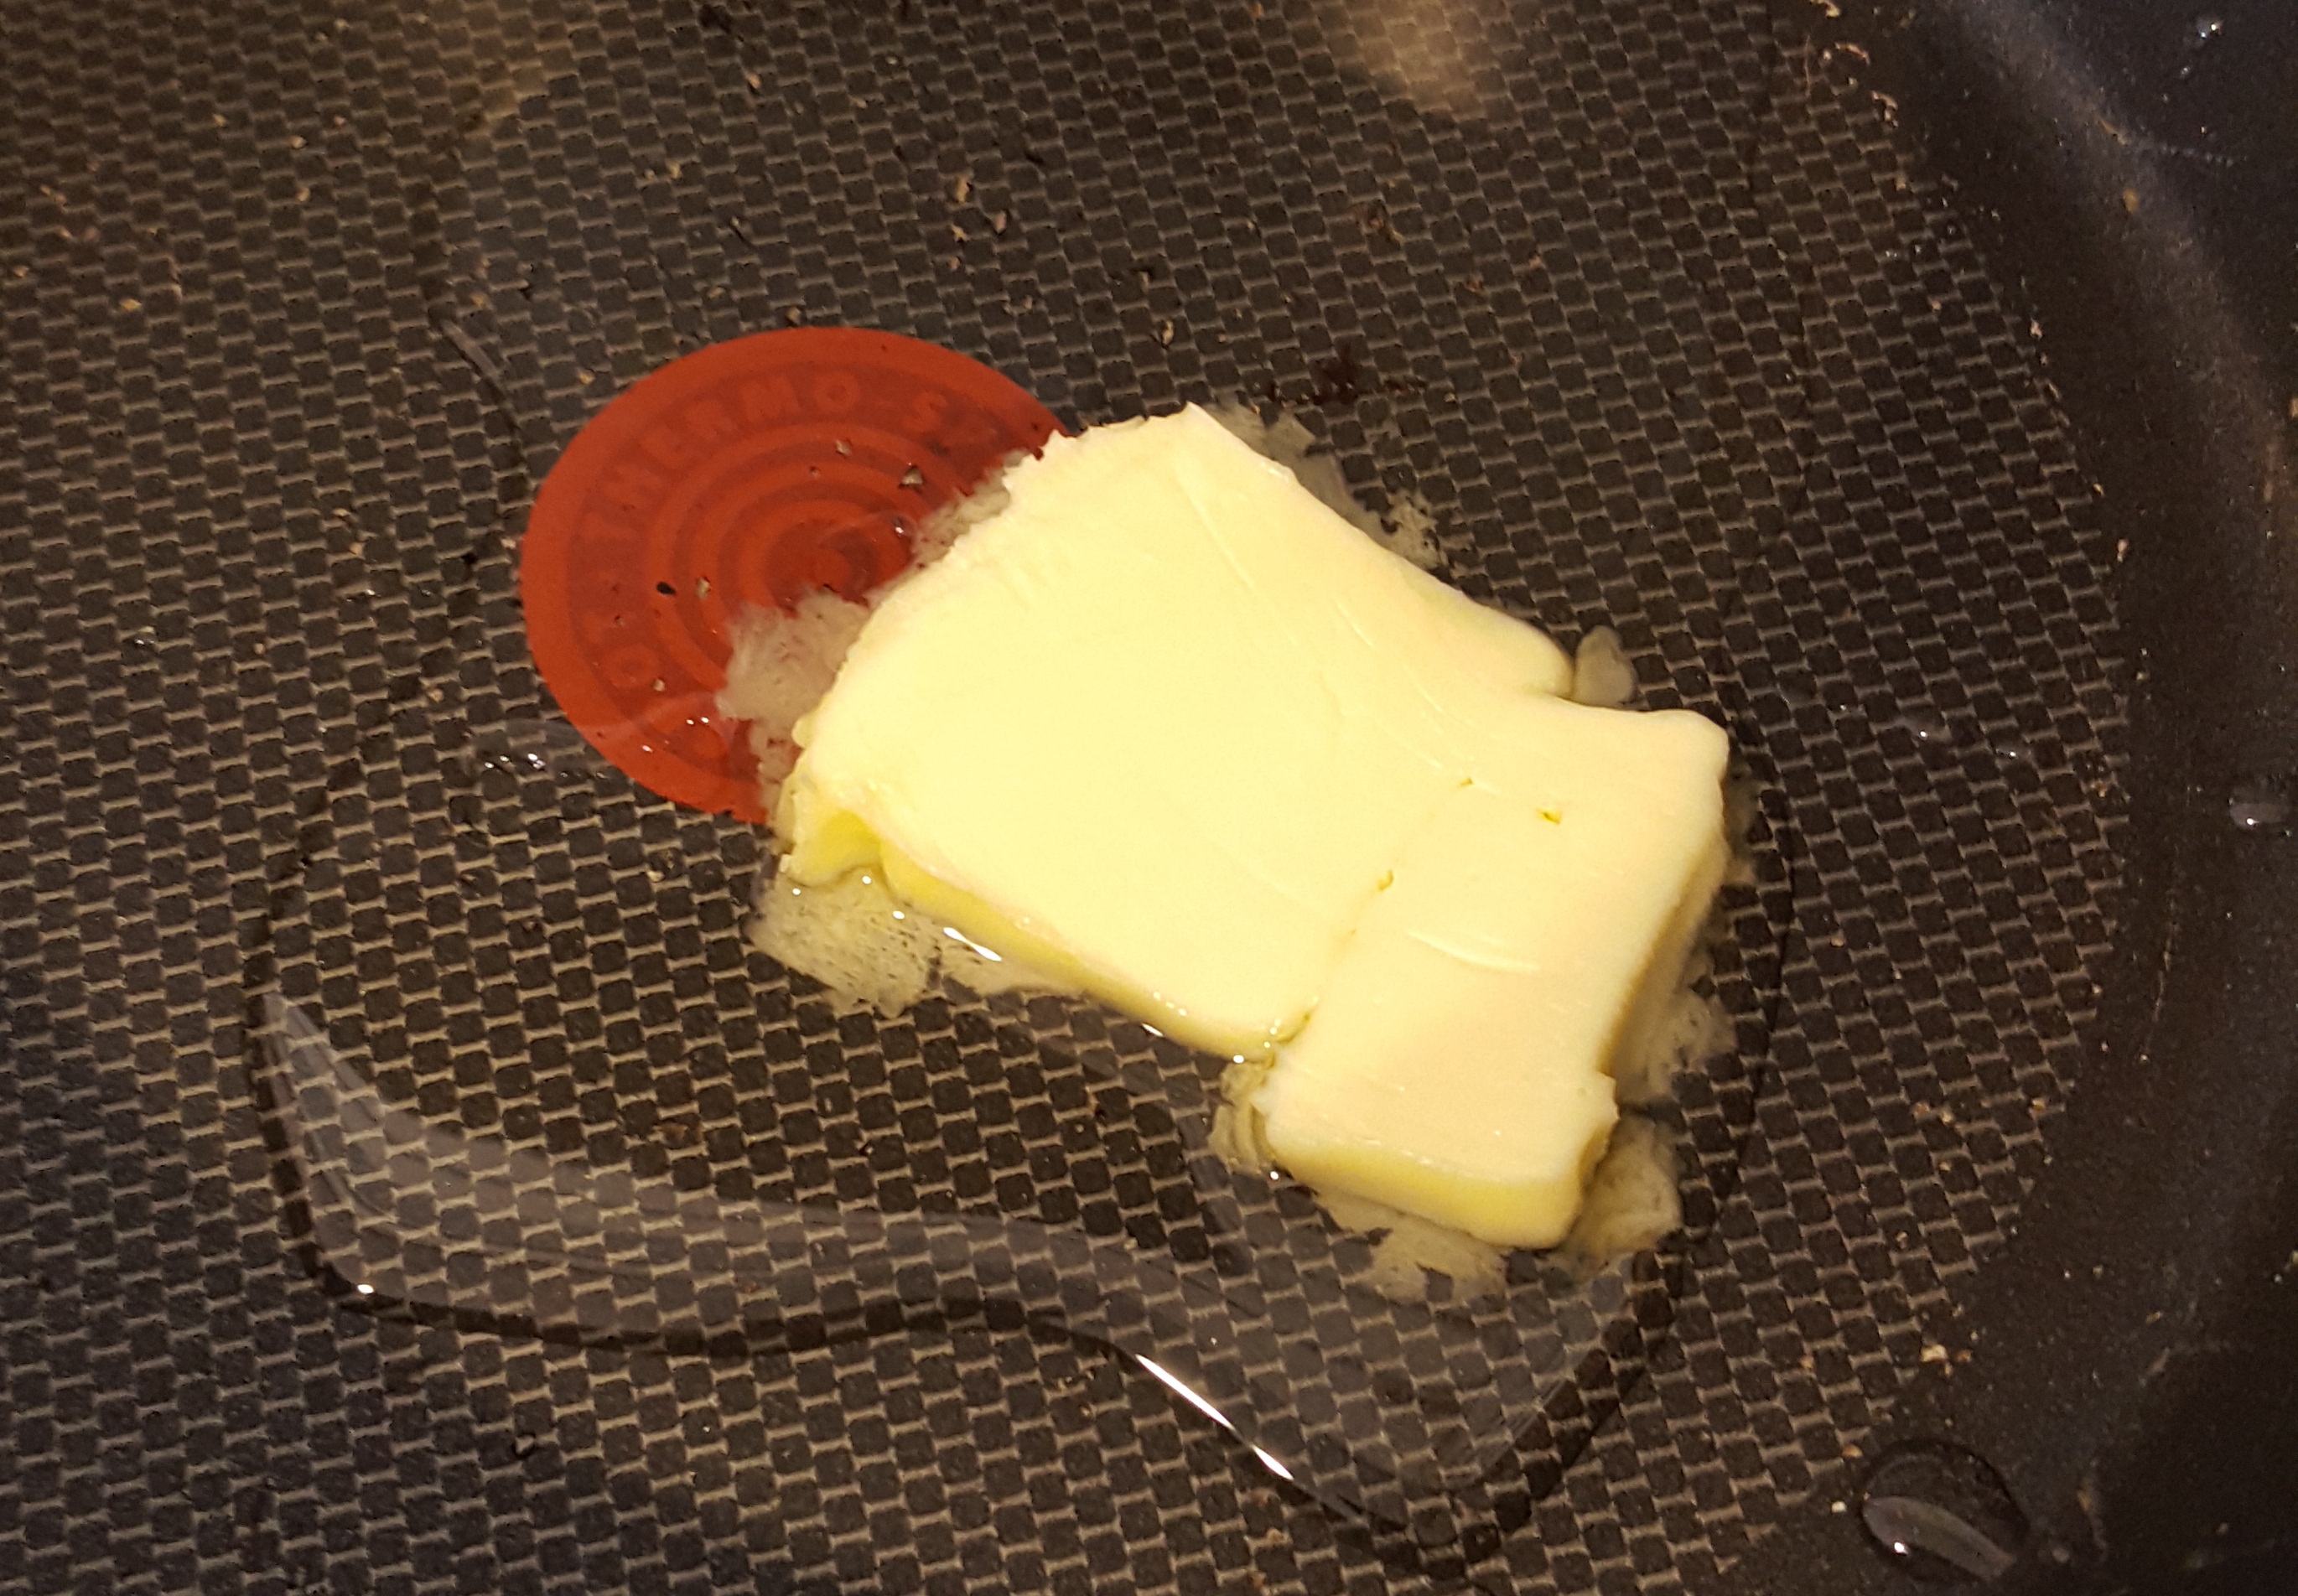
First things first: find a wide, deep pan and add the butter and oil over a medium-high heat.

Melting the butter.jpg


Once the butter is melted and the oil is warm, add your dry spices and give them a quick stir before adding the tomato and incorporating into the oil and spices. This will allow the spices to lightly fry without burning, and the tomato to reduce.

Add the chicken stock concentrate or cube and mix it into the tomato and spices; you’ll add water later, so don’t worry if it’s not fully mixed in.

Ensuring you’ve thoroughly rinsed the dried lentils, add these to the tomato mix and stir well.

Lentils cooking.jpg

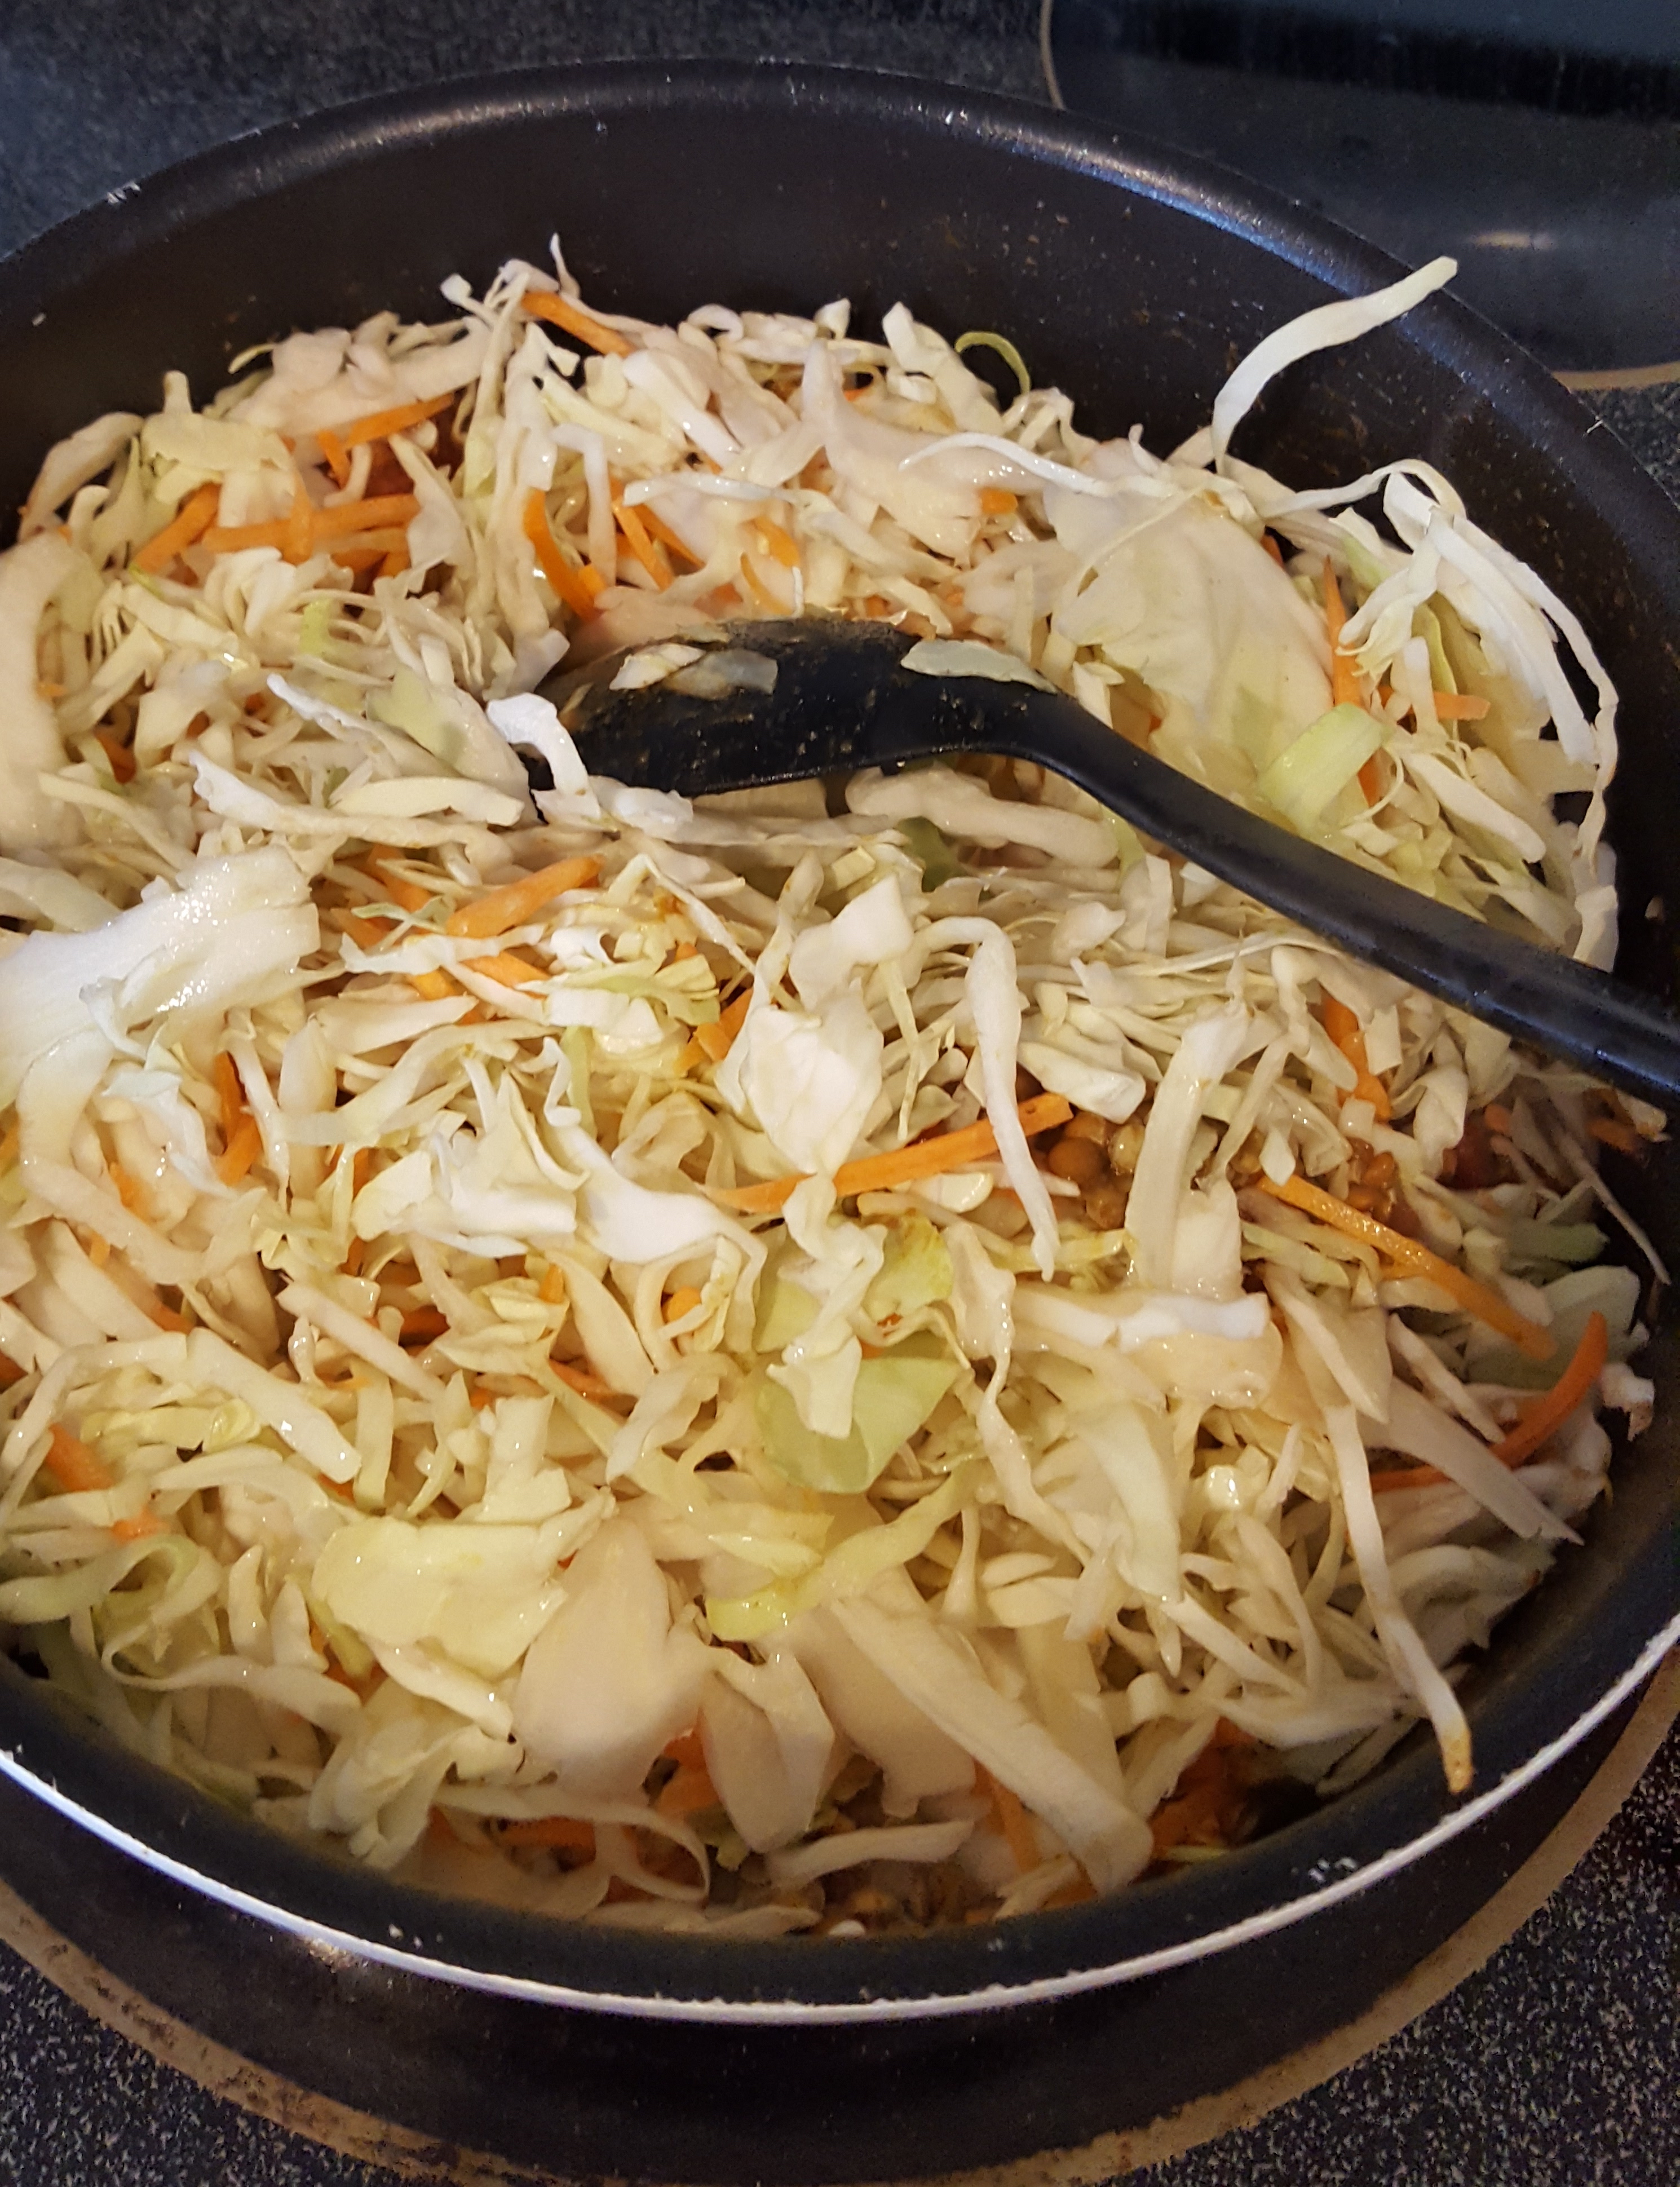
Cover the lentil mixture with the shredded cabbage and add about 1 cup of your water. I find keeping a full kettle on hand the easiest for eyeballing the water additions. Reduce the heat to a medium-low while covered to save scorching the bottom.

Keep the cabbage on top without stirring it in and just cover it for about five minutes. This gives you the perfect chance to start your rice, or pull out the pita or naan for serving. I usually cook jasmine rice with chicken stock and a little garlic and herb spice, but that’s just because I like my rice to have flavour of its own.

Cabbage in the pan.jpg

Once the cabbage has wilted, and created some of its own water, give it a good stir to incorporate the lentils and check the water level.

Sprinkle in the brown sugar and add the coriander, and mix into the curry before adding about 2–3 cups of water, or enough to cover the mixture.

Incorporate the water before covering and allowing to simmer on medium-low heat for another 10–15 minutes. The cabbage will continue to reduce as the lentils soften, so you shouldn’t need more water, but keep an eye on your creation.

Once you’re satisfied with the tenderness of your lentils, reduce to low (or switch off the heat if you’re serving straight away) and add the Greek yogurt. This will mellow the spices and add creaminess to the curry.

Serve this over rice, or with toasted pita or naan bread.  Add a splash of lemon juice to your serving for a citrus burst and enjoy!

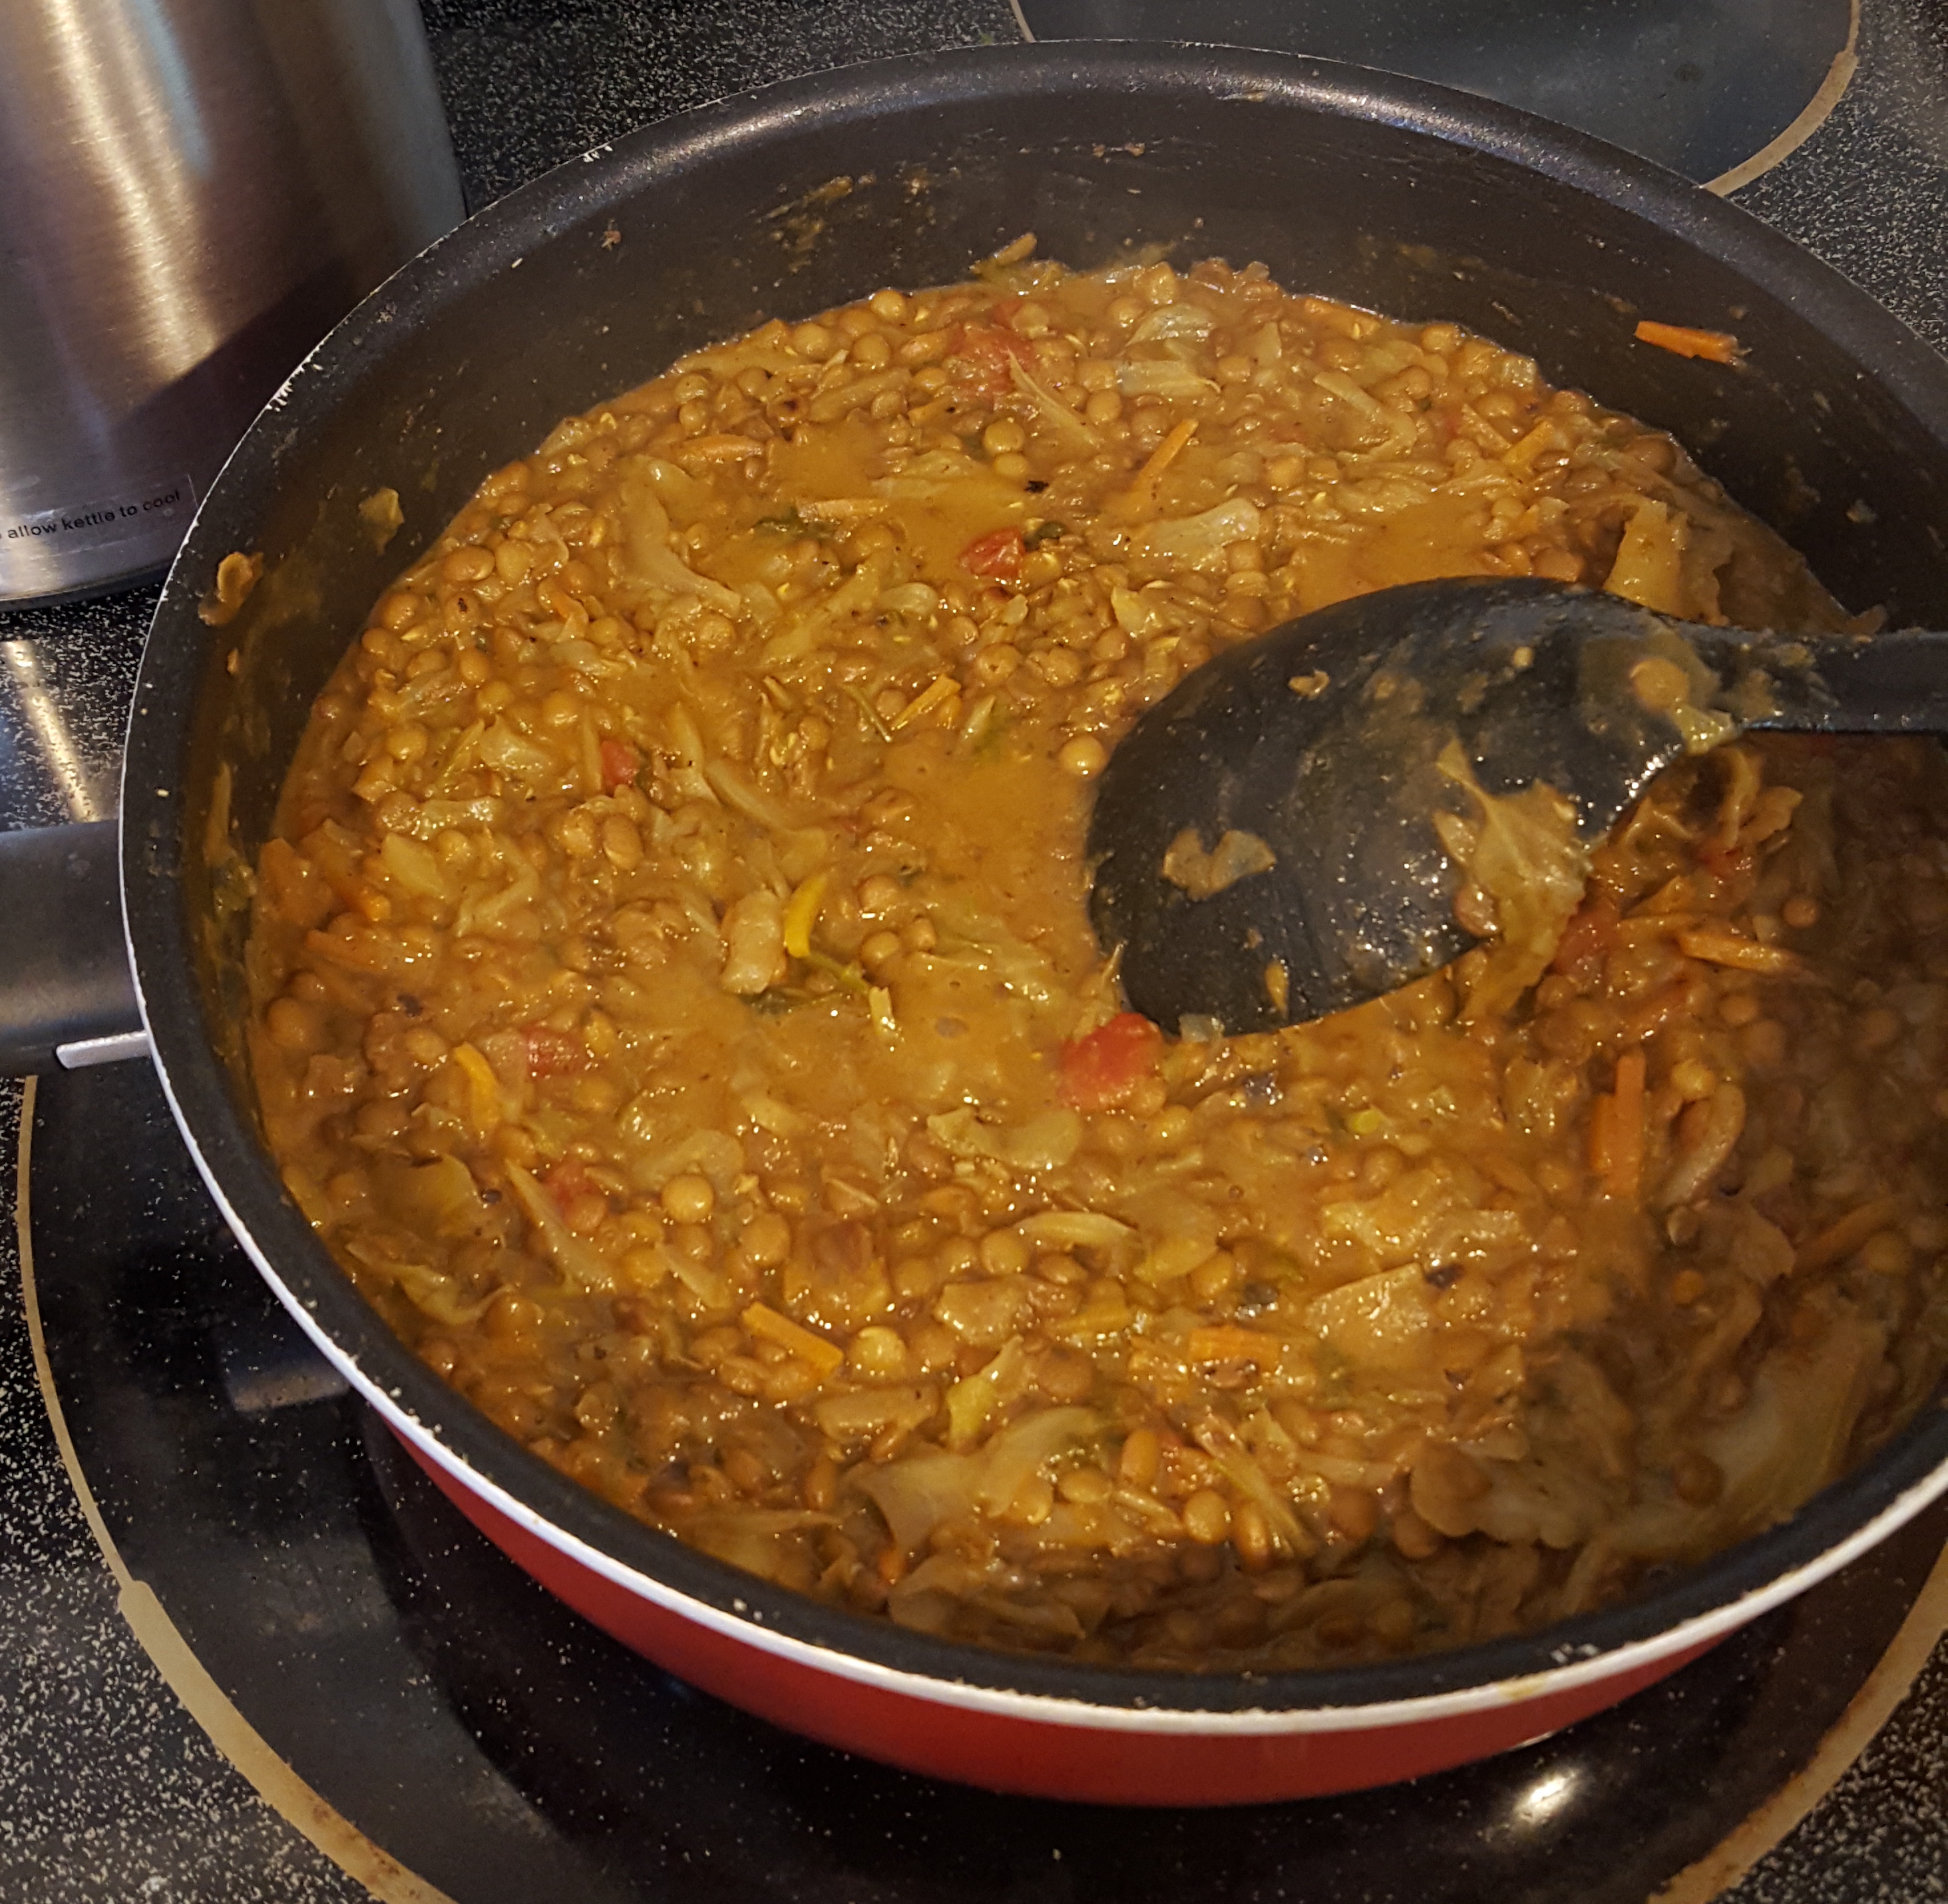
Closeup plated veg curry

Quickest Quiche Lorraine

Quiche is a brilliant breakfast. The savoury protein kick is just what the busy mom ordered. My husband is gluten intolerant – not just fad-style – but genuinely cannot indulge in a white flour crust. I am actually adverse to pie crust; I’ve never found it necessary and prefer to scoop out any filling I encounter. I understand many enjoy this mythical flaky, buttery crust that isn’t soggy or tasteless, so you’re welcome to use this filling recipe with a ready-made crust if you like. I prefer to go crustless. It’s faster, healthier and so much easier to serve!

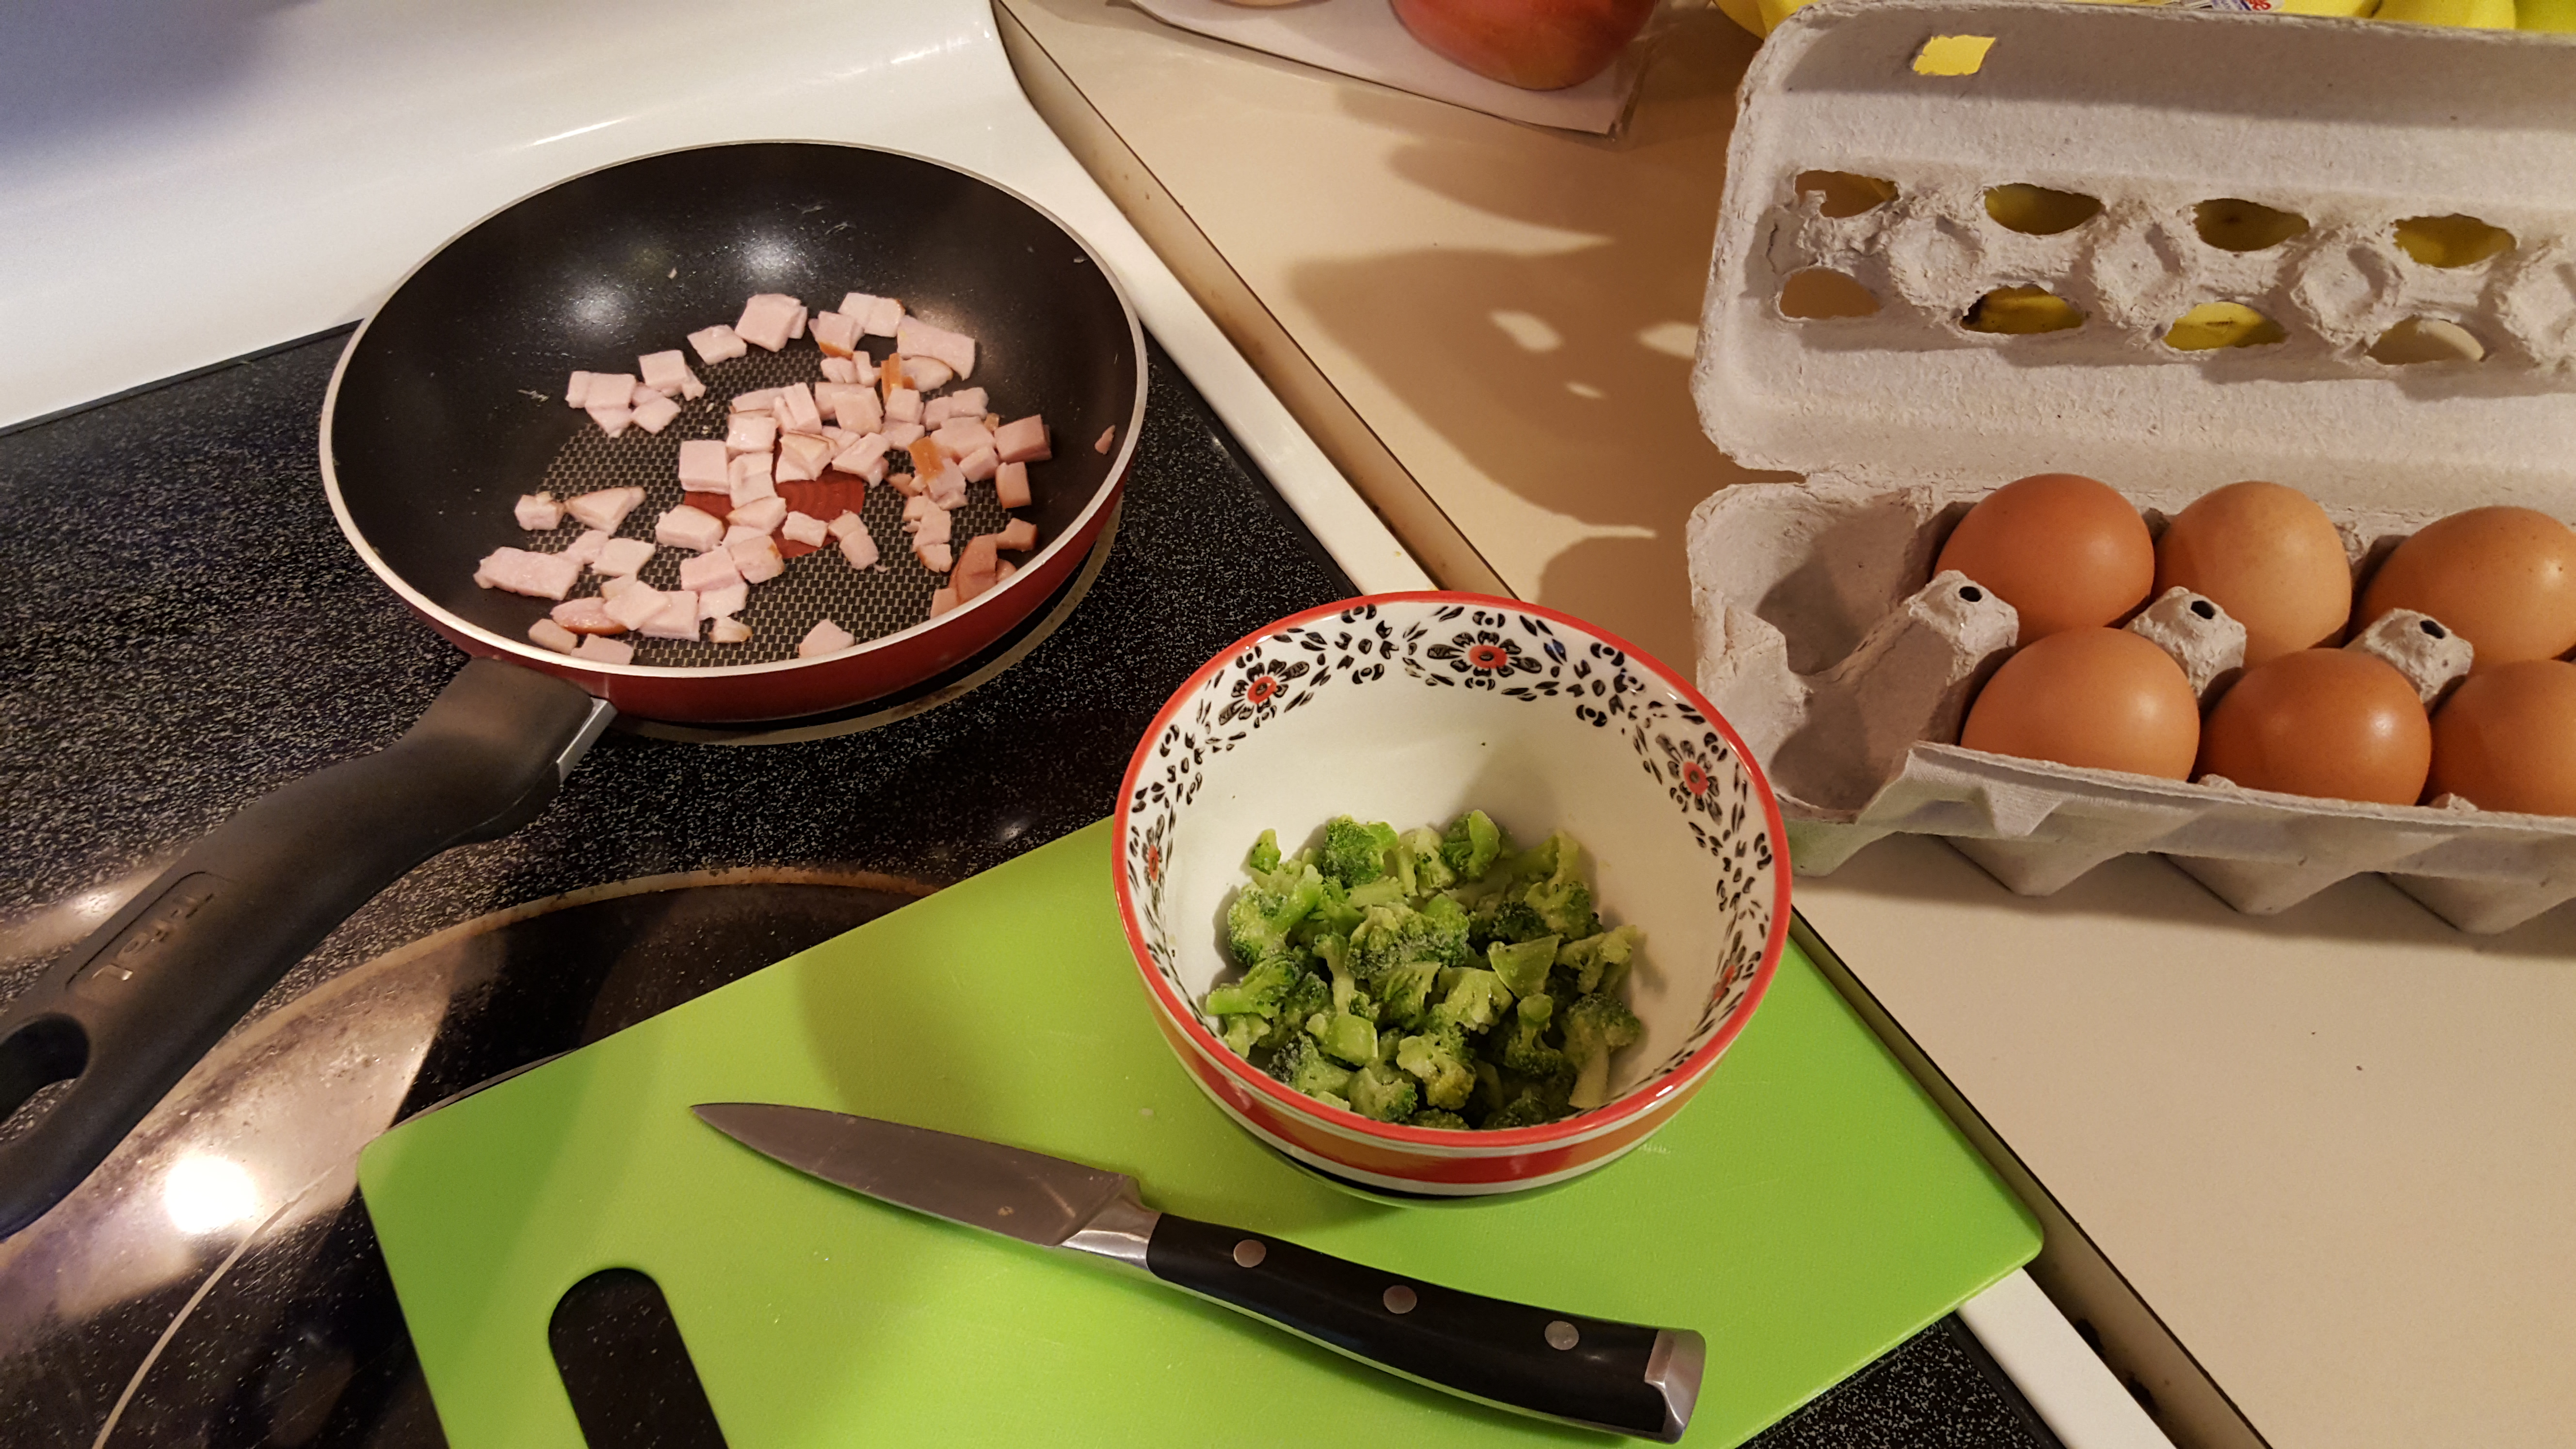
For this recipe, I use greased ramekins to create easy portions and cut down on the baking time. You can fill a pie dish instead, but you’ll need to double the baking time and possibly cover with foil for the last 15 minutes to prevent it burning on top. I use Canadian bacon, pre-cooked rounds of back bacon that are easy to chop into pieces and fry off to add some flavour. You could easily use turkey bacon or ham to keep it lean, or back or streaky bacon if you have the time to cook it first. By using pre-cooked bacon, I only need a minute to give it some colour and it’s ready for the quiche.

In the spirit of super fast, I also use frozen chopped broccoli. I let it thaw for a minute before adding it to the bacon pan to help the remaining water evaporate and keep the quiche getting too soggy. Trust me, this added step will add flavour and firmness to your tart, so don’t skip this for the sake of one frying pan.

This is the perfect weekend morning dish to go along with some fresh fruit and toast, or you can make some extras for a quick midweek warm up. My kids love this, and my husband appreciates the lack of crust as much as I do. Give it a try and you’ll see why!

CAFE.png

You’ll need:

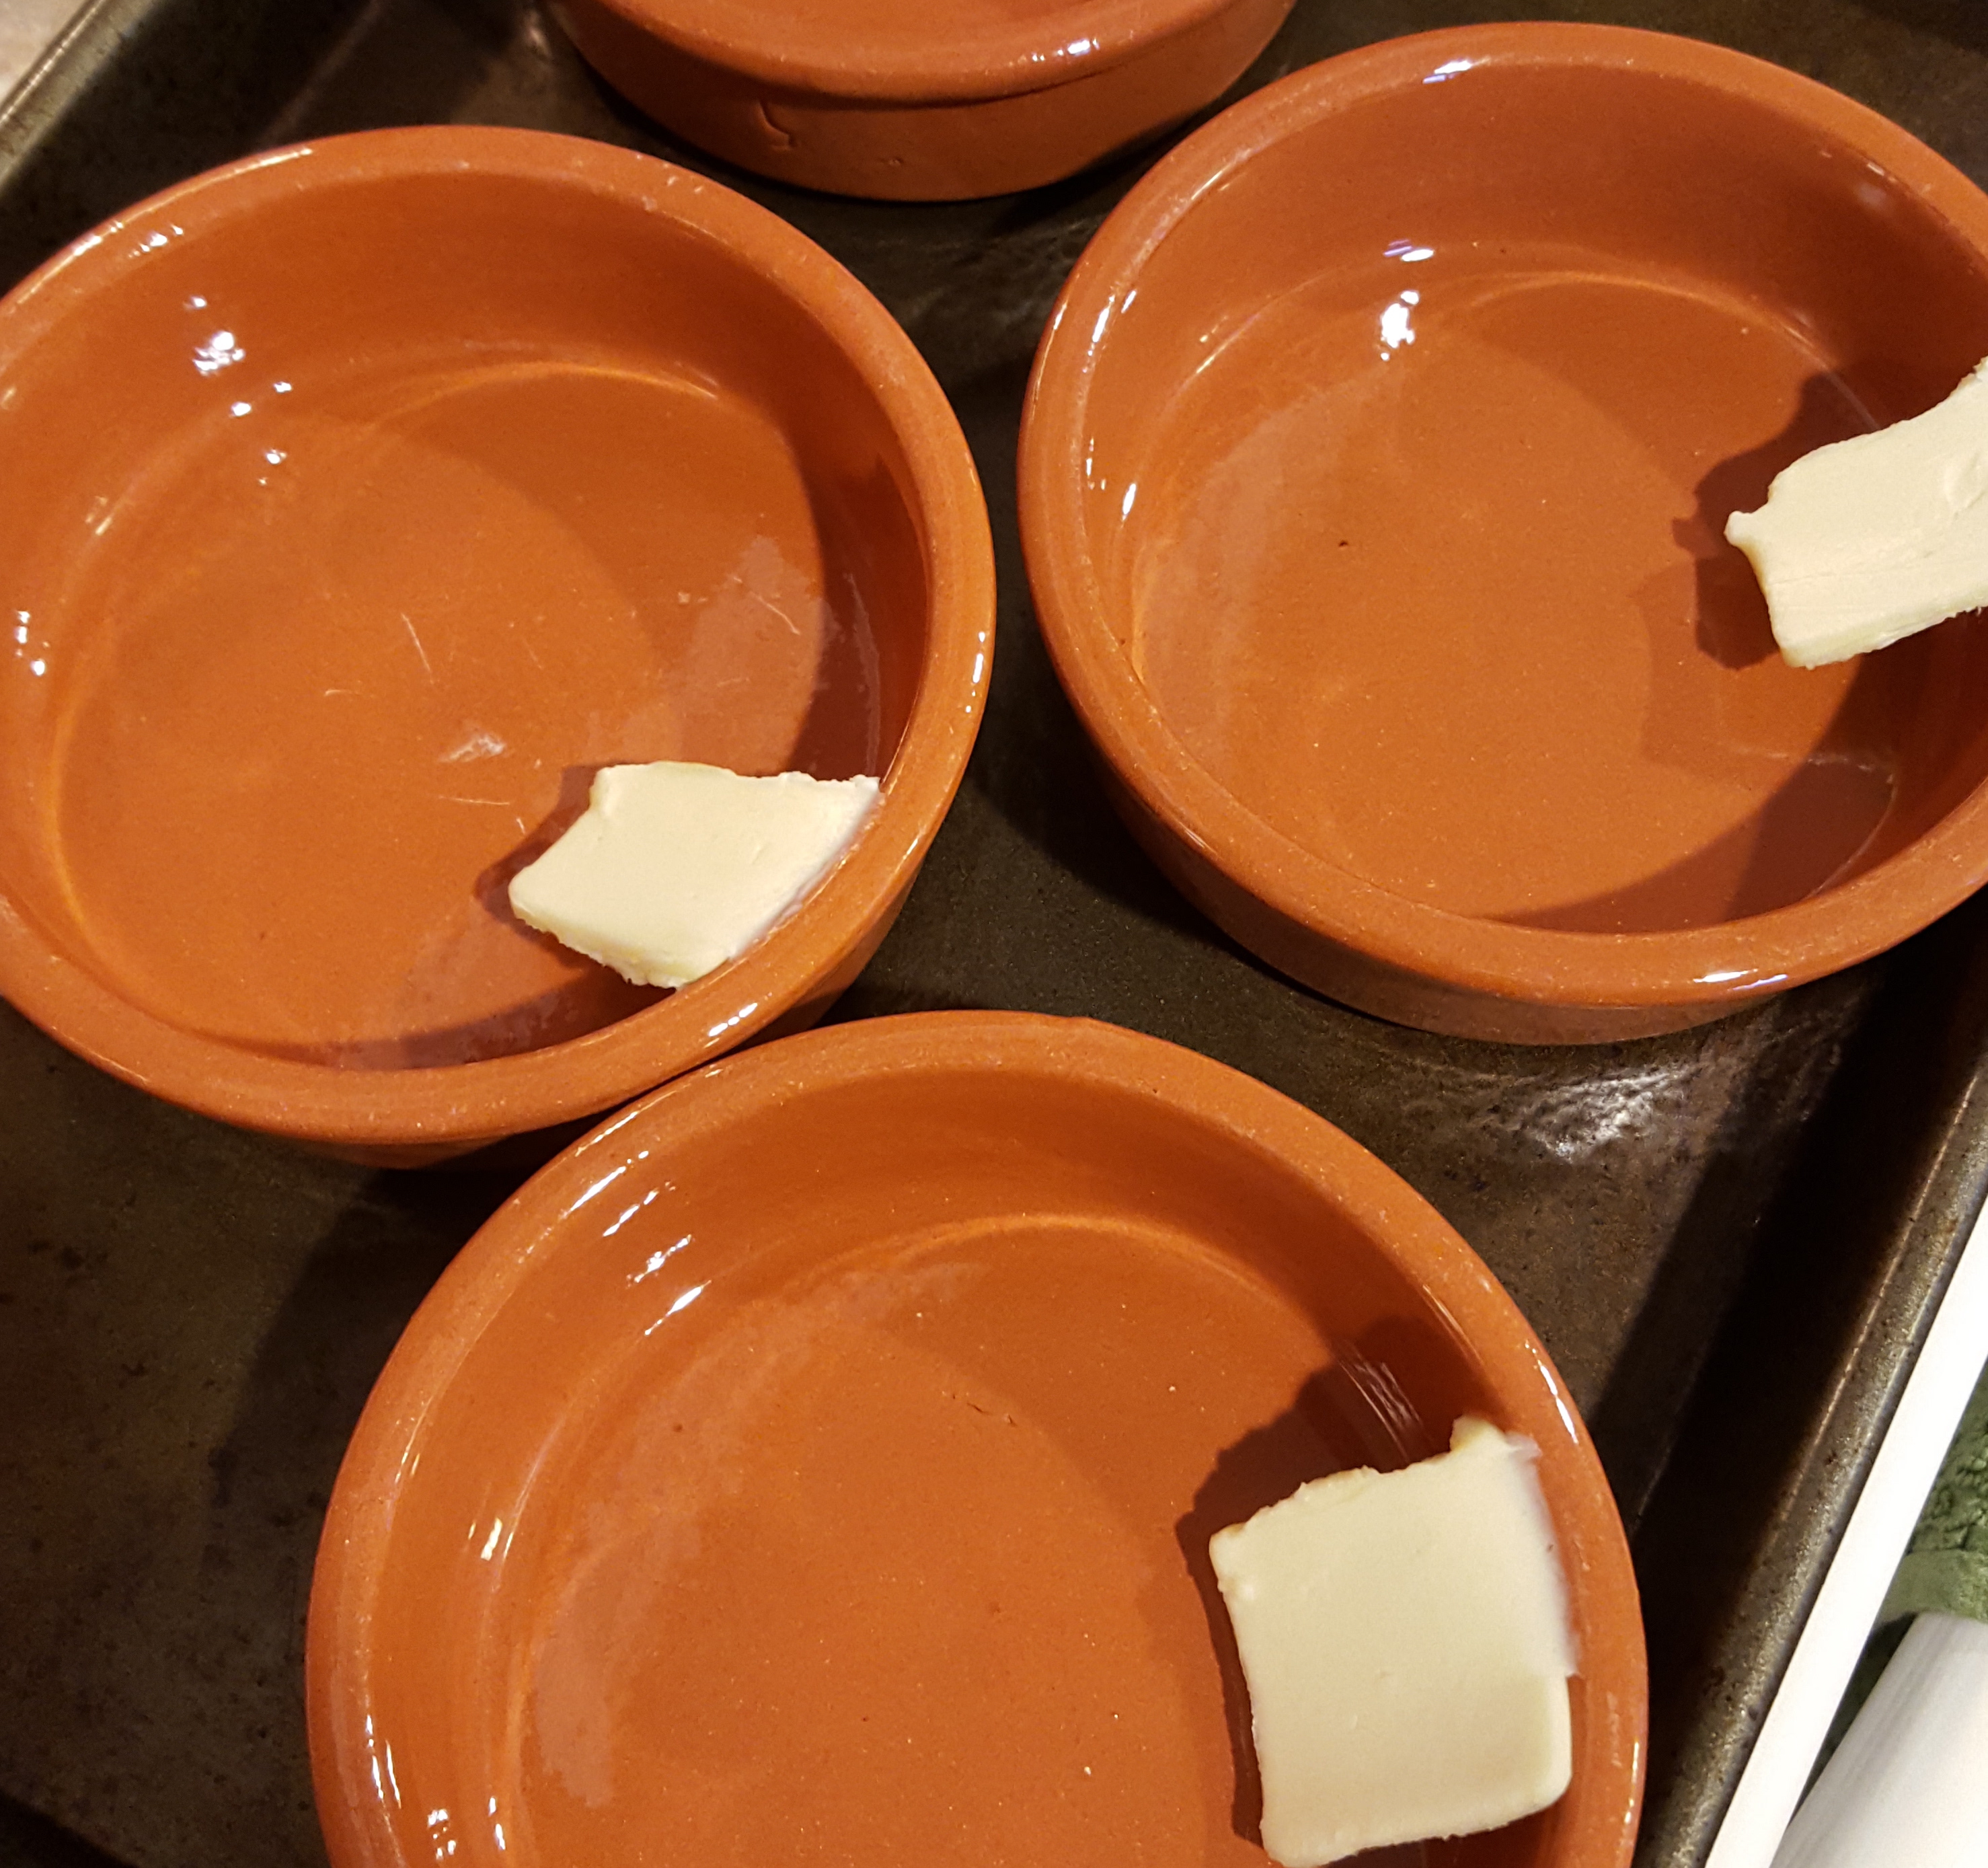
  • 4 ramekins greased with a tab of butter each
  • 8–10 eggs
  • ¼-–½  cup chopped broccoli (I use frozen)
  • ½ cup chopped, cooked bacon (I use Canadian bacon rounds)
  • ½ cup shredded cheese of choice (I prefer a sharp cheddar)
  • ¼ cup milk
  • ½ teaspoon garlic powder (I use a garlic and herb blend)
  • ½ teaspoon salt
  • ½ teaspoon pepper

The method:

Pre-heat your oven to 190C/375F.

Measure out your broccoli and set it aside to begin to thaw.

Quiche Lorraine ingredients.jpg

Chop your bacon into small pieces and add to a warmed pan over medium heat. Allow the bits to lightly fry for about a minute.

Add the slightly-thawed broccoli and allow to thaw further with the bacon. Allow any moisture from the broccoli a chance to steam off. This usually only takes two or three minutes.

Place your ramekins onto a baking tray and add a tab of butter to each before putting them into the oven.

Butter to grease ramekins

Break your eggs into a nice large bowl and scramble them well before adding the splash of milk. Beat in the dry spices and set aside.

Remove the ramekins from the oven and give them a little swirl to spread the butter around the edges.

Layer a bit of bacon and broccoli into the bottom of each ramekin before pouring the egg mixture to cover the bits.

Add a pinch of shredded cheese to the top of each quiche and use a fork to gently push down slightly below the egg.

Quiche Lorraine ready for the oven.jpg

Slide your baking tray of quiches into the oven for about 20 minutes. Depending on the size of the individual ramekins, it may take slightly longer. Once the quiches are puffing up, they’re only a few minutes from finished.

Allow the quiche to cool for about 5 minutes after removing from the oven, they may sink slightly, but no worries. The individual quiche can be served with or without accompaniments – sometimes they never make it to a plate! Enjoy!

Forkful of Quiche Lorraine.jpg

Sparkly Mummy

Porky Pie recipe

Comfort food is delightful in the winter, when jumpers and jackets cover their calorific side effects. As we enter Spring, however, I try to lighten our meals a little, in anticipation of shorts and vest tops. This recipe is a mid-week crowd pleaser; not cottage, not shepherd’s, but porky pie. It’s a quick, healthy meal that doesn’t take more than 30 minutes from fridge to table.

Ground pork is lovely and lean, but still has fabulous flavour if you give it a chance to brown. I add chopped mushroom to the meat to add volume, texture and flavour, but the kids would never know it! This is a gluten-free recipe that could be vegetarian if you use Quorn instead of meat. The usual carrots and peas add even more veg, texture and freshness to this delicious favourite.

My kids aren’t fond of white potato mash – they prefer sweet potato, so I’ve made this with sweet potato mash many times and it’s wonderful. This recipe is more traditional, with white or yellow potato mash on top, but if you’re really pressed for time midweek, you can use instant mash potatoes to top the meat. This saves peeling, boiling and mashing yourself, and only involves the kettle and a bowl. For families with less pernickety children, the instant mash is a real timesaver, and adding a little dollop of crème fraiche or soured cream makes all the difference for the taste. The pork gravy tastes amazing no matter how you top it!

Porky Pie recipe.png

You’ll need:

  • 1lb ground pork
  • 1 cup chopped white onion (I use frozen)
  • 2 tablespoons Worcestershire sauce
  • 1 cup chopped brown mushroom
  • 1 cup chopped or grated carrot
  • 1 teaspoon garlic powder
  • 1 teaspoon dried oregano
  • ½ teaspoon chicken stock concentrate, or ½ cube dried chicken stock
  • 1 teaspoon tomato paste
  • 1 cup frozen sweet peas
  • Optional 1 additional tablespoon Worcestershire sauce near the end
  • Salt and pepper to taste
  • 4 cups of white potato mash (if not using instant)
  • 3-5 medium russet potatoes
  • 1 cup low fat milk
  • 1 tablespoon salted butter
  • Salt and pepper to taste
  • Optional ½ cup shredded cheese

The method:

If you’re making your own mash, get a pot of water on the cooker to bring to the boil, and wash and quarter your potatoes so they’re ready to add to the water straight away.

Choose a nice wide pan for browning your meat and bring it to a medium-high heat. Add the chopped onions, ground pork and Worcestershire sauce and mix together, breaking up the meat and distributing the onions and sauce.

Leave the meat for a good 2 minutes to allow one side to brown deeply. Resist the temptation to stir as you want the flavour to stick. This is a great time to chop mushrooms and carrots.

Add the dry spices to the meat before your next stir and coat the meat before leaving it for another 2 minutes.

Add your chopped mushroom and carrot once the meat is mostly browned and mix into the mixture well.

Next, add the chicken stock and tomato paste, and perhaps a splash of water to help dissolve, but the meat and veg will have produced a bit of liquid to help stir into the gravy.

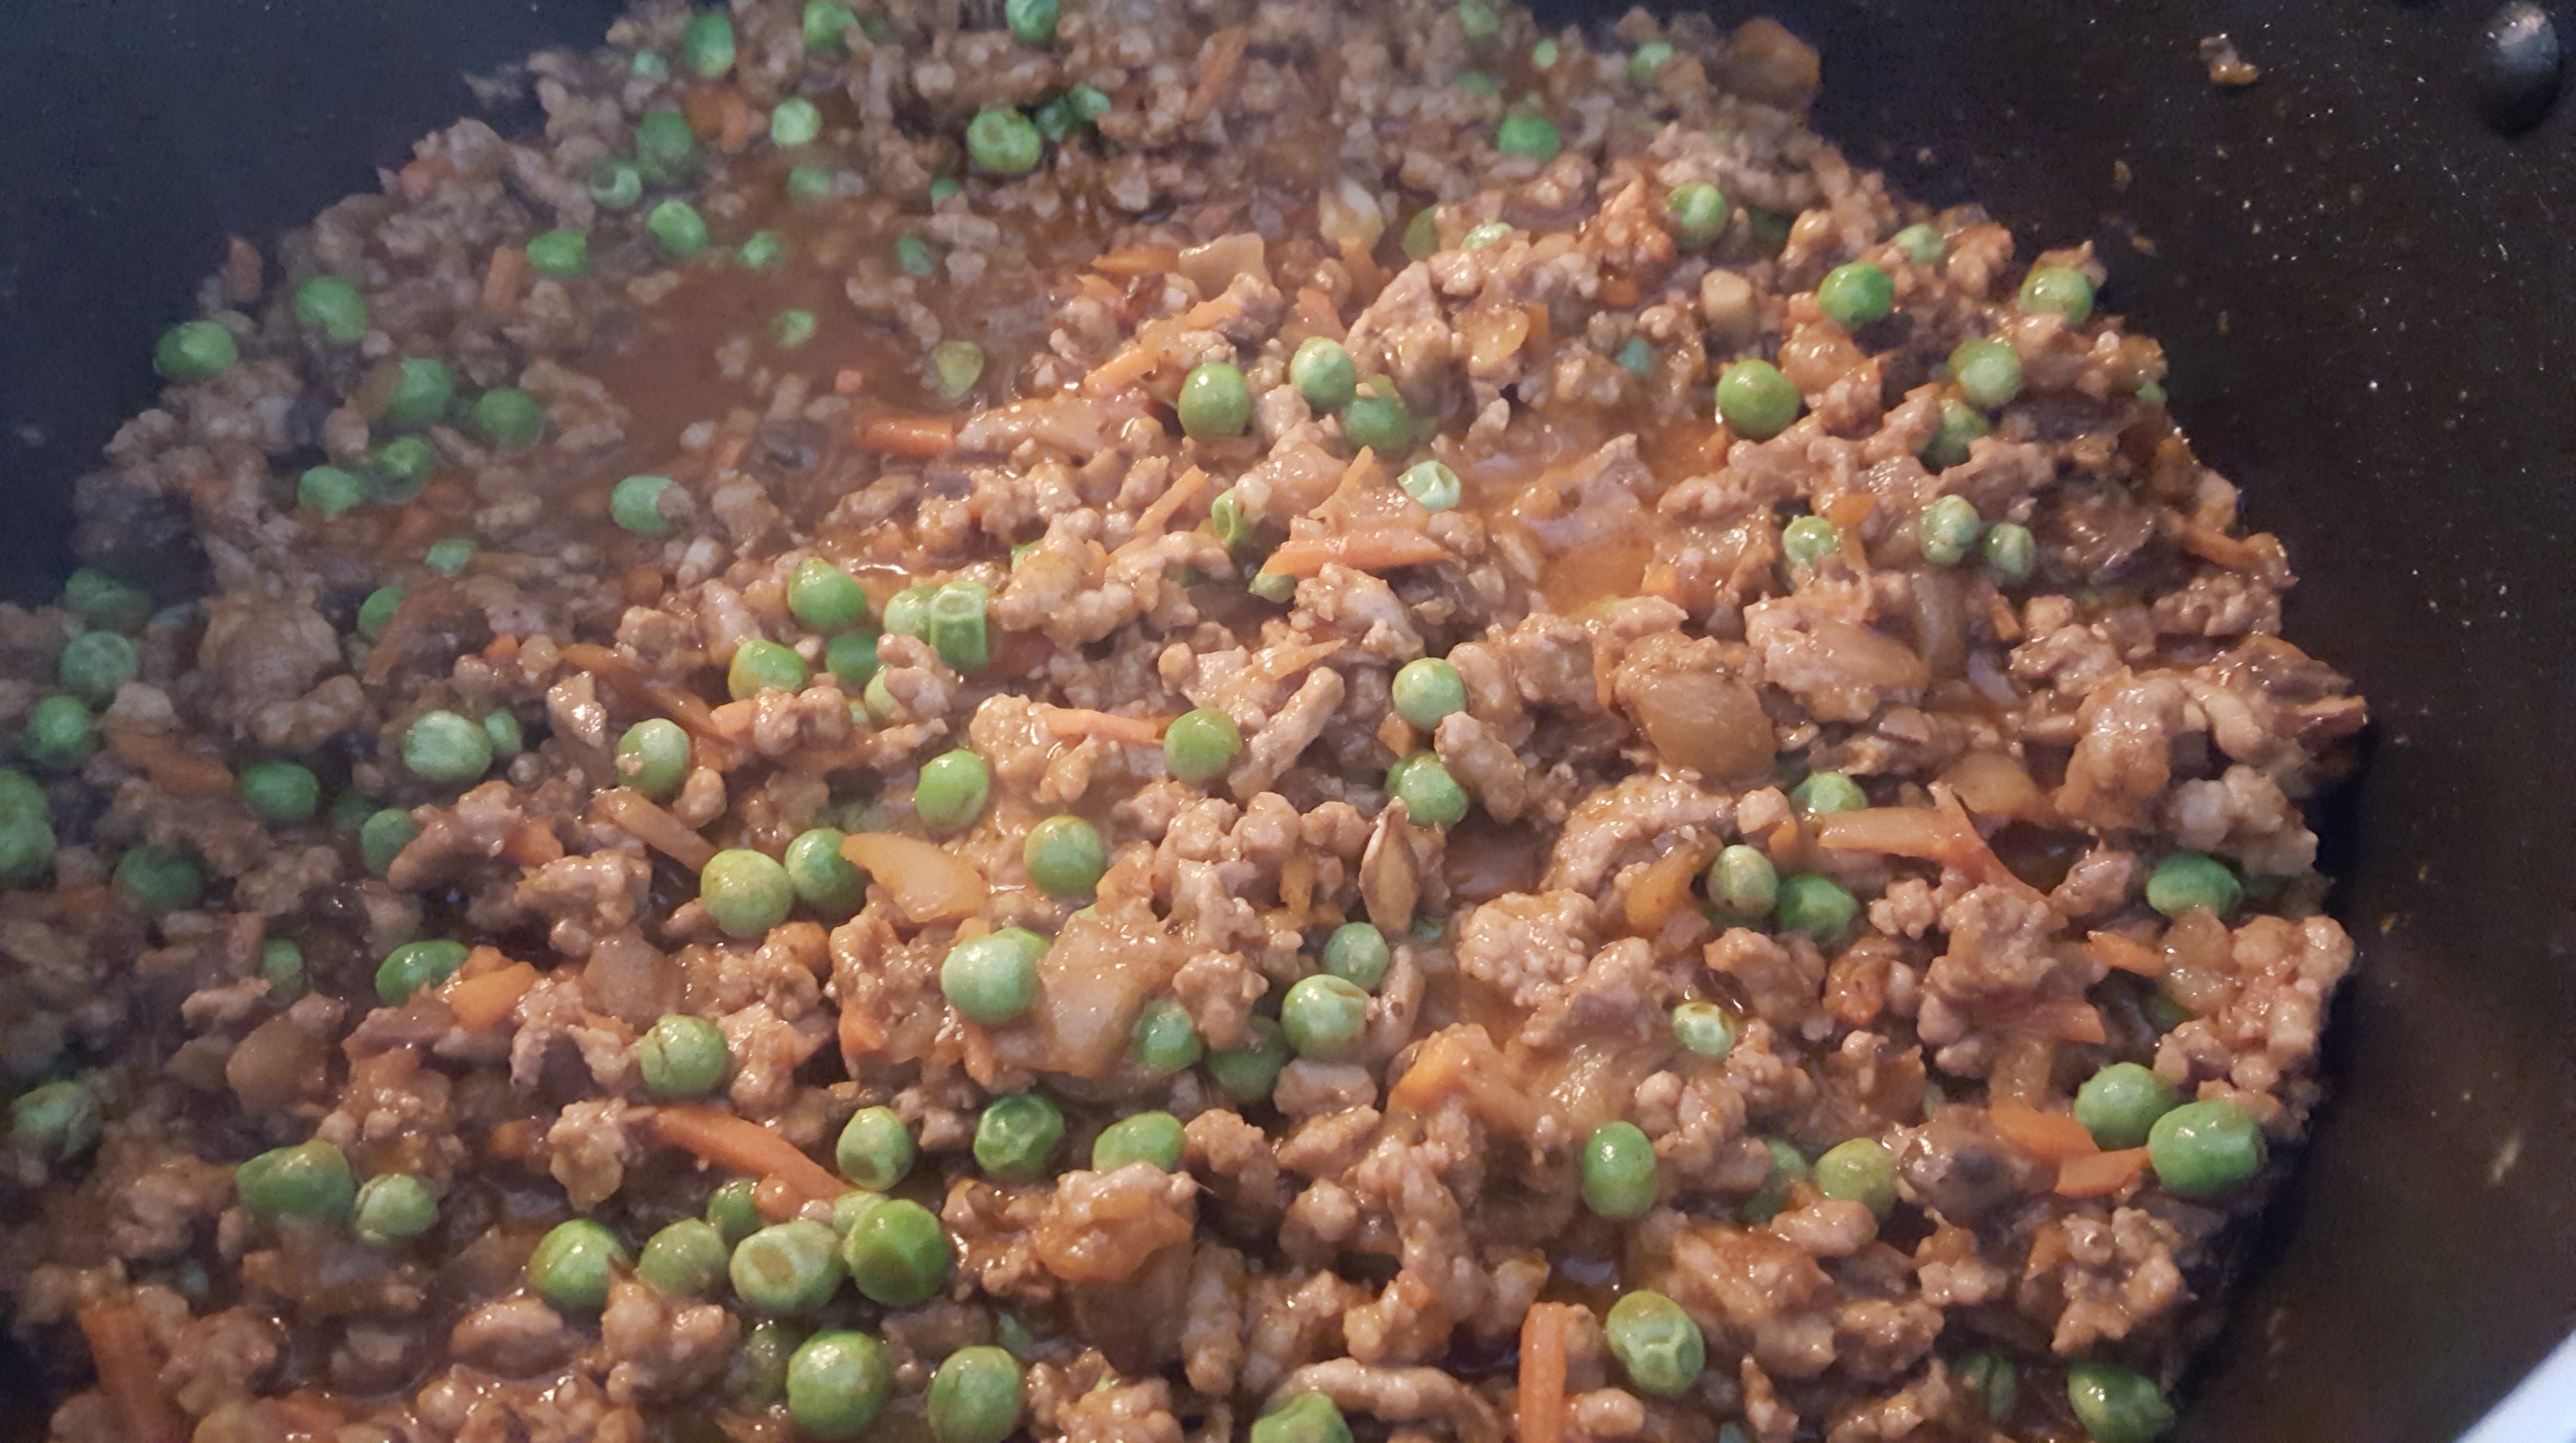
Porky Pie filling

Add the frozen peas and distribute into the mixture, reduce the heat to medium-low and cover. Allow the mixture to simmer covered for about 10 minutes.

While the meat is simmering, whip up your mash with either the kettle water and packet, or the boiled potatoes you’ve drained in the sink. If making from-scratch mash, I add the boiled potatoes back to the pan with the butter and use a fork to smash. I add 1% milk, and salt and pepper to taste. The handful of shredded cheese is optional, but adds colour and creaminess.

After about 10 minutes, taste the pork and add one more splash of Worcestershire to taste. I love the flavour, so add that last minute splash before it goes into the oven. You’re fine to use salt and pepper to taste if you prefer.

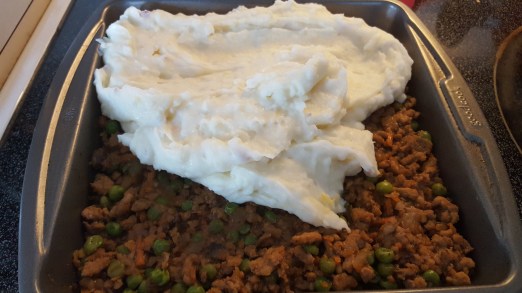
Pour the meat mixture into the bottom of a baking dish (I use a square non-stick) and cover with your mash.

Spreading potatoes on porky pie.jpg

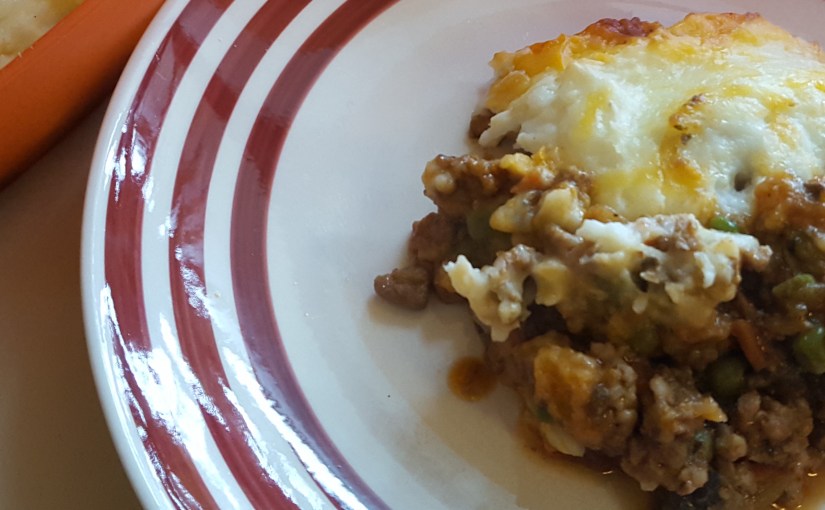
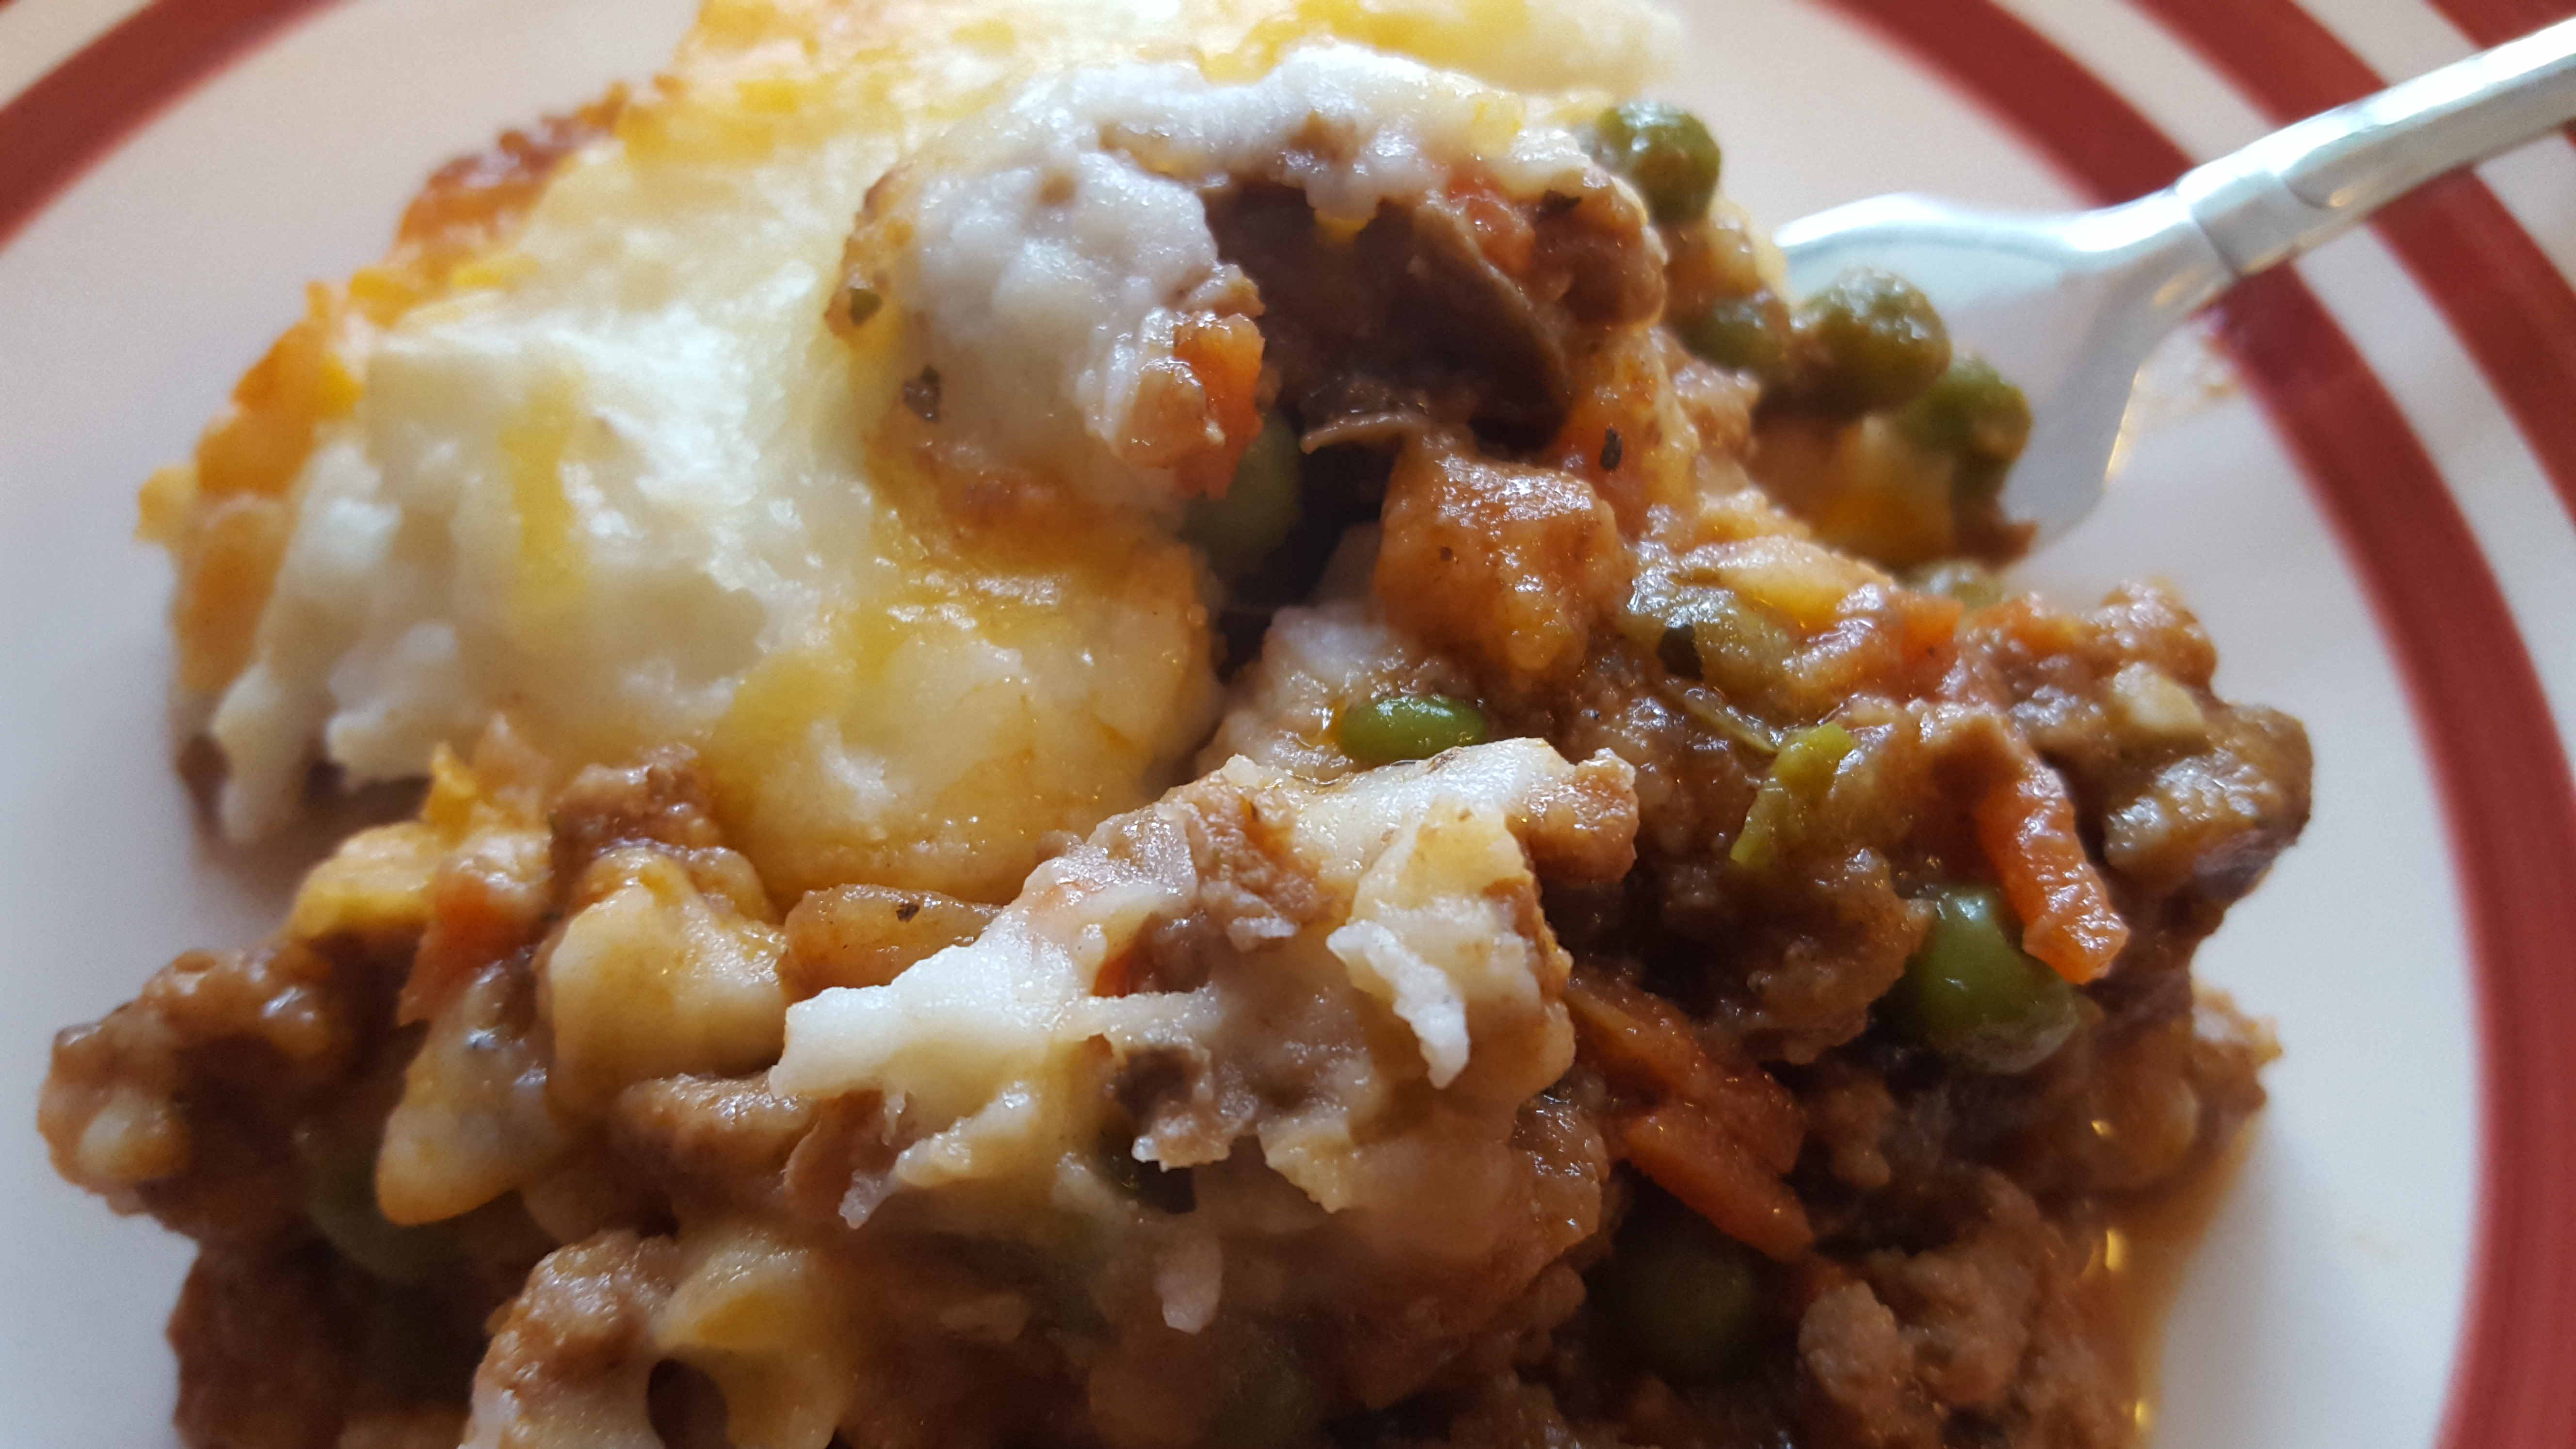
Slide the pie into a preheated oven at 200C/400F for about 15 minutes. It doesn’t take long for bubbles, so an additional baking tray underneath is advised. Allow the pie to cool slightly before serving and enjoy!

Porky Pie close-up.jpg

Sparkly Mummy